Welcome to the ultimate guide to scrapbooking for kids! Scrapbooking is a delightful way for children to preserve memories and express their creativity.
This guide will walk you through everything you need to know to get started, from essential supplies to crafting beautiful pages filled with your favorite photos and mementos.
Getting Started with Scrapbooking
Scrapbooking is a wonderful way for kids to unleash their creativity while preserving cherished memories.
Whether it’s capturing a fun family vacation or documenting special moments with friends, creating a scrapbook can be both enjoyable and meaningful.
Here’s how to get started on your scrapbooking journey:
Gathering Materials
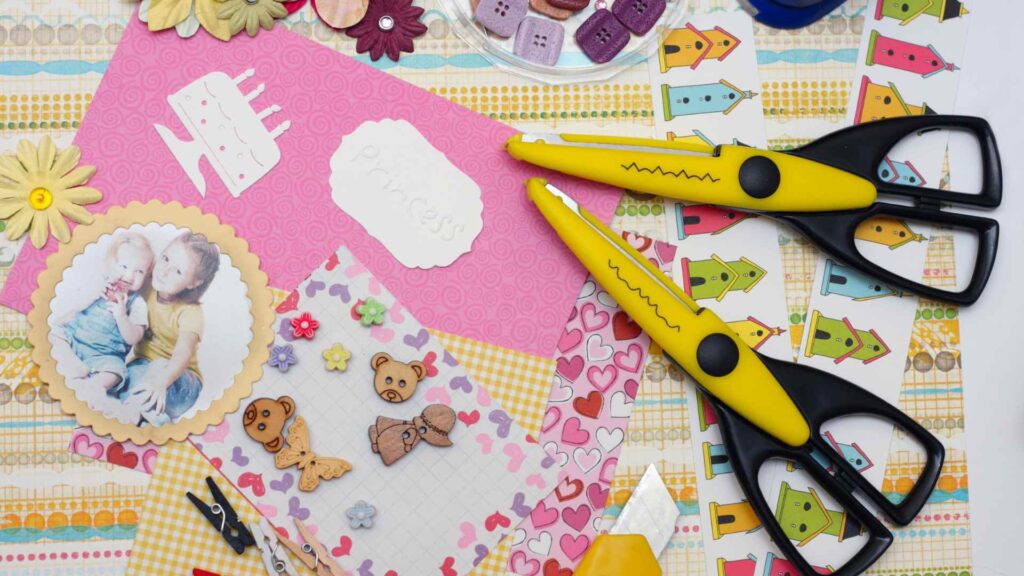
Before diving into your scrapbooking project, it’s essential to gather the right materials. Here’s what you’ll need:
- Essential Supplies:
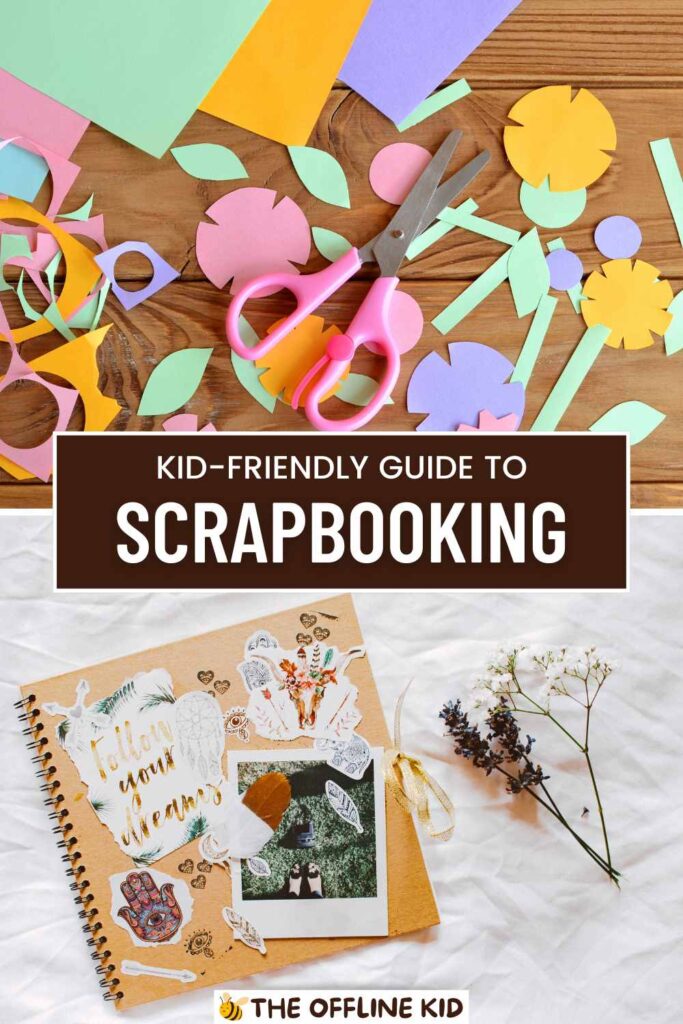
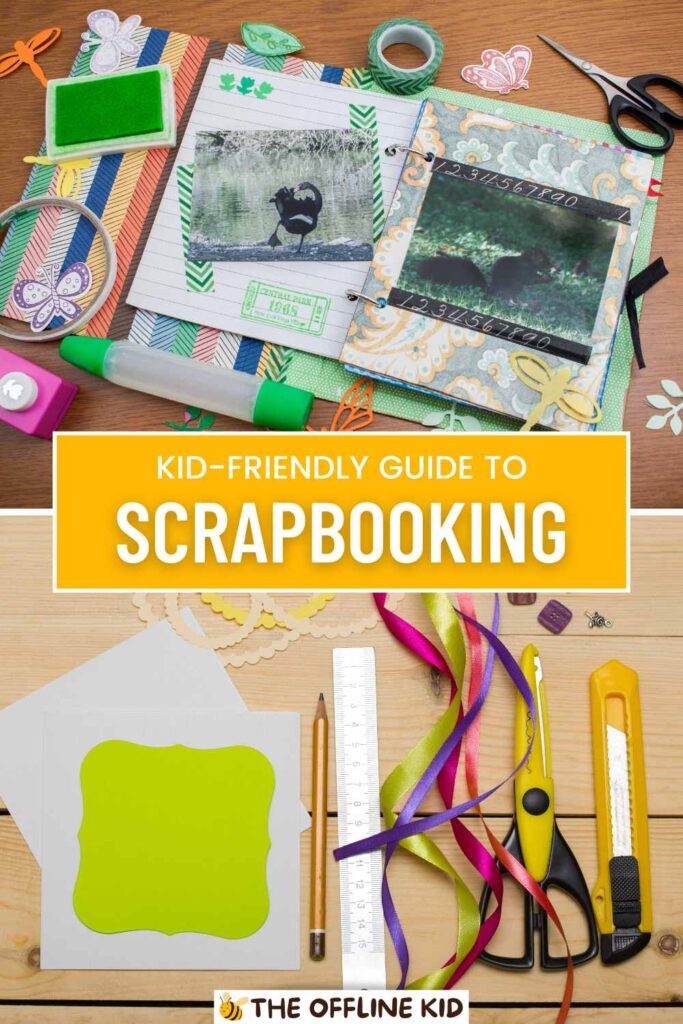
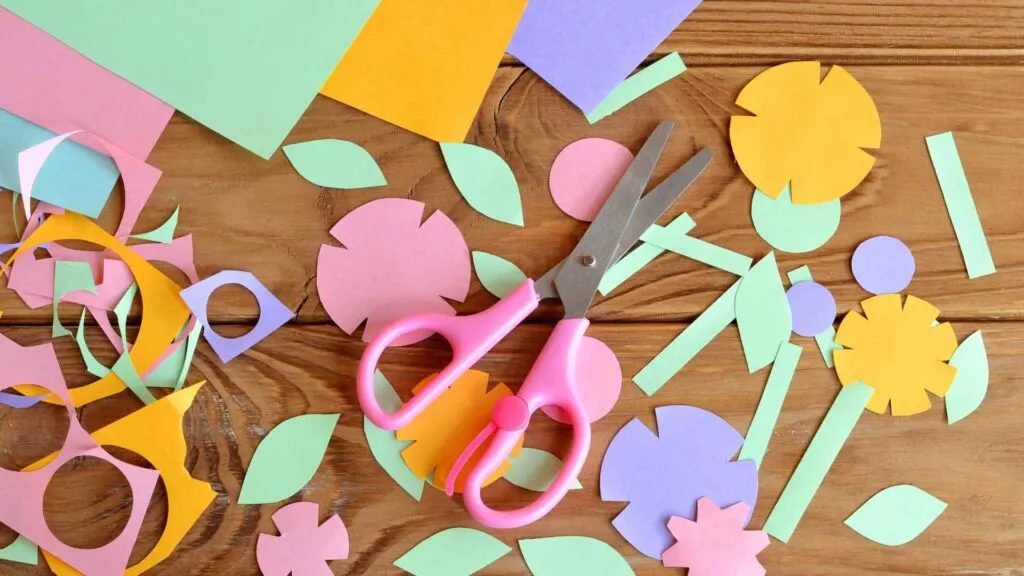
- Scrapbooking Paper: Choose acid-free paper in various colors and patterns to serve as your base.
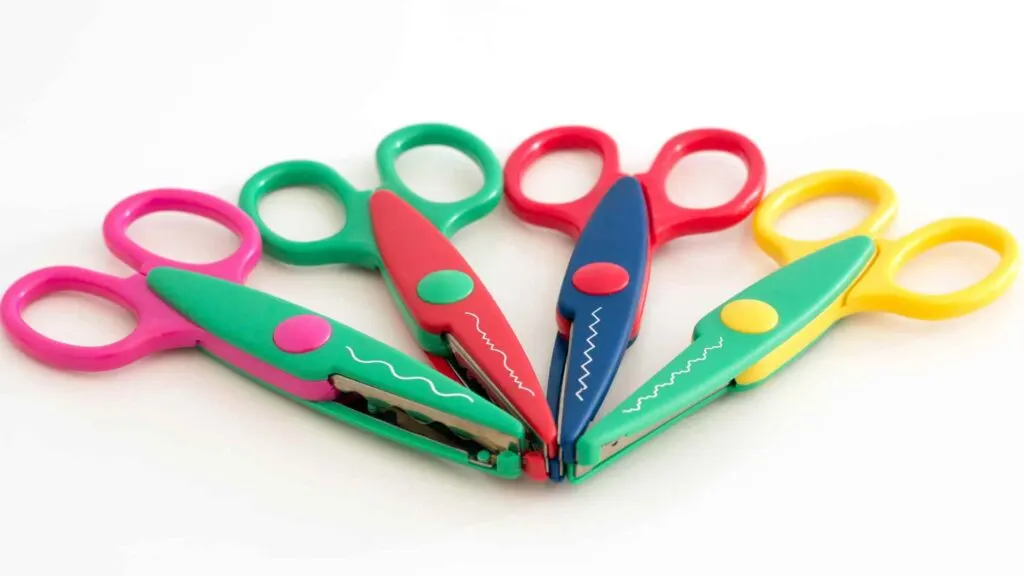
- Scissors: Ensure you have kid-friendly scissors for safe cutting.
- Glue or Adhesive Tape: Use glue sticks or double-sided tape for easy and neat sticking.
- Colored Markers or Pens: These are great for adding captions, doodles, or highlighting important details.
- Optional Embellishments:
- Stickers: From thematic stickers like animals or stars to letters and numbers for captions.
- Ribbons: Add texture and color to your pages with ribbons of different widths and colors.
- Buttons and Charms: These can add a playful touch and dimension to your layouts.
- Washi Tape: Decorative tape with patterns and colors can be used for borders or accents.
Setting Up Your Workspace
Creating a comfortable and organized workspace is key to enjoying your scrapbooking experience:
- Choose a Creative Space:
- Find a well-lit and quiet area where you can spread out your materials without distractions.
- Ensure the workspace is sturdy enough to support your scrapbooking activities, like a table or desk.
- Organize Your Supplies:
- Store your papers in folders or binders categorized by color or theme to make them easy to access.
- Use containers or trays for smaller items like stickers and embellishments to keep them organized and within reach.
Preparing Your Photos and Mementos
Once you have your materials ready, it’s time to gather your photos and mementos:
- Selecting Photos:
- Choose photos that capture special moments or tell a story. These can include family outings, birthdays, school events, or vacations.
- Consider printing additional copies of photos you want to use to avoid cutting original prints.
- Gathering Mementos:
- Collect items such as ticket stubs, postcards, or small keepsakes that complement your photos and add context to your scrapbook pages.
- Use a small envelope or pocket to keep fragile or oddly shaped mementos safe until you’re ready to include them.
By gathering your materials, setting up a conducive workspace, and preparing your photos and mementos, you’re all set to embark on your scrapbooking adventure.
In the next sections, we’ll delve into planning your scrapbook themes, designing your pages, and exploring various creative techniques to make your scrapbook truly unique and personal.
Let’s dive in and start creating memories!

Planning Your Scrapbook
Planning is an important step in creating a cohesive and meaningful scrapbook.
It helps you organize your thoughts, choose a theme, and layout your pages effectively. Here’s how to get started with planning your scrapbook:
Choosing a Theme
- Ideas for Themes:
- Consider themes based on events like birthdays, holidays, vacations, or everyday life moments.
- Think about hobbies, interests, or favorite activities that you want to showcase in your scrapbook.
- Personalizing Your Scrapbook:
- Make your scrapbook uniquely yours by reflecting your personality and preferences.
- Incorporate colors, patterns, and motifs that resonate with the theme or memories you want to capture.
Gathering Photos and Memories
- Selecting Photos:
- Choose photos that best tell the story of your chosen theme or event.
- Ensure a variety of photo sizes and orientations to add visual interest to your scrapbook pages.
- Writing Captions and Stories:
- Include captions or short stories to accompany each photo, describing the who, what, when, and why behind the moment captured.
- Use your own handwriting or printed text for a personal touch.
By carefully planning your scrapbook theme and gathering the necessary photos and memories, you set the stage for creating pages that are not only visually appealing but also meaningful and memorable.
In the next section, we will explore basic scrapbooking techniques to bring your ideas to life on paper.

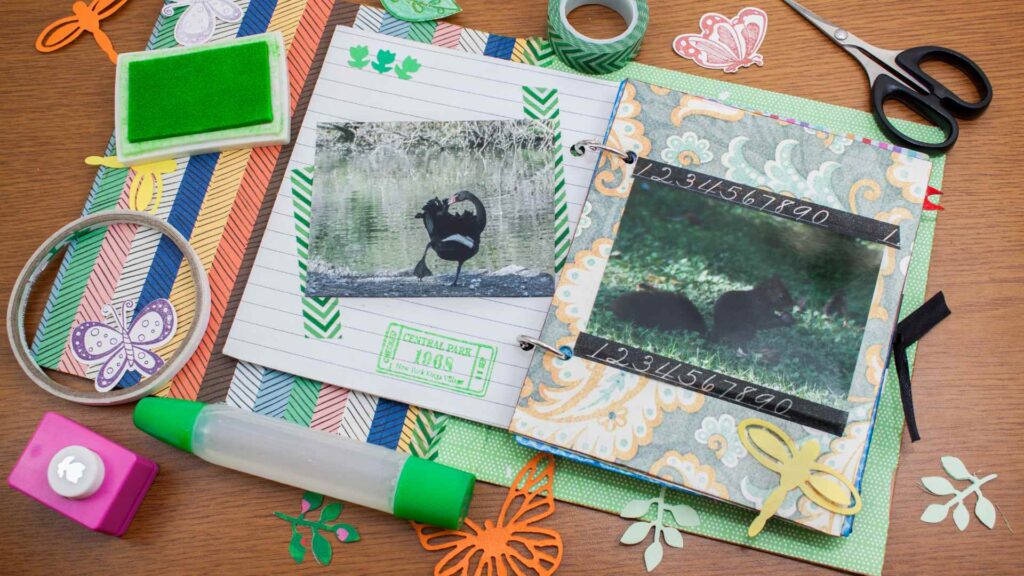
Basic Scrapbooking Techniques
Creating beautiful scrapbook pages involves mastering some basic techniques that enhance the visual appeal and storytelling of your layouts. Here’s a guide to get you started:
Page Layouts
- Simple Designs for Beginners:
- Start with basic layouts such as the classic grid or single-photo pages.
- Experiment with placing photos diagonally or in a circular arrangement for variety.
- Incorporating Backgrounds and Borders:
- Use patterned or solid-colored paper as backgrounds to complement your photos.
- Add borders around photos or page edges using decorative scissors or washi tape for a polished look.
Decorating Pages
- Using Stickers, Cut-outs, and Decorative Paper:
- Choose stickers that match your theme, such as letters for titles or themed icons like animals or stars.
- Cut out shapes or use pre-cut embellishments to add visual interest and texture to your pages.
- Adding Texture with Ribbons or Fabric Scraps:
- Glue ribbons across your page as borders or use them to create bows or loops for a three-dimensional effect.
- Incorporate fabric scraps for a tactile element, such as small pieces of felt or velvet for a soft texture.
Creating Your First Scrapbook Pages
- Step-by-Step Instructions:
- Arrange your photos and mementos on the page before adhering them down permanently.
- Experiment with different placements until you find a layout that you’re happy with.
- Gluing and Arranging Elements:
- Use glue sticks or double-sided tape to secure photos and paper elements to your page.
- Allow space for journaling or captions near each photo to tell the story behind the moment captured.
Tips for Success
- Keeping Pages Neat and Organized:
- Use a ruler to ensure straight lines and even spacing between elements.
- Clean scissors regularly to prevent adhesive buildup and ensure precise cutting.
- Experimenting with Different Styles and Techniques:
- Don’t be afraid to try new techniques like embossing, layering, or creating interactive elements like flip-up tabs or pockets.
- Visit craft stores or online tutorials for inspiration and to learn advanced techniques as you become more comfortable with scrapbooking.
Mastering these basic techniques will lay a strong foundation for creating stunning scrapbook pages that showcase your memories beautifully.
In the next section, we’ll explore more advanced techniques for those looking to take their scrapbooking skills to the next level.

Advanced Scrapbooking Techniques (Optional)
Once you’re comfortable with the basics of scrapbooking, exploring advanced techniques can elevate your pages to new levels of creativity and intricacy.
Here are some techniques to consider incorporating into your scrapbooking projects:
Layering and Dimension
- Using Foam Dots for 3D Effects:
- Attach photos or embellishments using foam adhesive dots to create depth and dimension.
- Layer elements such as stickers, die-cuts, or small embellishments to add visual interest.
- Creating Pockets and Flaps:
- Make interactive elements by creating pockets to tuck in extra photos, journaling cards, or keepsakes.
- Add flaps using hinges or washi tape to reveal hidden messages or additional photos underneath.
Embellishments
- Stamping and Embossing:
- Use rubber stamps and embossing powder to create raised designs and patterns on your pages.
- Heat embossing adds a glossy, textured finish to stamped images for a professional look.
- Incorporating Handwriting and Journaling:
- Write personal messages, quotes, or anecdotes directly onto your pages using colored pens or markers.
- Handwritten journaling adds a personal touch and enhances the storytelling aspect of your scrapbook.
Mixed Media Techniques
- Adding Watercolor or Acrylic Paint:
- Use watercolor paints or diluted acrylics to create backgrounds or paint accents around photos.
- Blend colors for a soft, artistic effect or use bold strokes to add drama to your layouts.
- Texture with Fabric and Ribbons:
- Incorporate fabric swatches, lace, or ribbons to create tactile elements on your pages.
- Sew fabric onto your layouts for a textured and handmade look.
Preservation and Display
- Using Acid-Free Materials:
- Ensure all materials used in your scrapbook are acid-free to preserve photos and mementos over time.
- Acid-free adhesives and papers prevent yellowing and deterioration of your scrapbook pages.
- Sharing Your Scrapbook:
- Display your scrapbook in protective sleeves or albums to keep it safe from dust and handling.
- Share your creations with friends and family during gatherings or special occasions to celebrate your memories.
By exploring these advanced scrapbooking techniques, you can add creativity, depth, and personal flair to your scrapbook pages.
Experiment with different styles and find what works best for telling your unique story through the art of scrapbooking.
Preserving and Sharing Your Scrapbook
Once you’ve completed your scrapbook pages, it’s essential to focus on preserving your hard work and sharing it with others.
Here’s how to ensure your scrapbook remains a cherished keepsake:
Protecting Your Pages
- Choose Acid-Free Materials:
- Use acid-free scrapbooking papers, adhesives, and embellishments to prevent yellowing and deterioration over time.
- Acid-free materials are archival quality and help preserve your photos and memorabilia.
- Storage Options:
- Store your completed scrapbook in a cool, dry place away from direct sunlight and humidity.
- Consider using archival-quality albums or protective sleeves to keep your pages safe from dust and damage.
Sharing Your Creations
- Displaying Your Scrapbook:
- Showcase your scrapbook at home in a prominent place where family and guests can appreciate your creativity.
- Use a stand or easel to display individual pages or open the scrapbook for viewing.
- Sharing with Family and Friends:
- Share your scrapbook during family gatherings, holidays, or special occasions to reminisce and celebrate memories.
- Create digital copies or photo albums to share with loved ones who may not be able to see your physical scrapbook in person.
Maintaining Your Scrapbook
- Regular Maintenance:
- Periodically check your scrapbook for any signs of wear or damage.
- Replace protective sleeves or albums as needed to ensure continued preservation.
Final Tips and Inspiration
- Documenting New Memories:
- Continue adding new pages and updating your scrapbook with fresh memories and experiences.
- Use your scrapbook as a creative outlet to document milestones, achievements, and everyday moments.
- Finding Inspiration:
- Explore online communities, scrapbooking magazines, and workshops for new ideas and techniques.
- Attend scrapbooking events or join local groups to connect with fellow scrapbook enthusiasts and share inspiration.
By following these tips for preserving and sharing your scrapbook, you’ll ensure that your memories are beautifully preserved and enjoyed for years to come.
Whether you’re creating a scrapbook for yourself or as a gift for someone special, the joy of scrapbooking lies in capturing and celebrating life’s most precious moments in a creative and meaningful way.