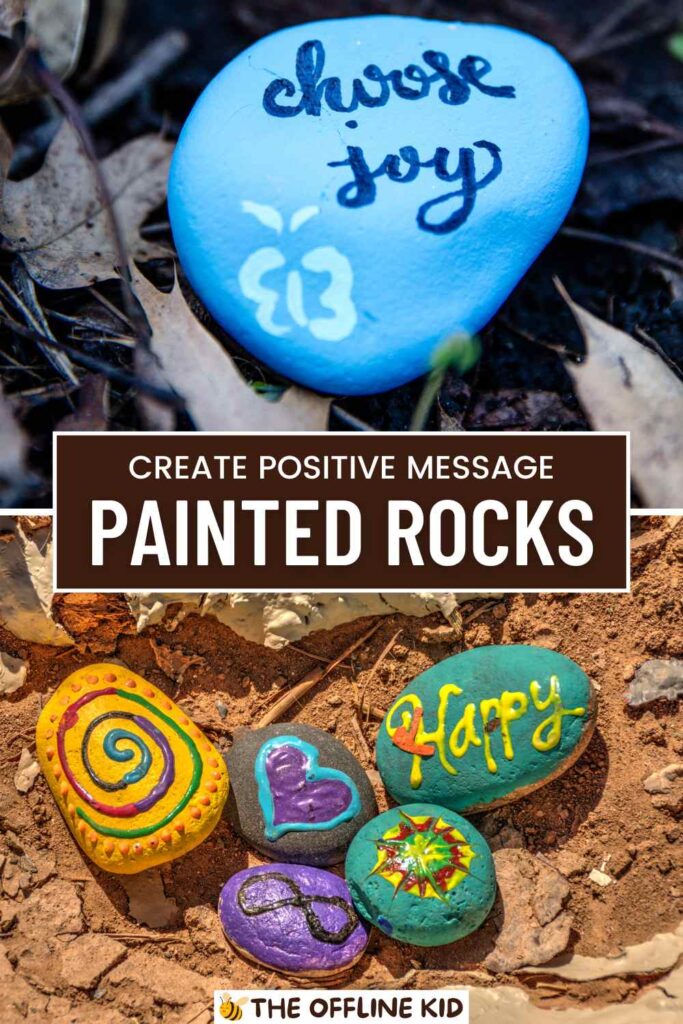
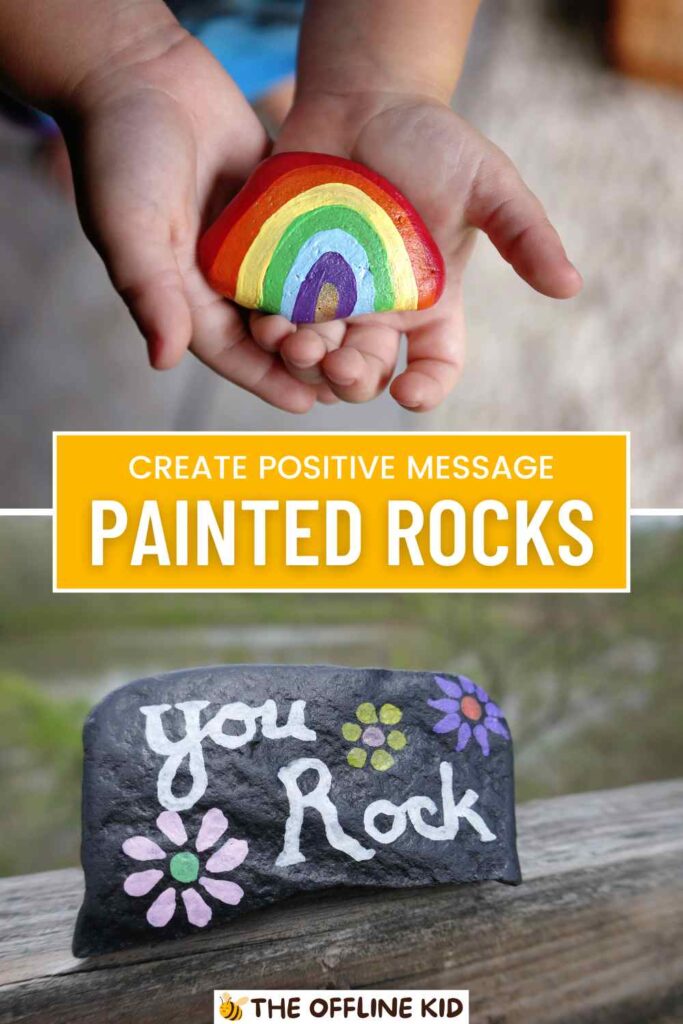
Welcome to the ultimate guide to painting rocks with positive messages for kids!
Discover how this fun and creative activity can spread joy and inspire positivity in your community.
Getting Started with Rock Painting
Materials Needed
To begin your rock painting journey, gather the following supplies:
- Rocks: Smooth, flat stones are ideal for painting.
- Acrylic Paints: Choose a variety of colors. Acrylics are vibrant and adhere well to rocks.
- Paintbrushes: Different sizes and shapes for various details.
- Sealant: Clear acrylic spray or Mod Podge to protect your designs.
- Palette: For mixing colors.
- Water Cup: For rinsing brushes.
- Paper Towels: For drying brushes and cleaning up spills.
- Aprons or Old Clothes: To protect clothing from paint.
You can find these materials at craft stores, online retailers, or even around your home.
Choosing the Right Rocks
Selecting the perfect rocks is key to successful rock painting:
- Size and Shape: Look for rocks that fit comfortably in a child’s hand. Flat surfaces are easier to paint on.
- Smoothness: Smooth rocks provide a better painting surface. Avoid rocks with too many bumps or cracks.
- Where to Find Rocks: Collect rocks from nature (with permission) or purchase them from garden centers or craft stores.
Before painting, clean your rocks by rinsing them with water and allowing them to dry completely.
Setting Up Your Work Area
Creating a kid-friendly painting space will make the activity more enjoyable:
- Cover Surfaces: Use old newspapers, plastic tablecloths, or drop cloths to protect your work area.
- Comfortable Seating: Set up chairs and tables at a comfortable height for kids.
- Organize Supplies: Keep paints, brushes, and other materials within easy reach.
- Dress for Success: Have kids wear aprons or old clothes to prevent paint stains.
Encourage kids to take their time and enjoy the process of setting up their creative space.
Basic Painting Techniques
Applying Base Coats
A base coat of paint helps colors stand out and adhere better to the rock surface:
- Choose a Color: Select a light color for the base coat to make your design pop.
- Apply Evenly: Use a larger brush to apply the base coat evenly. Allow it to dry completely before adding designs.
Using Different Brush Sizes and Shapes
Different brushes can create a variety of effects:
- Detail Brushes: Thin, pointed brushes are perfect for fine lines and small details.
- Flat Brushes: Use flat, wide brushes for filling in larger areas.
- Round Brushes: These versatile brushes are great for both details and broader strokes.
Experiment with different brush techniques to achieve various textures and effects.
Creative Designs and Patterns
Simple and Complex Designs
Start with simple designs and gradually move to more complex ones:
- Simple Patterns: Polka dots, stripes, and geometric shapes are easy for beginners.
- Complex Patterns: Mandalas, intricate flowers, and detailed scenes offer a challenge for more experienced painters.
Step-by-Step Instructions for Popular Patterns
Follow these steps to create popular rock painting patterns:
- Polka Dots: Use the tip of a brush or a dotting tool to apply dots in a regular pattern.
- Stripes: Use painter’s tape to create straight lines and paint between them.
- Mandalas: Start from the center of the rock and work outward, adding circles and patterns as you go.
Adding Positive Messages
Planning and Spacing Text on Rocks
To ensure your positive messages fit well on the rocks:
- Sketch First: Lightly sketch your message with a pencil before painting.
- Use Guidelines: Draw faint lines to help keep your text straight and even.
- Keep it Short: Short, impactful words or phrases work best.
Uplifting Messages and Words of Encouragement
Inspire positivity with these message ideas:
- Simple Words: “Hope,” “Love,” “Joy,” “Peace.”
- Phrases: “You Got This,” “Stay Strong,” “Be Kind.”
- Quotes: “Believe in Yourself,” “Dream Big,” “Spread Happiness.”
Encourage kids to come up with their own positive messages and personalize their rocks.
By following these steps and tips, you’ll be well on your way to creating beautiful, positive message rocks that can brighten anyone’s day.

Fun Themes and Ideas
Seasonal Themes
Incorporating seasonal themes can make your rock painting projects even more fun and relevant:
Holiday-Themed Rocks
- Christmas: Paint Santa Claus, reindeer, snowflakes, or Christmas trees. Add messages like “Merry Christmas” or “Joy to the World.”
- Halloween: Create spooky designs like pumpkins, ghosts, bats, and witches. Add phrases like “Trick or Treat” or “Boo!”
- Easter: Paint Easter eggs, bunnies, and flowers. Include messages like “Happy Easter” or “Spring Joy.”
Seasonal Colors and Symbols
- Winter: Use cool colors like blue, white, and silver. Paint snowflakes, mittens, and hot cocoa mugs.
- Spring: Choose pastel colors like pink, yellow, and light green. Paint flowers, butterflies, and rainbows.
- Summer: Use bright colors like red, yellow, and turquoise. Paint suns, beach balls, and ice cream cones.
- Fall: Opt for warm colors like orange, brown, and gold. Paint leaves, pumpkins, and acorns.
Inspirational Themes
Spread inspiration and motivation with these themed rocks:
Motivational Quotes and Phrases
- Short Quotes: “Believe,” “Courage,” “Inspire,” “Dream.”
- Longer Phrases: “You Are Enough,” “Keep Going,” “Embrace the Journey,” “Shine Bright.”
Symbols of Hope and Positivity
- Hearts: Symbolize love and kindness. Add messages like “Love Always” or “Heart Full of Joy.”
- Stars: Represent guidance and inspiration. Include phrases like “Reach for the Stars” or “Shine On.”
- Rainbows: Symbolize hope and promise. Add messages like “After the Rain” or “Find Your Rainbow.”
Nature-Inspired Designs
Celebrate the beauty of nature with these designs:
Animals
- Cute Creatures: Paint adorable animals like ladybugs, bees, and turtles. Add messages like “Bee Happy” or “Slow Down.”
- Wildlife: Create designs featuring animals like birds, foxes, and deer. Include phrases like “Wild and Free” or “Stay Curious.”
Flowers and Plants
- Simple Flowers: Paint daisies, tulips, and sunflowers. Add messages like “Bloom” or “Grow Strong.”
- Detailed Plants: Create intricate designs of ferns, cacti, and leaves. Include phrases like “Stay Grounded” or “Rooted in Love.”
Combining Nature Themes with Positive Messages
- Nature Scenes: Paint a serene landscape with a sun rising over mountains. Add a message like “New Beginnings” or “Rise and Shine.”
- Garden of Positivity: Create a collection of rocks painted with different flowers and plants, each with a unique positive message.
These themes and ideas provide endless possibilities for creative and meaningful rock painting projects. Encourage kids to explore their interests and let their imaginations run wild while spreading positivity through their art.

Advanced Techniques and Projects
Using Stencils and Stickers
Elevate your rock painting with stencils and stickers for precise and intricate designs:
Using Stencils
- Selecting Stencils: Choose stencils with simple shapes or intricate patterns. You can purchase them or create your own using sturdy paper or plastic.
- Applying Stencils: Secure the stencil on the rock with painter’s tape. Use a sponge or stencil brush to apply paint, dabbing gently to avoid bleeding under the stencil.
- Removing Stencils: Carefully lift the stencil once the paint is dry. Touch up any imperfections with a fine brush.
Adding Stickers
- Choosing Stickers: Select stickers that complement your painted designs. Look for waterproof or vinyl stickers for durability.
- Applying Stickers: Place the sticker on the rock, smoothing out any air bubbles. Seal with a clear acrylic spray or Mod Podge to protect the design.
Incorporating Mixed Media
Add texture and dimension to your rocks with mixed media elements:
Using Glitter
- Application: Apply a thin layer of Mod Podge or glue where you want the glitter. Sprinkle glitter over the glue and shake off excess.
- Sealing: Once dry, seal the glitter with a clear spray to prevent shedding.
Adding Gems and Rhinestones
- Selecting Gems: Choose flat-backed gems or rhinestones for easy application.
- Attaching Gems: Use a strong adhesive to attach gems to the rock. Arrange them in patterns or use them to accentuate painted designs.
- Sealing: Apply a clear sealant over the entire rock to secure the gems.
Incorporating Fabric and Ribbon
- Fabric Pieces: Cut small fabric shapes to glue onto the rock. Use fabric glue and seal with Mod Podge.
- Ribbon Accents: Attach ribbons with glue, creating bows or borders. Seal as needed for durability.
Creating Rock Sets and Collections
Design themed sets of rocks for unique projects and displays:
Themed Rock Sets
- Story Rocks: Paint a series of rocks that tell a story. Each rock represents a different part of the tale.
- Alphabet Rocks: Create a rock for each letter of the alphabet, each with a corresponding word or image.
- Color Collections: Paint rocks in various shades of a single color for a monochromatic set.
Displaying Rock Collections
- Rock Gardens: Arrange painted rocks in a garden bed or planter. Create a themed garden with different messages or designs.
- Indoor Displays: Use shallow bowls, trays, or shadow boxes to display your rocks indoors.
- Gift Sets: Package sets of painted rocks in decorative boxes or bags to give as thoughtful, handmade gifts.
These advanced techniques and projects allow for greater creativity and personalization in rock painting.
Encourage kids to experiment with different materials and themes, pushing the boundaries of their artistic skills while continuing to spread positivity.
Spreading Positivity with Painted Rocks
Hiding and Sharing Rocks
Sharing painted rocks with the community can spread joy and positivity far and wide:
Ideas for Hiding Rocks
- Parks and Playgrounds: Hide rocks in areas where families and children frequent, such as near benches, playground equipment, and walking paths.
- Libraries and Schools: Place rocks near entrances, garden beds, or even inside as a surprise for visitors.
- Shopping Areas: Tuck rocks near storefronts, planters, or along sidewalks where people are likely to notice them.
Organizing Rock Hunts and Community Activities
- Rock Hunts: Create a community event where families can search for hidden painted rocks. Provide clues or a map to make the hunt more engaging.
- Rock Painting Parties: Host a rock painting event in your neighborhood or school. Supply materials and encourage participants to hide their creations afterward.
- Online Sharing: Use social media to share photos of found rocks, tagging the location and the positive message. Encourage others to join in and keep the positivity going.
Creating Rock Gardens
Establishing a rock garden can be a lasting way to display positive message rocks:
How to Create a Positive Message Rock Garden
- Choose a Location: Select a spot in your yard, a public park, or a community garden that’s accessible and visible.
- Prepare the Area: Clear the area of debris and level the ground. Consider adding a border or edging to define the space.
- Arrange Rocks: Place the painted rocks in the garden, arranging them thoughtfully. You can create patterns, clusters, or a more random arrangement.
- Add Elements: Enhance the garden with plants, flowers, or decorative items like fairy lights or small statues.
Maintaining and Adding to Rock Gardens
- Regular Updates: Encourage kids and community members to add new painted rocks periodically, keeping the garden fresh and growing.
- Seasonal Themes: Rotate rocks based on seasonal themes or holidays to keep the garden dynamic and engaging.
- Community Involvement: Host events where people can come together to paint rocks and place them in the garden, fostering a sense of community.
Using Rock Painting for Fundraising and Charity
Turn your rock painting activity into a force for good by supporting charitable causes:
Organizing Rock Painting Events for a Cause
- Charity Events: Host rock painting workshops or events with an entry fee that goes toward a chosen charity.
- Awareness Campaigns: Paint rocks with messages related to a cause (e.g., “Support Wildlife,” “End Hunger”) and use them to raise awareness in the community.
Selling Painted Rocks to Raise Funds
- Craft Fairs and Markets: Set up a booth at local craft fairs or farmers’ markets to sell painted rocks, with proceeds going to charity.
- Online Sales: Create an online store or use social media platforms to sell painted rocks. Highlight the cause you’re supporting to encourage purchases.
- School Fundraisers: Organize rock painting activities at schools where students can sell their creations, with funds supporting school projects or charities.
Spreading positivity through painted rocks can make a significant impact in your community and beyond.
By hiding rocks, creating rock gardens, and supporting charitable causes, you can share joy and encouragement with countless people. Encourage kids to see their art as a powerful tool for making the world a better place.
Safety and Cleanup
Safety Tips for Kids
Ensuring a safe and enjoyable rock painting experience for kids is essential:
Using Non-Toxic Materials
- Non-Toxic Paints: Always use non-toxic, child-safe acrylic paints to avoid any harmful exposure.
- Safe Sealants: Choose water-based, non-toxic sealants like Mod Podge designed for kids.
Supervision and Guidance
- Adult Supervision: An adult should always supervise young children during rock painting to ensure they use materials safely and properly.
- Proper Handling: Teach kids how to handle brushes, paints, and other materials carefully to avoid spills and accidents.
Protective Measures
- Covering Clothing: Have kids wear aprons or old clothes to protect their clothing from paint stains.
- Ventilated Area: Ensure the painting area is well-ventilated, especially when using sealants, to avoid inhaling fumes.
- Hand Washing: Encourage kids to wash their hands thoroughly after painting to remove any paint or sealant residue.
Proper Cleanup and Storage
Effective cleanup and storage keep your materials in good condition and ready for the next painting session:
Cleaning Brushes and Tools
- Rinsing Brushes: Rinse brushes thoroughly in water immediately after use to prevent paint from drying and damaging the bristles.
- Using Soap: For stubborn paint, use mild soap and warm water to clean brushes. Rinse well and reshape the bristles before drying.
- Drying Brushes: Lay brushes flat to dry on a paper towel to maintain their shape and prevent water from damaging the handles.
Storing Paints and Supplies
- Seal Paint Containers: Make sure all paint containers are tightly sealed to prevent drying out. Store them in a cool, dry place.
- Organize Supplies: Keep brushes, palettes, and other tools in a designated box or container to stay organized and avoid misplacing items.
- Labeling: Label paint bottles and containers with the color name for easy identification during future projects.
Disposing of Materials Safely
- Paint Disposal: Dispose of any leftover paint properly, following local guidelines for hazardous materials if applicable.
- Brush Care: Replace old or damaged brushes to ensure a smooth painting experience. Dispose of them responsibly.
By following these safety tips and cleanup guidelines, you can create a safe, enjoyable, and organized rock painting environment for kids. This ensures that each painting session is not only fun but also mindful of safety and cleanliness.