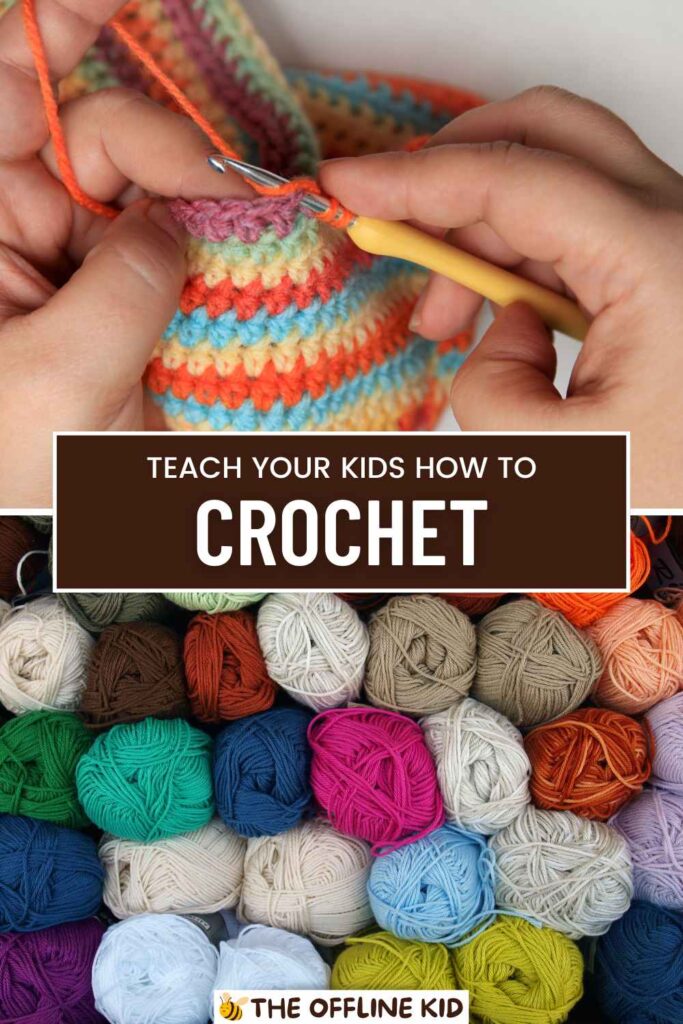
Welcome to the wonderful world of crochet! This guide is designed especially for kids, making it fun and easy to learn how to crochet.
From basic stitches to exciting projects, you’ll discover the joy of creating beautiful items with your own hands.
What is Crochet?
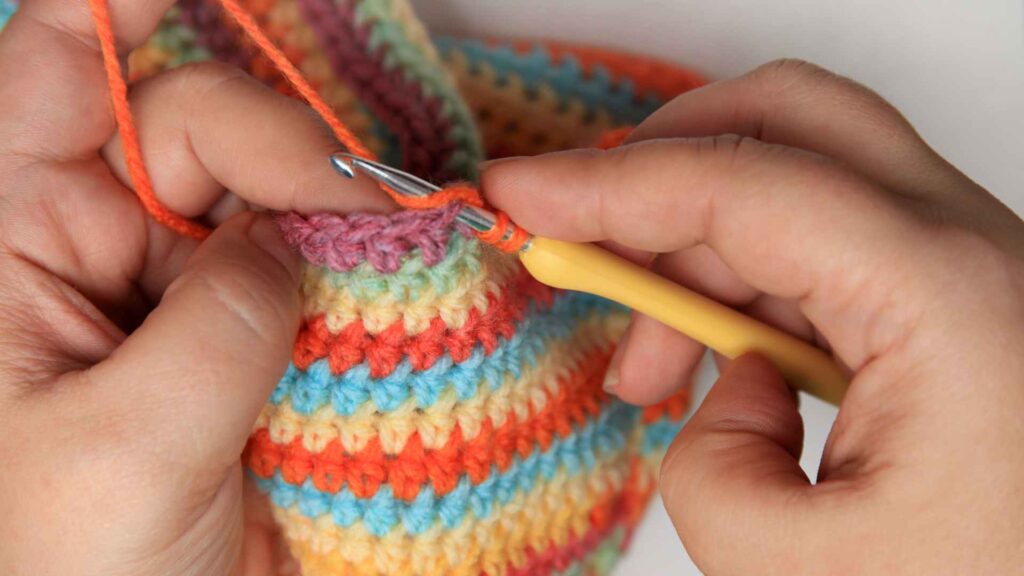
Crochet is a needlecraft technique that involves creating fabric by interlocking loops of yarn with a crochet hook.
Unlike knitting, which uses two needles, crochet uses just one hook, making it simpler for beginners to manage.
The origins of crochet are somewhat unclear, but it became popular in Europe during the 19th century. It has since spread worldwide, enjoyed by people of all ages as a relaxing and creative pastime.
Benefits of Crocheting for Kids
- Developing Fine Motor Skills: Handling the crochet hook and yarn improves hand-eye coordination and dexterity, which are crucial for other activities like writing and drawing.
- Enhancing Creativity and Imagination: Crochet offers endless possibilities for creating different shapes, patterns, and designs. Kids can let their imaginations run wild as they choose colors and plan their projects.
- Improving Concentration and Patience: Learning to follow patterns and stitches helps children develop focus and patience, important skills that transfer to other areas of their lives.
- Boosting Self-Esteem and Sense of Accomplishment: Completing a crochet project gives kids a tangible sense of achievement. They can proudly show off their creations, which boosts their confidence.
Getting Started with Crochet
Essential Tools and Materials
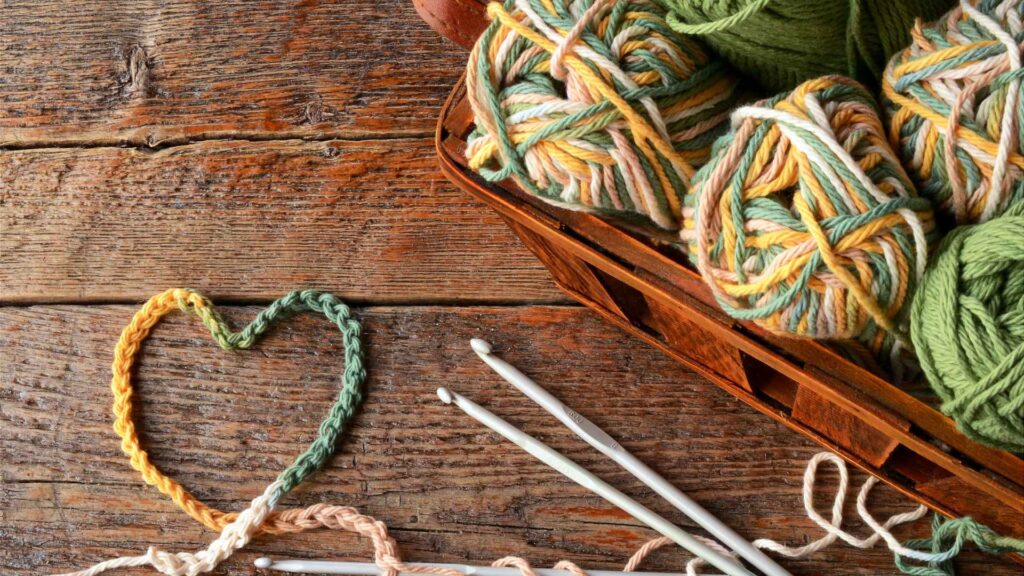
- Crochet Hooks: These come in various sizes, measured in millimeters. Beginners usually start with medium-sized hooks, like 4mm or 5mm. Hooks can be made of different materials such as aluminum, plastic, or bamboo.
- Yarn: Yarn comes in different types (like acrylic, cotton, and wool) and weights (like light, medium, and bulky). For beginners, medium-weight yarn (also called worsted weight) is a good choice. It’s easy to handle and widely available.
- Other Tools:
- Scissors for cutting yarn.
- Yarn needles for weaving in ends.
- Stitch markers to keep track of your place in a pattern.
Choosing the Right Materials for Kids
- Safety Considerations: Choose blunt-tipped crochet hooks to avoid accidental pokes. Soft, non-scratchy yarns are best for kids’ delicate skin.
- Recommended Yarn Types for Beginners: Acrylic yarn is often recommended for beginners due to its affordability, ease of use, and availability in a wide range of colors.
Setting Up a Crochet Space
- Creating a Comfortable and Organized Workspace: Ensure the area is well-lit and free from distractions. A comfy chair and a small table or lap desk can make a big difference.
- Tips for Maintaining a Tidy Crochet Area: Use a basket or bin to keep yarns, hooks, and tools organized. Encourage kids to clean up after each crochet session to keep their space neat and ready for the next project.
Basic Crochet Stitches and Techniques
Understanding Crochet Patterns
Crochet patterns are like recipes that tell you exactly how to create a specific item. Learning to read and interpret these patterns is a key skill for any crocheter.
- Reading Crochet Patterns: Patterns include detailed instructions written in a specific format. They usually start with a list of materials needed, followed by step-by-step instructions.
- Common Crochet Abbreviations and Symbols: Patterns often use abbreviations to save space. Here are some common ones:
- ch: chain
- sc: single crochet
- dc: double crochet
- sl st: slip stitch
- hdc: half double crochet
Basic Stitches
Mastering the basic stitches is the first step in becoming a proficient crocheter. Here are the foundational stitches every beginner should learn:
- Chain Stitch (ch): The chain stitch is the foundation of most crochet projects. It’s simply a series of loops connected together.
- How to do it: Make a slip knot on the hook, yarn over, and pull through the loop on the hook. Repeat to make more chains.
- Single Crochet (sc): This stitch creates a tight, dense fabric.
- How to do it: Insert the hook into the desired stitch, yarn over, pull through the stitch, yarn over again, and pull through both loops on the hook.
- Double Crochet (dc): This stitch is taller than the single crochet, creating a more open fabric.
- How to do it: Yarn over, insert the hook into the desired stitch, yarn over again, pull through the stitch, yarn over, pull through two loops on the hook, yarn over, and pull through the remaining two loops.
- Slip Stitch (sl st): Used to join stitches or to move the yarn without adding height.
- How to do it: Insert the hook into the desired stitch, yarn over, and pull through both the stitch and the loop on the hook.
- Half Double Crochet (hdc): A stitch that’s taller than single crochet but shorter than double crochet.
- How to do it: Yarn over, insert the hook into the desired stitch, yarn over again, pull through the stitch, yarn over, and pull through all three loops on the hook.
Practice Exercises
- Step-by-Step Instructions for Practicing Each Stitch:
- Chain Stitch Practice: Make a long chain to practice the motion. Try to keep each chain even.
- Single Crochet Practice: Create a small square by chaining 10, then single crochet across. Repeat for several rows.
- Double Crochet Practice: Chain 10, then double crochet in each chain. Practice making a few rows to get the feel for the stitch.
- Slip Stitch Practice: Practice joining chains into a circle with slip stitches, or move your yarn without adding height by slip stitching across a row.
- Half Double Crochet Practice: Chain 10, then half double crochet in each chain. Make a few rows to practice.
- Simple Practice Projects to Reinforce Learning:
- Chain Bracelet: Use a long chain to make a simple bracelet. Add a button or tie a knot to close it.
- Single Crochet Square: Make a small coaster or dishcloth by practicing single crochet stitches in a square shape.
- Double Crochet Swatch: Create a small sample swatch of double crochet to see how the stitch looks and feels.
These foundational skills will set you up for success as you move on to more complex projects. Take your time practicing each stitch, and don’t worry if it’s not perfect at first – practice makes perfect!
Fun and Easy Crochet Projects for Kids
Crochet Bookmark
- Materials Needed:
- Medium-weight yarn in a color of your choice.
- 4mm or 5mm crochet hook.
- Scissors.
- Step-by-Step Instructions:
- Chain 15: This will be the length of your bookmark.
- Single Crochet: In the second chain from the hook, make a single crochet. Continue single crocheting in each chain across.
- Chain One and Turn: At the end of the row, chain one and turn your work.
- Continue Single Crocheting: Single crochet in each stitch across. Repeat this until your bookmark is the desired width, typically about 3-4 rows.
- Finish Off: Cut the yarn, leaving a small tail, and pull it through the loop on the hook to secure.
- Personalization Tips: Add a tassel or fringe to one end of the bookmark for a decorative touch. You can also use different colors to create stripes.
Crochet Coaster
- Materials Needed:
- Medium-weight yarn in a color of your choice.
- 4mm or 5mm crochet hook.
- Scissors.
- Step-by-Step Instructions:
- Chain 4: Join with a slip stitch to form a ring.
- Round 1: Chain 2 (counts as first double crochet), make 11 double crochets into the ring. Join with a slip stitch to the top of the chain 2. (12 stitches)
- Round 2: Chain 2, double crochet in the same stitch. Make 2 double crochets in each stitch around. Join with a slip stitch. (24 stitches)
- Round 3: Chain 2, double crochet in the same stitch. 1 double crochet in the next stitch, 2 double crochets in the next stitch – repeat from * to * around. Join with a slip stitch. (36 stitches)
- Finish Off: Cut the yarn, leaving a small tail, and pull it through the loop on the hook to secure. Weave in the ends with a yarn needle.
- Decorating Ideas: Use different colors to create a set of coasters. You can also add a border in a contrasting color by working single crochet stitches around the edge.
Simple Crochet Scarf
- Materials Needed:
- Medium-weight yarn (a larger quantity for a full-length scarf).
- 5mm or 6mm crochet hook.
- Scissors.
- Step-by-Step Instructions:
- Chain 20: This will be the width of your scarf. For a wider scarf, chain more; for a narrower scarf, chain less.
- Row 1: Single crochet in the second chain from the hook and in each chain across. Chain one and turn.
- Rows 2 and Beyond: Single crochet in each stitch across, chain one, and turn. Repeat until the scarf is the desired length.
- Finish Off: Cut the yarn, leaving a small tail, and pull it through the loop on the hook to secure.
- Tips for Adding Fringe or Embellishments: Cut several pieces of yarn about 6 inches long. Fold each piece in half and use your hook to pull the fold through the end of the scarf, creating a loop. Pull the ends of the yarn through the loop and tighten. Repeat across both ends of the scarf for a fringed look.
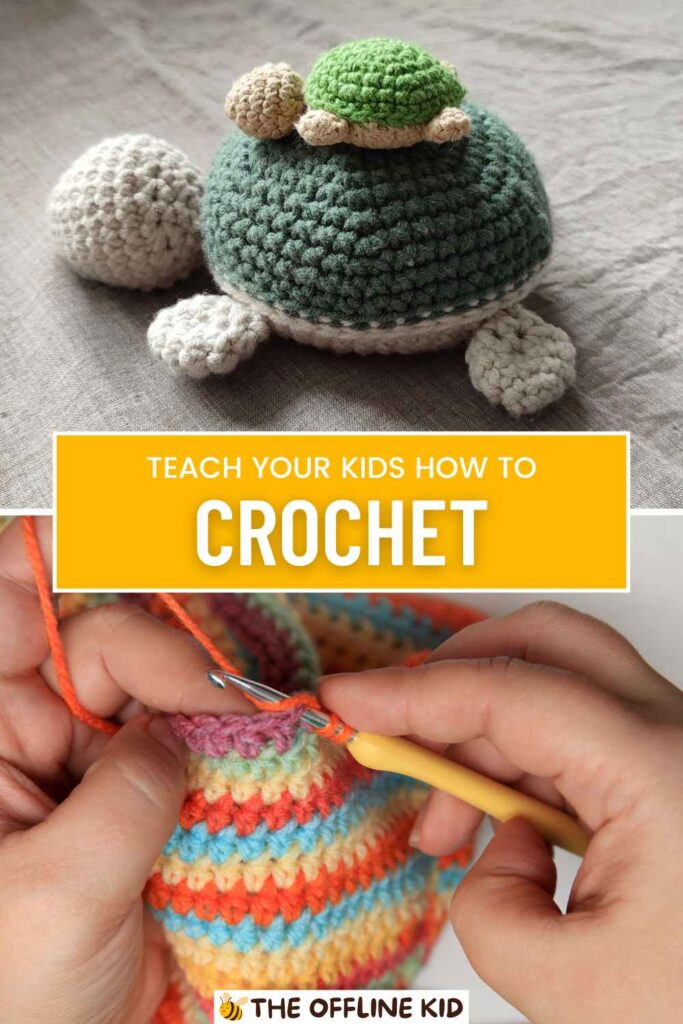
Crochet Toy or Amigurumi
- Materials Needed:
- Medium-weight yarn in various colors.
- 4mm crochet hook.
- Fiberfill stuffing.
- Yarn needle.
- Scissors.
- Safety eyes (optional) or yarn for embroidering facial features.
- Step-by-Step Instructions:
- Start with a Magic Ring: Make a magic ring and work 6 single crochets into the ring. Pull the ring tight to close.
- Increase Rounds: For the next few rounds, you will increase stitches to form a flat circle. For example, in round 2, make 2 single crochets in each stitch around (12 stitches). In round 3, make 1 single crochet in the first stitch, 2 single crochets in the next, and repeat around (18 stitches).
- Forming the Body: Continue increasing until you reach the desired width for your toy’s body, then start single crocheting in each stitch without increasing to build up the sides.
- Stuffing and Shaping: Once you’ve reached the desired height, begin decreasing to close the top. As you near the end, stuff the toy with fiberfill. Finish closing the top by decreasing until it’s fully closed.
- Adding Features: Use safety eyes or embroider eyes, a nose, and a mouth with yarn. Add any other details like ears, arms, or legs by crocheting small shapes and sewing them onto the body.
- Ideas for Different Animals or Characters: Use different colors and shapes to create a variety of animals like cats, dogs, or bears. You can also create characters from favorite stories or cartoons.
These projects are perfect for building confidence and practicing basic stitches. Encourage kids to experiment with colors and designs to make each project their own.

Troubleshooting and Tips for Beginners
Common Crochet Mistakes and How to Fix Them
Even experienced crocheters make mistakes from time to time. Here are some common issues beginners might encounter and tips on how to fix them:
- Uneven Tension:
- Problem: The stitches are not uniform, making the fabric look uneven.
- Solution: Practice holding the yarn and hook comfortably. Try to maintain a consistent tension by keeping your hands relaxed. If your stitches are too tight, try using a larger hook; if they are too loose, use a smaller hook.
- Missing Stitches:
- Problem: The project narrows unexpectedly because stitches are accidentally skipped.
- Solution: Count your stitches at the end of each row or round to ensure you haven’t missed any. Use stitch markers to mark the first and last stitches of each row if needed.
- Crocheting Too Tightly or Too Loosely:
- Problem: The fabric is either too stiff and hard or too loose and floppy.
- Solution: If your stitches are too tight, try loosening your grip on the yarn and using a larger hook. If they are too loose, tighten your grip slightly and use a smaller hook.
Tips for Successful Crocheting
- Patience and Practice: Remember that learning a new skill takes time. Be patient with yourself and practice regularly. The more you crochet, the better you will become.
- Using the Right Tension: Finding the right balance in tension is key. Keep your hands relaxed and let the yarn flow smoothly.
- Counting Stitches and Rows: Keeping track of your stitches and rows helps prevent mistakes. Use stitch markers and row counters if needed.
- Taking Breaks to Avoid Fatigue: Crochet can be hard on your hands and wrists. Take regular breaks to stretch and rest your hands to avoid strain or injury.
Advanced Techniques and Projects
Introduction to Advanced Stitches
Once you’re comfortable with the basic stitches, you can start exploring more advanced techniques to expand your crochet skills:
- Treble Crochet (tr): This stitch is taller than the double crochet and creates an open, lacy fabric.
- How to do it: Yarn over twice, insert the hook into the desired stitch, yarn over again, pull through the stitch, yarn over, pull through two loops (three times).
- Cluster Stitches: These stitches group several stitches together in the same spot to create texture.
- How to do it: A common cluster is the double crochet cluster. Yarn over, insert the hook into the stitch, yarn over, pull through, yarn over, pull through two loops (leave two loops on the hook). Repeat this process in the same stitch, then yarn over and pull through all loops on the hook.
- Shell Stitches: These stitches create a decorative, scalloped edge.
- How to do it: Usually consists of multiple double crochets worked into the same stitch. For example, a shell might be 5 double crochets in one stitch.
Intermediate Crochet Projects
- Crochet Hat:
- Materials Needed: Medium-weight yarn, 5mm or 6mm hook.
- Instructions: Start with a magic ring and work in rounds, increasing stitches until the crown fits the head, then continue without increasing until the desired length is reached. Finish with a decorative edge or brim.
- Crochet Bag or Pouch:
- Materials Needed: Medium-weight yarn, 5mm hook.
- Instructions: Create a base by chaining a length and working single crochets in rows. Once the base is large enough, work single or double crochet stitches around the edges in a continuous round until the bag reaches the desired height. Add handles or a drawstring.
- Simple Granny Square Blanket:
- Materials Needed: Multiple colors of medium-weight yarn, 5mm hook.
- Instructions: Start with a magic ring, work clusters of double crochets in rounds, changing colors as desired. Make multiple squares and join them together using slip stitches or sewing.
These advanced techniques and projects will challenge you and help you develop your skills further. Experiment with different stitches and patterns to create unique and beautiful items.
Encouraging Creativity and Personalization
Exploring Different Yarn Colors and Textures
One of the most exciting parts of crocheting is choosing the colors and types of yarn for your projects. Here’s how you can make your projects even more creative and personalized:
- Combining Colors Creatively: Experiment with different color combinations to make your projects stand out. Here are some ideas:
- Stripes: Alternate colors every few rows to create a striped pattern.
- Color Blocking: Use large sections of different colors to create bold, modern designs.
- Variegated Yarn: Use yarn that changes colors throughout the skein for an automatic, multicolored effect.
- Experimenting with Different Yarn Types: Different yarns can give your projects different looks and feels. Here are some examples:
- Cotton Yarn: Great for summer projects and items that need to be durable, like dishcloths.
- Wool Yarn: Warm and cozy, perfect for winter items like hats and scarves.
- Acrylic Yarn: Versatile and easy to care for, suitable for a wide range of projects.
- Textured Yarn: Yarn with added texture, such as boucle or eyelash yarn, can add an interesting dimension to your projects.
Adding Personal Touches to Projects
Once you’ve mastered the basic techniques, you can start adding unique details to make your projects truly one-of-a-kind:
- Embellishments and Decorations: Small additions can make a big difference. Consider these options:
- Buttons: Sew on colorful buttons to add a fun accent.
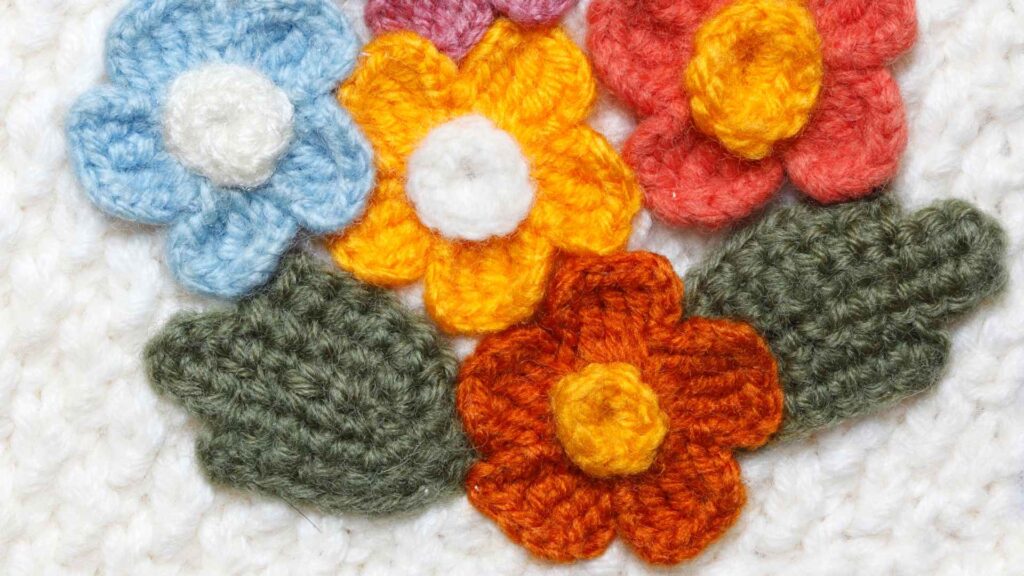
- Appliques: Crochet small shapes like flowers, stars, or animals and sew them onto your projects.
- Beads: String beads onto your yarn before crocheting to add sparkle and texture.
- Customizing Patterns to Make Unique Items: Don’t be afraid to modify patterns to suit your style. Here’s how:
- Change the Size: Adjust the number of stitches or rows to make items larger or smaller.
- Mix and Match Stitches: Combine different stitch patterns to create your own designs.
- Add Your Own Flair: Add details like ruffles, fringe, or pockets to personalize your creations.
Encouraging kids to explore these creative options helps them develop their own style and make their projects special. The more they experiment, the more they will enjoy the process of crocheting and the more confident they will become in their skills.