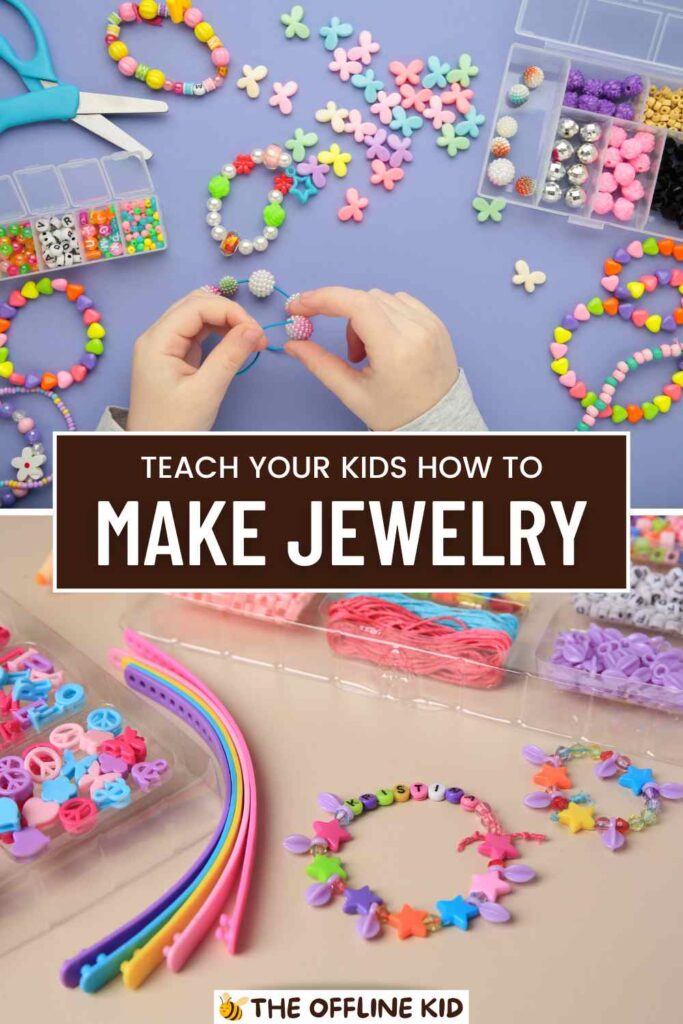
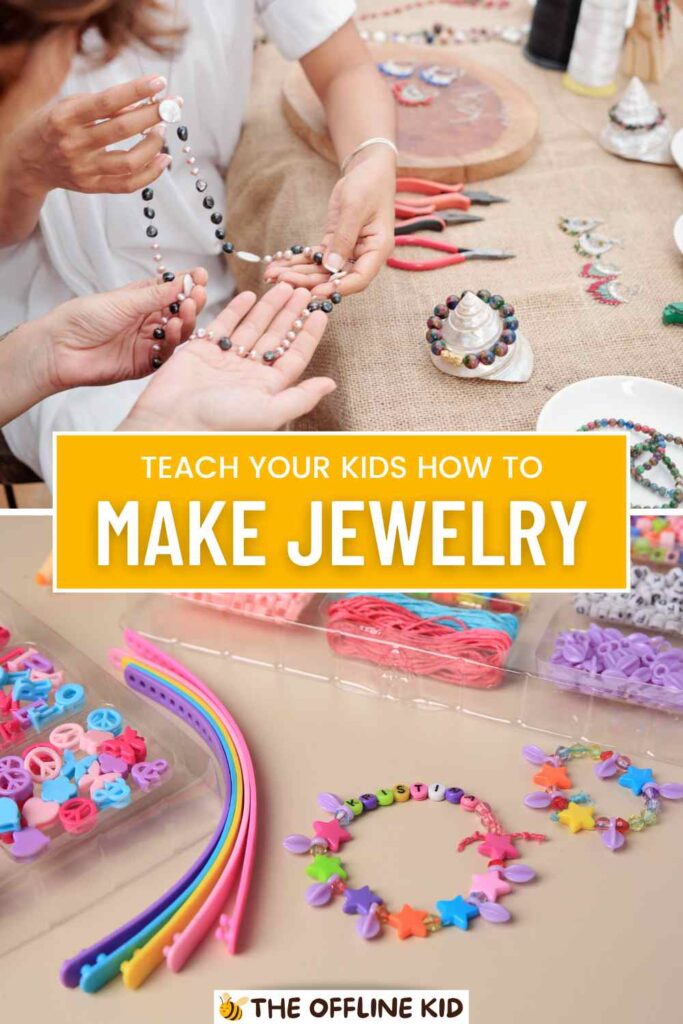
Jewelry making with kids is an exciting, hands-on way to boost creativity, improve fine motor skills, and create beautiful memories.
From stringing colorful beads to designing one-of-a-kind pieces, crafting jewelry offers both fun and educational benefits.
Dive into this guide and discover safe, engaging techniques that foster imaginative expression.
Why Jewelry Making Is Perfect for Kids
Jewelry making is an ideal activity for children because it combines artistic creativity, fine motor practice, and fun all in one.
When kids work with beads, threads, and small tools, they’re developing hand-eye coordination, improving dexterity, and learning to focus on tasks for extended periods.
Additionally, the vibrant colors, interesting textures, and overall sensory experience provide an engaging way to keep children motivated and entertained.
Overall, jewelry making is perfect for kids because it empowers them to turn a vision into a tangible product.
It’s hands-on, imaginative, and it fosters valuable skills—fine motor coordination, artistic decision-making, and social interaction—that will serve them in all aspects of their lives. By embracing this enjoyable craft, children gain confidence and develop an appreciation for working with their hands and hearts.
Gathering the Right Materials and Tools
Before diving into jewelry making with kids, it’s important to have the right materials and tools on hand.
One of the biggest considerations is safety—children should be able to handle the equipment without the risk of injury.
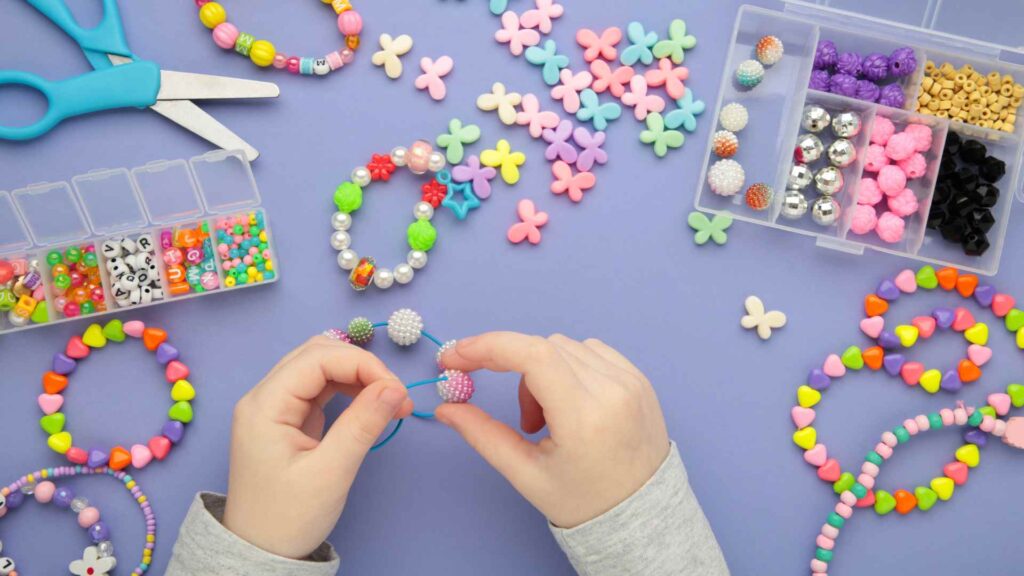
Start by gathering kid-friendly items such as plastic and wooden beads, which come in many shapes, sizes, and colors. These are preferable to small glass beads for younger crafters because they are lighter, less fragile, and typically come with larger holes that make stringing easier.
Essential Tools include:
- Child-safe scissors: Look for scissors with blunt tips to reduce the risk of accidents.
- Plastic or blunt-tipped needles: Ideal for threading beads on thicker cords.
- Stretchy cords or yarn: Simple to manipulate and tie, especially for little hands.
- Measuring tape or ruler: Helps kids get a sense of length and precision.
- Tape: Great for securing the ends of cords while beading.
When selecting materials, it’s helpful to consider the children’s ages. For very young children, opt for:
- Larger beads (1 cm or more in diameter) to reduce choking hazards.
- Non-toxic paints and glues if decorating or assembling custom charms.
- Eco-friendly or natural elements like wooden or paper beads for a safer, more sustainable option.
For older kids with more dexterity and experience, you can introduce:
- Glass beads in vibrant colors and shapes for a more “grown-up” feel.
- Metal charms and wire (with supervision) for more advanced techniques.
- Specialty threads like waxed cord, embroidery floss, or even fishing line for different design effects.
Storage and Organization are also important for keeping materials sorted and easy to access. Consider using:
- Small storage boxes or tackle boxes with compartments for beads.
- Zip-top plastic bags to keep different types of findings (e.g., clasps, jump rings) separate.
- Labelled containers to teach kids about organization and responsibility for their tools.
By planning ahead and choosing the right combination of safe, age-appropriate materials, you set children up for a smooth and enjoyable jewelry-making experience.
This preparation not only supports creativity but also instills valuable lessons about cleanliness, organization, and resource management.
Ensuring kids have easy access to vibrant beads, simple tools, and a tidy workspace will allow them to dive right into their projects confidently and enthusiastically.
Essential Techniques for Little Hands
Once you have your tools and materials ready, it’s time to learn the fundamental techniques that make jewelry-making accessible and fun for kids.
Even the simplest steps—like threading a bead or tying a knot—can present a new challenge for little hands, so starting with the basics is crucial.
Threading Techniques:
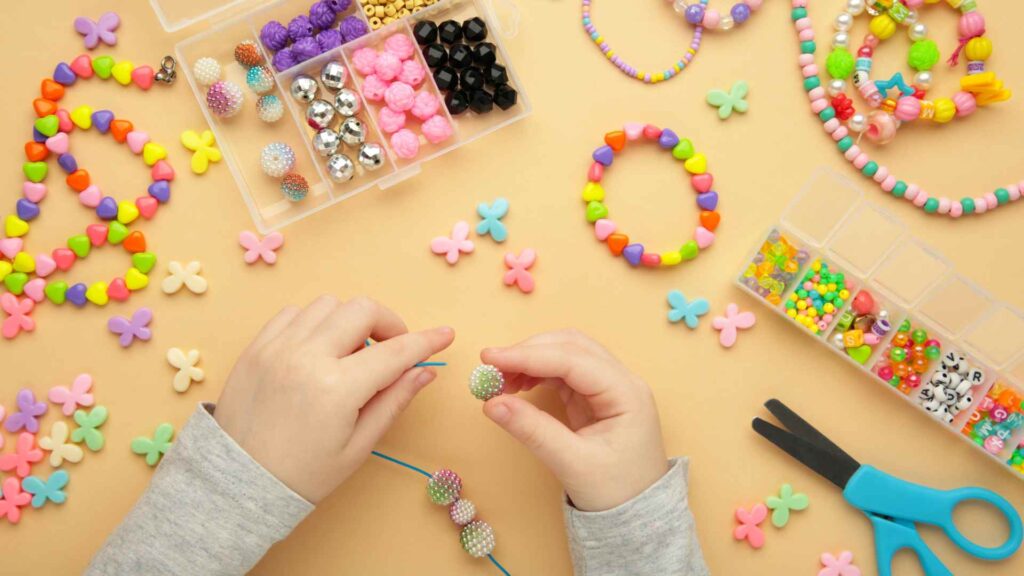
- Standard stringing: Have kids practice sliding beads onto a stretchy cord or sturdy string. This helps develop hand-eye coordination.
- Using a needle: If the beads have small holes, a plastic or blunt-tipped needle can make the process easier. Teach kids how to hold the needle safely and pass it through the bead without pricking themselves.
- Stopper beads: Place a larger bead at the end of the cord or use a bit of tape to prevent beads from sliding off as kids work.
Knot Tying:
- Simple overhand knot: Perfect for finishing off bracelets, anklets, or necklaces made with elastic cord. It’s a single, secure knot that kids can learn quickly.
- Double knot technique: For extra security, kids can layer a second knot on top of the first.
- Adjustable slip knots: Older children might enjoy creating bracelets that can fit any wrist size. Slip knots allow for easy tightening and loosening without a clasp.
Creating Patterns:
- Color coordination: Encourage kids to plan their color patterns—alternating bright and subtle hues helps them learn about color theory and aesthetics.
- Symmetry and repetition: Teach them the concept of mirroring beads on each side of a center point. This not only sharpens math skills but also introduces them to the idea of balanced design.
- Experimentation: Let them try mixing shapes or sizes to see how different beads interact visually. Prompt them to share their thoughts on which patterns they like and why.
Attaching Clasps and Findings (for older or more experienced children):
- Basic lobster clasp: Show kids how to use jump rings to connect a clasp to a necklace or bracelet.
- Crimp beads: Used to secure the ends of beading wire. While these require a crimping tool, older kids may find it exciting to learn more advanced methods.
By introducing these techniques step-by-step, children will gradually become more adept and gain confidence.
Reinforce each new skill with praise and encouragement. Break down each movement into manageable tasks, demonstrate the process, and allow them to practice at their own pace. This hands-on learning approach helps them feel successful and motivated to continue.
Simple and Fun Project Ideas
Kids often learn best through hands-on projects, and jewelry making offers endless possibilities for creative expression.
Below are some fun, straightforward ideas to spark their imaginations and encourage them to practice the techniques they’ve learned.
Friendship Bracelets:
- Braided Bracelets: Have children select three strands of colorful embroidery floss, knot them at one end, and then braid. This helps improve dexterity and pattern recognition.
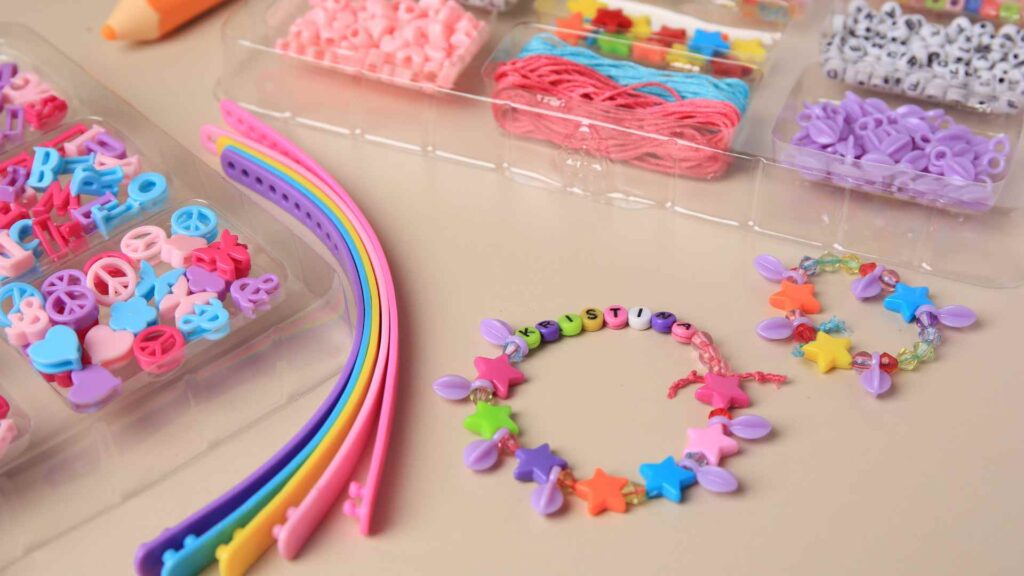
- Beaded Friendship Bands: Use stretchy cord and colorful beads. Teach kids how to measure a wrist and tie a secure knot. Encourage them to add letter beads spelling out a friend’s name.
Charm Necklaces:
- Personalized Charms: Kids can pick charms that represent their favorite animals, hobbies, or initials. Attach them to a chain or cord using jump rings.
- DIY Paper Charms: Encourage kids to draw or paint small designs on thick cardstock, then laminate or cover them with clear tape. Punch a hole at the top and thread it onto a necklace.
Nature-Inspired Accessories:
- Shell or Rock Pendants: Gather shells or small, smooth stones during nature walks. Wrap them in wire (with supervision) or glue on a bail so they can be strung onto a cord.
- Leaf-Stamped Clay Beads: Use air-dry clay and let kids press small leaves onto the clay to create patterns. Once dry, paint and glaze them for unique beads.
Elastic Ring Creations:
- Stackable Rings: Simple to make using elastic beading cord and small glass or seed beads. Kids can create matching sets in different color schemes.
- Centerpiece Rings: Encourage them to pick a larger focal bead for the center of the ring, then surround it with complementary smaller beads.
Hair Accessories:
- Beaded Hairpins: Use a strong adhesive or thin wire to attach beads to hairpins or barrettes. Kids can create accessories that match their outfits.
- Ribbon Headbands: Adorn satin ribbons with beads or sequins, then tie around the head for a whimsical look.
Each project encourages kids to play with shapes, textures, and color schemes. By offering them a choice in designs and materials, you nurture their sense of ownership and creativity.
Make sure to adapt each project to the child’s age and skill level, offering extra help for trickier steps. Breaking each project into smaller, doable tasks increases the child’s confidence and ensures they enjoy every step of the process.
Encouraging Self-Expression and Creativity
One of the greatest gifts that jewelry making can give children is an avenue for self-expression. By selecting colors, textures, and designs, kids can portray their moods, preferences, and personalities without saying a single word.
Encouraging them to play with various design elements fosters a sense of creative freedom and boosts their confidence in making independent decisions.
Storytelling Through Design:
- Encourage kids to think of a theme or story for their piece—maybe they want to create a “Galactic Bracelet” with stars and planet-shaped beads, or a “Rainbow Necklace” celebrating all the colors of the spectrum.
- Ask them to explain why they chose certain colors or charms and how it represents their feelings. This reflection helps them connect emotionally with their art.
Color Psychology:
- Discuss how different colors can evoke certain emotions. For example, blue might represent calmness, yellow can symbolize happiness, and green might stand for growth or nature.
- Let kids experiment with combining colors in a way that resonates with them personally—there are no wrong answers!
Mixed-Media Approaches:
- Use a variety of materials such as beads, ribbons, fabric scraps, or even recycled items like soda tabs.
- Mixing different textures and shapes encourages kids to see ordinary objects in a new creative light, stimulating their imagination.
Encouragement and Feedback:
- Offer positive reinforcement for their choices. Instead of simply saying, “That’s pretty,” try, “I love how you used those bright red beads next to the gold ones—what a bold and cool idea!”
- Guide them if they need help but avoid taking over their project. It’s essential that they remain in control of their artwork to develop confidence in their artistic choices.
Safety Guidelines and Supervision
Although jewelry making is a fun and educational activity, it’s crucial to establish safety guidelines to ensure that every session remains accident-free.
Proper supervision and age-appropriate materials go a long way in creating a secure environment where kids can explore their creativity without harm.
Choking Hazards:
- Small beads and findings can pose a choking risk, particularly for younger children. Keep bead sizes larger than 1 cm for ages 3–5.
- Always have kids work on a table or in a seated position so they are less likely to drop beads on the floor.
- Remind them not to place any materials in their mouths.
Proper Tool Use:
- Provide child-safe scissors with blunt edges. Encourage them to cut away from their bodies and keep fingers clear of the blades.
- If older kids are using wire cutters or pliers, demonstrate the correct way to hold and use them. Stress the importance of caution and adult supervision.
- Consider using plastic needles to avoid accidental pricks or use a protective mat underneath work areas.
Non-Toxic Supplies:
- Check labels to ensure that paints, glues, or sealants used for decorations are labeled non-toxic and appropriate for children.
- If you plan on using any cleaning or polishing agents, keep these away from kids, or use child-safe options under strict supervision.
Workstation Organization:
- Keep the area free from clutter, spreading materials in separate containers or trays. This prevents confusion and accidental spills.
- Encourage regular cleaning and sorting of beads after each session to minimize mess and keep track of small items.
Adult Supervision:
- Even if children demonstrate skill and independence, adult oversight ensures that potential hazards are addressed promptly.
- Be available to answer questions, assist with difficult techniques, and provide any first-aid if a minor incident occurs (such as a small cut).
- Teach children to always communicate if they feel uncomfortable, frustrated, or scared while using certain tools.
These precautions form the foundation for a safe and enjoyable creative journey. When children feel secure, they are more likely to relax and immerse themselves in the artistic process.
Clear communication about risks and responsibility, paired with proper materials and guidance, helps develop confidence and respect for the crafting space. Ultimately, a safe environment promotes a positive attitude toward all creative endeavors and encourages kids to continue exploring their budding artistic talents well into the future.
Building Skills Beyond the Workshop
Jewelry making isn’t just about crafting a pretty piece—it’s a gateway to a wide range of real-world skills that can support children’s development and growth.
By introducing kids to this craft, you’re also teaching them valuable lessons that will resonate throughout their lives.
Fine Motor and Hand-Eye Coordination:
- Manipulating small beads, threading needles, and tying knots improve fine motor control. These skills directly impact handwriting, drawing, and even typing.
- Kids learn to focus on small details, an ability that translates into better concentration in reading, puzzle-solving, and other tasks requiring precision.
Cognitive and Math Skills:
- Planning a pattern involves counting beads, measuring cord lengths, and spacing out designs. This simple arithmetic practice can bolster confidence in basic math.
- Understanding symmetry and shape relationships introduces kids to geometry concepts, making math feel more tangible and enjoyable.
- Problem-solving becomes a norm as they figure out how to fix design mistakes or adjust their approach to achieve a new look.
Patience and Perseverance:
- It can take time to master certain techniques, and children quickly learn the value of patience when a bead drops or a knot comes undone.
- Overcoming minor setbacks—like re-stringing or untangling thread—teaches resilience. Kids gain a sense of achievement once they successfully navigate these challenges.
Collaboration and Communication:
- Working together on a group project fosters teamwork, as kids share supplies, discuss design ideas, and help each other with tricky steps.
- Engaging in conversation about their projects promotes communication skills—they explain their choices, ask for help, and offer feedback.
- Group crafting sessions also encourage respect for others’ perspectives and creative input.
Entrepreneurial Spirit:
- Older kids might realize that their handmade jewelry could become a small business venture—selling friendship bracelets at school fundraisers or creating custom pieces for relatives.
- Introducing them to the basics of pricing, marketing, and budgeting can give them a head start in understanding fundamental business concepts.
- They learn the importance of time management when fulfilling orders or ensuring they meet project deadlines.
All these skills build a foundation for success in school, future careers, and personal development.
By emphasizing how these lessons extend beyond the workshop, children discover that creativity isn’t confined to an art table; it’s a way of thinking and solving problems that applies to every aspect of life.
Jewelry making, therefore, becomes a holistic educational tool, equipping kids with both technical abilities and the mindset to approach challenges creatively.
Tips for a Successful and Fun Jewelry-Making Experience
Ensuring that every jewelry-making session is memorable and fun doesn’t require elaborate setups—just a few thoughtful strategies. Here are some tips to keep children engaged, relaxed, and inspired:
1. Set Goals and Themes
- Before starting, encourage kids to brainstorm a theme or goal for the session. Maybe they want to make matching bracelets with siblings or prepare holiday-themed pieces.
- Having a focus helps maintain excitement and guides material selection.
2. Demonstrate Before They Dive In
- Spend a few minutes demonstrating new techniques, whether it’s tying a slip knot or adding a clasp. Use clear, simple language and visual examples.
- Let them practice on a scrap piece of thread to build confidence before working on their final piece.
3. Encourage Individuality
- Provide a wide range of materials—beads, charms, ribbons—and let kids choose what speaks to them.
- Avoid imposing too many rules on design; the best learning often happens when kids feel free to experiment.
4. Keep Sessions Short and Manageable
- Younger kids have shorter attention spans, so keep sessions to a length that suits their age and energy levels.
- Break down bigger projects into multiple sessions so they can see progress without feeling overwhelmed.
5. Emphasize Teamwork and Sharing
- If hosting a group session, create a collaborative atmosphere by having a communal bead tray. Encourage kids to swap colors or suggestions.
- Promote the idea that each person’s unique style contributes to a vibrant, collective creativity.
6. Celebrate Progress and Effort
- Compliment children’s color choices or the neatness of their knots. Constructive, positive feedback encourages them to keep going, even when faced with difficulties.
- If something goes wrong, frame it as a learning moment—mistakes are often the best teachers.
7. Clean Up Together
- Allocate time to organize beads and put tools away. This shared responsibility teaches respect for the workspace and fosters good habits.
- Sorting leftover supplies can become a mini-lesson in categorization, building problem-solving skills and promoting tidiness.
8. Document the Experience
- Take photos or keep a craft diary for kids to record their design inspiration, color combinations, and notes on what worked or didn’t.
- Seeing their progression over time nurtures a sense of pride and accomplishment.
Remember, the primary goal is to kindle a lifelong love of creativity. Whether kids end up pursuing jewelry-making as a hobby, a stepping stone to another art form, or just a fun pastime, the memories and skills they gain will have a lasting impact.
By following these tips, you ensure that each jewelry-making session is a joyful and enriching event that children look forward to and reflect upon with excitement.
