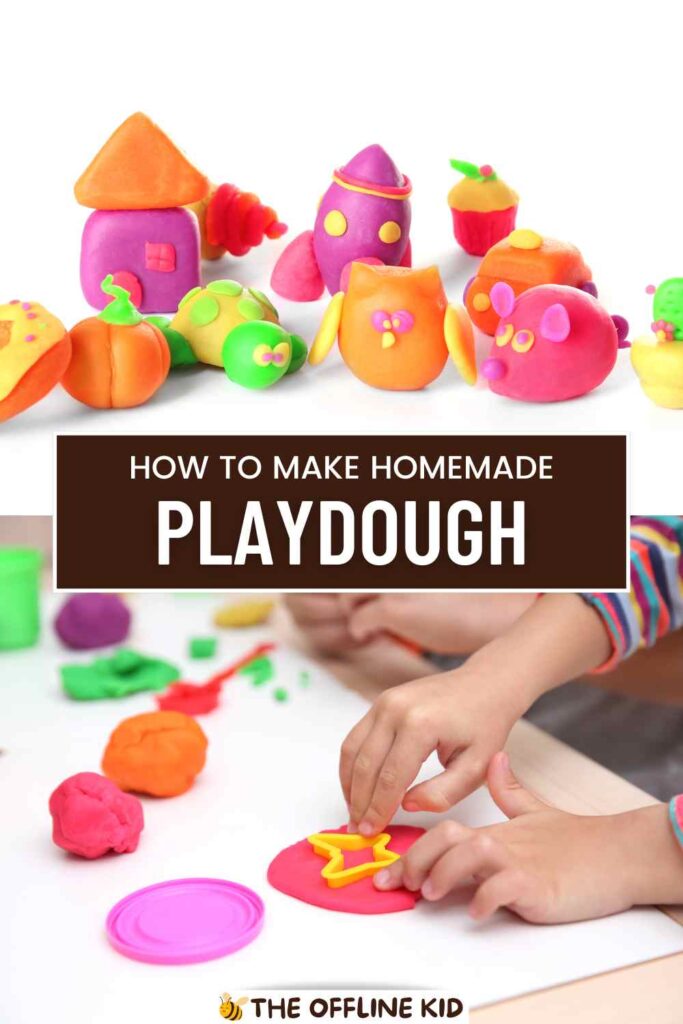
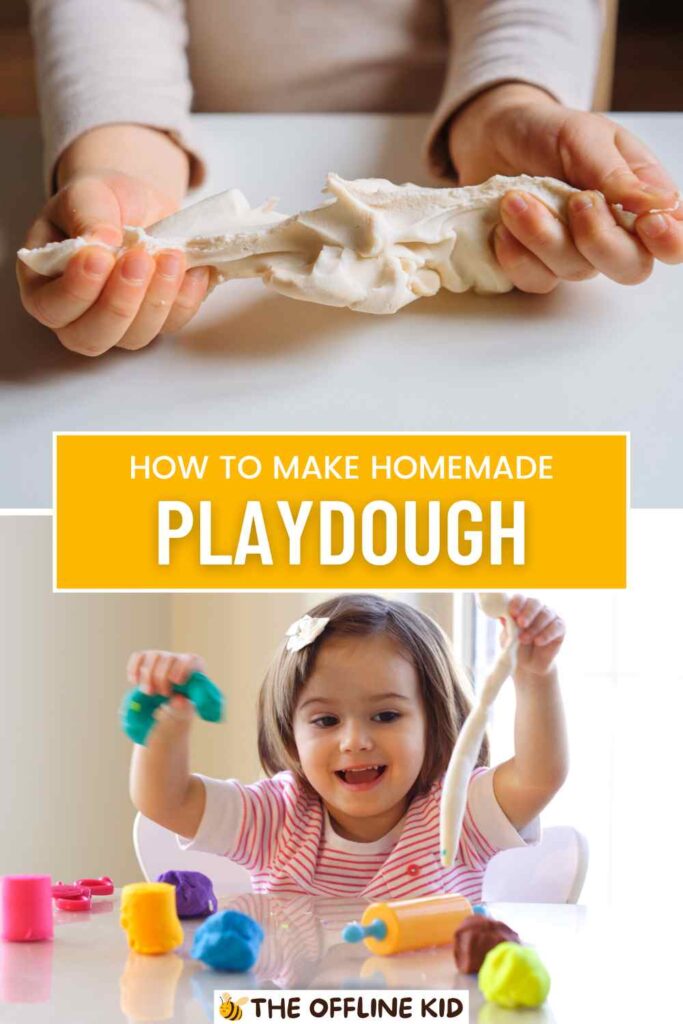
Welcome to the ultimate guide for making homemade playdough! Discover how easy and fun it is to create this versatile, non-toxic toy at home.
Perfect for fostering creativity and fine motor skills, homemade playdough is a fantastic, cost-effective alternative to store-bought options. Let’s get started on this delightful DIY adventure!
The Basics of Homemade Playdough
Homemade playdough is a fantastic, versatile toy that’s easy to make and provides endless fun for kids. Plus, it’s safe, non-toxic, and cost-effective.
Let’s dive into the essentials of making your own playdough at home.
What is Playdough?
Playdough is a soft, pliable modeling material that kids can shape, mold, and sculpt into various forms.
It’s perfect for creative play and helps develop fine motor skills, hand-eye coordination, and sensory experiences.
Key Ingredients and Their Roles
To make homemade playdough, you only need a few simple ingredients. Here’s a breakdown of each component and its purpose:
- Flour: Forms the bulk of the playdough, giving it structure.
- Salt: Adds texture and helps preserve the playdough.
- Water: Binds the ingredients together.
- Cream of Tartar: Acts as a stabilizer, improving the playdough’s elasticity and shelf life.
- Oil: Adds smoothness and prevents the playdough from becoming too sticky.
- Food Coloring (optional): Adds vibrant colors to make playtime even more fun.
Safety Considerations
When making homemade playdough, safety is a top priority, especially if you have young children who might put it in their mouths. Here are some tips to ensure your playdough is safe:
- Non-toxic Ingredients: Use food-grade ingredients to make the playdough safe for accidental ingestion.
- Allergy Awareness: Be mindful of any allergies (e.g., gluten, food dyes) and adjust ingredients accordingly.
- Supervision: Always supervise young children during play to prevent choking hazards.
Basic Recipe Overview
Here’s a quick look at the classic homemade playdough recipe we’ll be diving into:
- Ingredients:
- 2 cups of all-purpose flour
- 1 cup of salt
- 2 cups of water
- 2 tablespoons of cream of tartar
- 2 tablespoons of vegetable oil
- Food coloring (optional)
- Instructions:
- Mix the dry ingredients (flour, salt, cream of tartar) in a large pot.
- Add water and oil, and stir until smooth.
- Cook over medium heat, stirring constantly, until the mixture thickens and forms a ball.
- Remove from heat and let cool slightly.
- Knead the dough until smooth, adding food coloring if desired.
Troubleshooting Common Issues
Even with a simple recipe, you might encounter a few hiccups. Here are some common problems and how to fix them:
- Too Sticky: If the dough is sticking to your hands, add a bit more flour and knead until it reaches the right consistency.
- Too Dry: If the dough is crumbling, add a small amount of water and knead until smooth.
- Lumpy Texture: Ensure you stir constantly while cooking to avoid lumps. If lumps form, knead the dough thoroughly to smooth it out.
By understanding these basics, you’ll be well on your way to making perfect homemade playdough. Next, we’ll explore detailed recipes and fun variations to customize your playdough experience!

Classic Homemade Playdough Recipe
Creating playdough at home is not only simple but also a delightful activity to do with kids. This classic recipe will give you a soft, pliable playdough that’s perfect for hours of fun.
Ingredients
To make a batch of classic homemade playdough, gather the following ingredients:
- 2 cups of all-purpose flour
- 1 cup of salt
- 2 cups of water
- 2 tablespoons of cream of tartar
- 2 tablespoons of vegetable oil
- Food coloring (optional)
Step-by-Step Instructions
- Prepare Your Ingredients:
- Measure out all your ingredients and have them ready. If you plan to add food coloring, decide on the colors you want to use.
- Mix Dry Ingredients:
- In a large pot, combine the flour, salt, and cream of tartar. Stir them together until well mixed.
- Add Wet Ingredients:
- Add the water and vegetable oil to the dry ingredients. Stir until the mixture is smooth and free of lumps.
- Cook the Mixture:
- Place the pot over medium heat. Cook the mixture, stirring constantly with a wooden spoon. It’s crucial to keep stirring to prevent the dough from burning or sticking to the pot.
- Watch for Thickening:
- As the mixture heats up, it will begin to thicken. Continue stirring until it forms a ball and pulls away from the sides of the pot. This process usually takes about 5-10 minutes.
- Cool the Dough:
- Once the dough has thickened, remove the pot from the heat. Allow the dough to cool slightly until it’s comfortable to handle.
- Knead the Dough:
- Turn the dough out onto a clean, lightly floured surface. Knead the dough for a few minutes until it’s smooth and elastic. If you’re adding food coloring, divide the dough into portions and add a few drops of coloring to each. Knead the coloring into the dough until evenly distributed.
Tips for Achieving the Perfect Consistency
- Adjusting Stickiness: If the dough is too sticky, sprinkle in a bit more flour and continue kneading. If it’s too dry and crumbly, add a small amount of water and knead until smooth.
- Uniform Color: To achieve a consistent color, add the food coloring gradually and knead thoroughly. Wearing gloves can help prevent your hands from staining.
- Scented Playdough: For an extra sensory experience, consider adding a few drops of essential oils (like lavender or peppermint) to the dough during kneading.
Troubleshooting Common Issues
- Too Sticky: If your dough is sticking to your hands or the surface, add a bit more flour and knead it in until the texture is right.
- Too Dry: If the dough is dry and cracking, sprinkle a little water over it and knead until it reaches the desired consistency.
- Lumpy Texture: Make sure to stir constantly while cooking to avoid lumps. If lumps form, knead the dough thoroughly once it cools to smooth it out.
With this classic recipe, you’ll have a batch of soft, smooth playdough ready for playtime in no time. Next, we’ll explore various fun and creative playdough recipes to add even more excitement to your homemade creations!

Variations and Enhancements
Once you’ve mastered the classic homemade playdough recipe, it’s time to get creative!
There are endless ways to customize your playdough to make playtime even more fun and engaging. Here are some exciting variations and enhancements to try.
Scented Playdough
Adding scents to your playdough can enhance the sensory experience and make playtime more enjoyable. Here’s how to do it:
- Essential Oils: Add a few drops of essential oils to the dough during the kneading process. Popular choices include lavender, peppermint, lemon, and eucalyptus.
- Spices: Mix in ground spices like cinnamon, nutmeg, or cocoa powder to give your playdough a delightful fragrance. These can also add a touch of color.
- Extracts: Use food-grade extracts like vanilla, almond, or mint for a sweet-smelling playdough.
Colored Playdough
Colorful playdough is always a hit with kids. You can use both artificial and natural colorants:
- Food Coloring: The easiest way to color playdough is by adding a few drops of liquid food coloring or a small amount of gel food coloring during the kneading stage. Mix well until the color is evenly distributed.
- Natural Colorants: For a more natural approach, use ingredients like beet juice (red/pink), turmeric (yellow), spinach powder (green), or blueberry juice (blue/purple).
Glitter Playdough
Adding glitter can make your playdough sparkle and shine, perfect for magical and fantasy-themed play:
- Fine Glitter: Mix in fine glitter during the kneading process. Be sure to use non-toxic, child-safe glitter.
- Chunky Glitter: For a more pronounced sparkle, use chunky glitter. This works best with dough that’s slightly less sticky.
Edible Playdough
For younger children who might be tempted to taste their playdough, here are a couple of safe, edible options:
- Peanut Butter Playdough: Mix 1 cup of peanut butter, 2 cups of powdered sugar, and 3 tablespoons of honey until smooth. This dough is safe to eat and fun to play with.
- Marshmallow Playdough: Melt 1 cup of marshmallows with 1 tablespoon of coconut oil in the microwave. Stir in 2 cups of powdered sugar until a dough forms.
Fun and Creative Playdough Recipes
Experiment with these unique playdough recipes to add variety to your playtime:
- No-Cook Playdough: Mix 2 cups of flour, 1 cup of salt, and 1 cup of water in a bowl until smooth. This quick and easy recipe doesn’t require any cooking.
- Microwave Playdough: Combine 2 cups of flour, 1 cup of salt, 2 tablespoons of cream of tartar, 2 cups of water, and 2 tablespoons of oil in a microwave-safe bowl. Microwave on high for 2-3 minutes, stirring every minute until thickened.
- Kool-Aid Playdough: Add a packet of Kool-Aid powder to the dry ingredients of the classic recipe for a colorful and scented playdough.
- Jell-O Playdough: Replace some of the water in the classic recipe with Jell-O mix dissolved in boiling water for a scented and colored dough.
These variations and enhancements can make playdough play even more exciting and enjoyable. Whether you’re adding colors, scents, or edible ingredients, the possibilities are endless. Next, we’ll explore educational activities you can do with your homemade playdough!

Educational Playdough Activities
Homemade playdough isn’t just for fun; it can also be a fantastic educational tool. Incorporating playdough into learning activities can enhance children’s cognitive, sensory, and motor skills.
Here are some creative and educational playdough activities to try.
Learning Through Play
Playdough can be used to teach a variety of concepts in a hands-on, engaging way:
- Letters and Numbers:
- Letter Shapes: Help children roll and shape playdough into letters. This can aid in letter recognition and spelling practice.
- Number Play: Create number shapes with playdough and use them to practice counting and simple math problems.
- Shapes and Colors:
- Shape Molding: Use cookie cutters or shape molds to create different shapes. Discuss the names and characteristics of each shape.
- Color Mixing: Combine different colors of playdough to explore color mixing and learn about primary and secondary colors.
Sensory Play
Playdough is excellent for sensory exploration, helping children to engage multiple senses:
- Texture Exploration:
- Add-ins: Mix in different textures like rice, beans, or small beads to create a sensory experience.
- Sensory Bins: Create a sensory bin with various textured objects (e.g., pebbles, leaves) and let children use the playdough to interact with them.
- Scented Play:
- Scent Recognition: Use scented playdough to help children learn to identify different scents.
- Calming Scents: Incorporate calming scents like lavender for a relaxing sensory activity.
Fine Motor Skill Development
Playing with playdough helps strengthen fine motor skills and hand-eye coordination:
- Rolling and Pinching:
- Rolls and Snakes: Encourage children to roll playdough into snakes or logs. This action strengthens hand muscles.
- Pinch Pots: Teach children to make small pinch pots by pinching and shaping the dough.
- Cutting and Shaping:
- Safe Tools: Provide child-safe scissors, plastic knives, and cookie cutters for cutting and shaping playdough.
- Detail Work: Guide children to create small details like eyes and mouths on playdough characters, enhancing dexterity.
Themed Playdough Mats
Themed playdough mats are printable mats with different scenes or concepts where children can use playdough to complete the pictures:
- Printable Mats:
- Animal Themes: Create mats with animal outlines for children to fill in with playdough.
- Holiday Themes: Use holiday-themed mats (e.g., Christmas trees, Easter eggs) for festive play.
- DIY Mats:
- Create Your Own: Draw or print simple scenes on paper and laminate them. Encourage children to use playdough to complete the scenes (e.g., adding flowers to a garden scene).
These educational activities demonstrate the versatility of homemade playdough. It’s not only a tool for creative play but also a valuable resource for learning and development. In the next section, we’ll cover how to store and maintain your playdough to keep it fresh and fun for longer!
Storing and Maintaining Your Playdough
To ensure your homemade playdough stays fresh and ready for play, proper storage and maintenance are essential. Here are some tips and tricks to help you keep your playdough in great condition.
Proper Storage Techniques
Storing playdough correctly can significantly extend its shelf life and keep it soft and pliable:
- Airtight Containers: Store playdough in airtight containers, such as plastic storage containers or resealable plastic bags. This prevents it from drying out.
- Cool, Dry Place: Keep the containers in a cool, dry place away from direct sunlight and heat, which can cause the playdough to dry out or melt.
- Individual Portions: If you have multiple colors or batches, store each one in a separate container to prevent colors from mixing.
How to Revive Dried-Out Playdough
Even with proper storage, playdough can sometimes dry out. Here’s how to bring it back to life:
- Add Water: If the playdough is slightly dry, add a few drops of water and knead it thoroughly until it reaches the desired consistency.
- Oil Treatment: For very dry playdough, add a small amount of vegetable oil and knead well. The oil helps rehydrate and soften the dough.
- Warm Towel Method: Wrap the playdough in a damp, warm towel and let it sit for about 10-15 minutes. This can help rehydrate the dough, making it easier to knead back to its original texture.
How to Keep Playdough Fresh Longer
A few simple practices can help maintain the freshness of your playdough:
- Frequent Use: Regular use can keep playdough soft and pliable. Kneading and playing with it frequently helps maintain its texture.
- Clean Hands: Encourage children to wash their hands before playing with the playdough to keep it free from dirt and debris.
- Avoid Overexposure: Minimize playdough exposure to air during play by covering it with a damp cloth or keeping unused portions in airtight containers.
Signs It’s Time to Make a New Batch
Sometimes, despite your best efforts, playdough reaches the end of its life. Here are signs that it’s time to make a new batch:
- Crumbly Texture: If the playdough remains crumbly and dry even after attempts to rehydrate, it’s time to make a new batch.
- Mold or Mildew: If you notice any mold or mildew, discard the playdough immediately. This can happen if moisture gets trapped in the storage container.
- Foul Odor: A sour or unpleasant smell indicates that the playdough has gone bad and should be replaced.
By following these storage and maintenance tips, you can enjoy fresh, soft playdough for a longer period. In the next section, we’ll discuss safety and clean-up tips to ensure that playdough time is always safe and stress-free!
Playdough Safety and Clean-Up Tips
While playdough is a fun and educational tool, ensuring it’s used safely and cleaning up efficiently are important aspects of the play experience.
Here are some essential safety and clean-up tips to keep in mind.
Playdough Safety Tips
To ensure that playdough play is safe for children, consider the following guidelines:
- Non-Toxic Ingredients: Always use food-grade, non-toxic ingredients to make your homemade playdough. This ensures that even if children accidentally ingest some, it won’t be harmful.
- Allergy Awareness: Be aware of any allergies your child may have, such as gluten or food coloring sensitivities. Use alternative ingredients if necessary, such as gluten-free flour.
- Age Appropriateness: Homemade playdough is generally safe for children aged 2 and up. Always supervise younger children to prevent them from putting large amounts in their mouths, which could pose a choking hazard.
- Pet Safety: Keep playdough out of reach of pets. Some ingredients, like salt, can be harmful to animals if ingested in large quantities.
Clean-Up Strategies
Cleaning up after a playdough session doesn’t have to be a hassle. Here are some tips to make the process easier:
- Surfaces: Playdough can stick to surfaces, but it’s usually easy to remove. Use a plastic scraper or a spatula to lift off any stuck pieces. Wipe the surface with a damp cloth to remove any residue.
- Clothing: If playdough gets on clothes, let it dry first. Once it’s dry, scrape off as much as possible. Then, wash the clothing as usual. Most playdough stains will come out in the wash.
- Carpets and Rugs: Allow the playdough to dry completely before attempting to clean it from carpets or rugs. Once dry, use a vacuum to remove the dried pieces. For any remaining residue, use a damp cloth and mild soap to gently clean the area.
- Playdough Tools: Wash any tools, such as cookie cutters, rolling pins, and molds, with warm, soapy water. Allow them to air dry completely before storing.
Handling Allergies and Sensitivities
If your child has allergies or sensitivities, consider these alternatives and precautions:
- Gluten-Free Playdough: Substitute regular flour with gluten-free flour or cornstarch to make a safe alternative for children with gluten sensitivities.
- Natural Colorants: Use natural food colorings derived from vegetables and fruits instead of artificial dyes to avoid potential allergic reactions.
- Scent-Free Options: If your child is sensitive to strong scents, avoid adding essential oils or spices. Plain playdough can be just as fun without added fragrances.
Keeping Playdough Safe from Pets and Younger Siblings
To ensure playdough remains safe and uncontaminated:
- Supervised Play: Always supervise young children and keep playdough sessions in a designated area to avoid it being carried around the house.
- Storage Solutions: Store playdough in a secure, high place out of reach of pets and younger siblings.
- Clean Hands and Surfaces: Encourage children to wash their hands before and after playdough sessions to keep the dough clean and prevent the spread of germs.
By following these safety and clean-up tips, you can ensure that playdough playtime is a safe and enjoyable experience for everyone. In the next section, we’ll address some frequently asked questions about homemade playdough to further enhance your playdough-making skills!
Frequently Asked Questions
When making and using homemade playdough, you might encounter some common questions.
Here are answers to some frequently asked questions to help you troubleshoot and enhance your playdough experience.
Can I Use Gluten-Free Flour?
Yes, you can use gluten-free flour to make playdough. Substitute the all-purpose flour in the classic recipe with an equal amount of gluten-free flour or a combination of gluten-free flour and cornstarch. The texture might be slightly different, but it will still be fun and safe for children with gluten sensitivities.
How Long Does Homemade Playdough Last?
When stored properly in airtight containers and kept in a cool, dry place, homemade playdough can last for up to three months. Regularly check the playdough for signs of mold or dryness and replace it as needed to ensure a fresh and safe play experience.
Can I Freeze Playdough?
Freezing playdough is not recommended as it can alter the texture and consistency. Instead, store playdough in airtight containers at room temperature. If you have large quantities, consider storing portions separately to use as needed.
What to Do if My Child Eats Playdough?
Homemade playdough is made with non-toxic, food-grade ingredients, so small amounts are generally not harmful if ingested. However, it is not intended to be eaten. If your child consumes a significant amount, monitor them for any adverse reactions and contact your pediatrician if you have concerns. Always supervise young children during playdough activities to prevent ingestion.
Can I Add Different Textures to Playdough?
Yes, adding textures to playdough can enhance the sensory experience. Some ideas include:
- Rice or Beads: Mix in small amounts of rice or beads for a crunchy texture.
- Sand: Add sand to create a gritty texture, perfect for beach-themed play.
- Birdseed: Mix in birdseed for a unique and interesting texture.
Ensure that the added textures are safe for your child’s age group and that the playdough remains non-toxic.
How Can I Make Playdough Smell Nice Without Using Essential Oils?
If you prefer not to use essential oils, there are other ways to scent your playdough:
- Spices: Mix in ground cinnamon, nutmeg, or cocoa powder for a natural fragrance.
- Extracts: Add a few drops of food-grade extracts like vanilla, almond, or mint to the dough.
- Jell-O Mix: Use flavored gelatin powder (like Jell-O) in the recipe for both color and scent.
Can I Use Natural Dyes to Color Playdough?
Yes, natural dyes can be used to color playdough. Some options include:
- Beet Juice: Provides a red or pink hue.
- Turmeric: Gives a yellow color.
- Spinach Powder: Adds a green color.
- Blueberry Juice: Creates a blue or purple shade.
Natural dyes are a great alternative to artificial food coloring, especially for children with sensitivities.
How Can I Prevent Playdough from Sticking to Surfaces?
To prevent playdough from sticking to surfaces:
- Use a Play Mat: Roll out playdough on a silicone baking mat or a plastic tablecloth.
- Lightly Flour Surface: Dust the play area with a small amount of flour before playing.
- Use Non-Stick Tools: Opt for non-stick tools like silicone rolling pins and plastic cookie cutters.
By addressing these frequently asked questions, you’ll be well-equipped to handle any playdough-related challenges. Next, we’ll share some testimonials and reader experiences to inspire your playdough-making adventures!