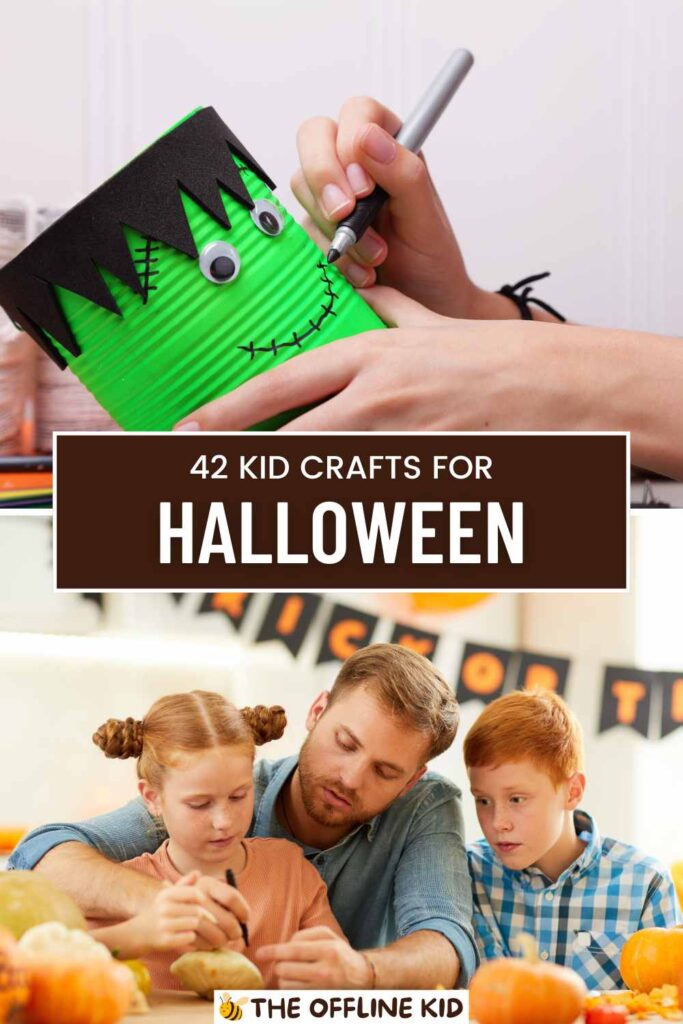
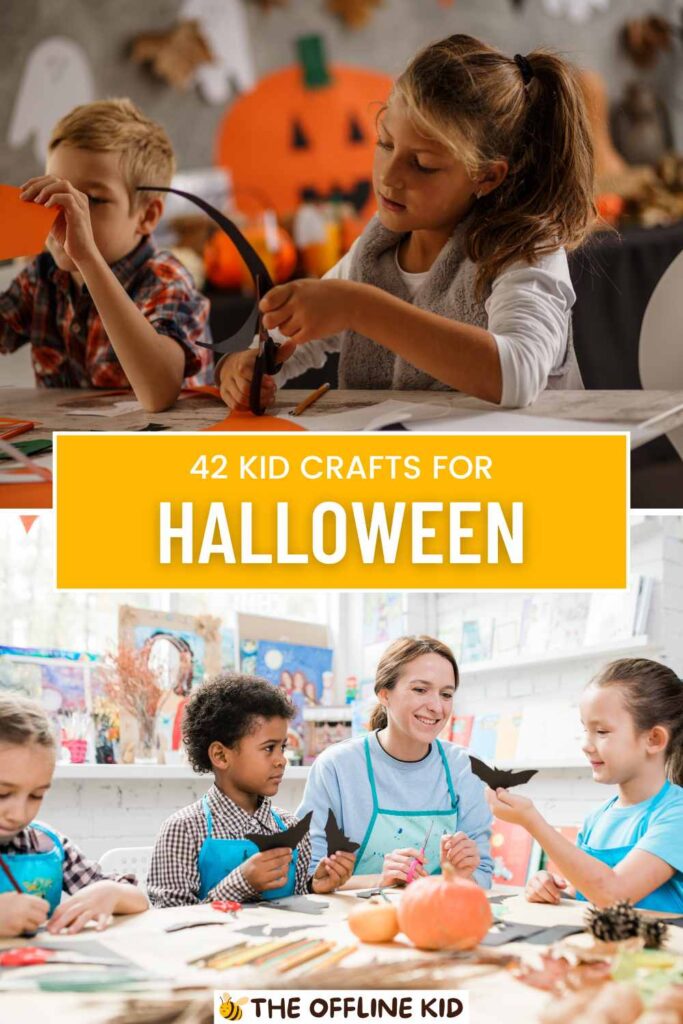
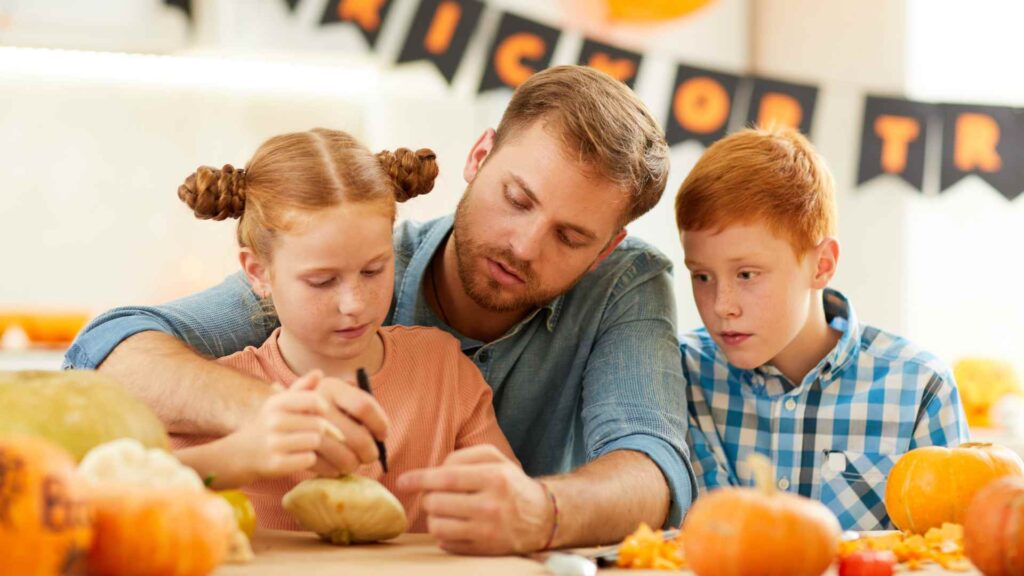
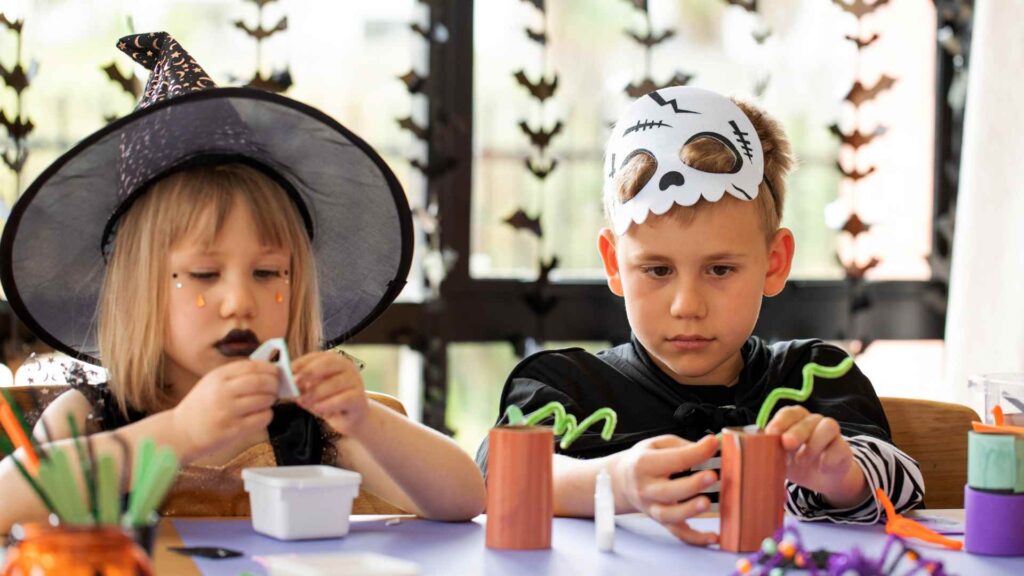
Get ready for a spooktacular crafting adventure with your kids!
This ultimate guide offers fun, easy, and creative Halloween craft ideas for children of all ages, making the holiday season more exciting and memorable.
Simple and Fun Halloween Crafts for Young Kids (Ages 3-5)
Pumpkin Paper Plates
Materials Needed:
- Paper plates
- Orange paint
- Black construction paper
- Green construction paper
- Glue
- Safety scissors
Step-by-Step Instructions:
- Paint the Paper Plate: Let your child paint the paper plate orange. Allow it to dry completely.
- Cut Out Shapes: Help your child cut out triangle shapes from the black construction paper for the eyes and nose, and a mouth shape of their choice.
- Glue the Shapes: Let your child glue the eyes, nose, and mouth onto the painted plate to create a pumpkin face.
- Add the Stem: Cut out a small rectangle from the green construction paper and glue it to the top of the plate as the pumpkin’s stem.
Tips for Safety and Fun:
- Use non-toxic, washable paint.
- Supervise cutting with safety scissors.
Handprint Ghosts
Materials Needed:
- White paint
- Black construction paper
- Googly eyes
- Glue
Step-by-Step Instructions:
- Paint the Hand: Paint your child’s hand with white paint.
- Make the Handprint: Press the painted hand onto the black construction paper to create a ghost shape. Allow it to dry.
- Add Details: Glue googly eyes onto the ghost’s face and use a marker to draw a mouth.
Display Ideas:
- Frame the handprint ghosts as a keepsake.
- Create a garland by stringing multiple handprint ghosts together.
Toilet Paper Roll Monsters
Materials Needed:
- Empty toilet paper rolls
- Paint or colored paper
- Googly eyes
- Pipe cleaners
- Glue
- Safety scissors
- Markers
Step-by-Step Instructions:
- Decorate the Roll: Paint the toilet paper roll or cover it with colored paper.
- Add Eyes and Features: Glue on googly eyes and use markers to draw a mouth and other features.
- Create Arms and Legs: Attach pipe cleaners to the sides and bottom of the roll for arms and legs.
Creative Variations:
- Experiment with different colors and facial expressions.
- Add yarn hair or felt ears for extra fun.
Cotton Ball Spiders
Materials Needed:
- Black construction paper
- Cotton balls
- Black pipe cleaners
- Googly eyes
- Glue
- Safety scissors
Step-by-Step Instructions:
- Create the Spider Body: Glue a cotton ball onto the black construction paper as the spider’s body.
- Attach Legs: Cut the black pipe cleaners into smaller pieces and glue them to the cotton ball as legs.
- Add Eyes: Glue googly eyes onto the cotton ball.
Decorating Tips:
- Make multiple spiders and hang them from a string to create a spooky mobile.
- Add glitter to the cotton ball for a sparkly effect.
These simple and fun Halloween crafts are perfect for young kids, providing a great opportunity for them to explore their creativity while enjoying the festive season.
Make sure to supervise closely and enjoy the process together!

Intermediate Halloween Crafts for Older Kids (Ages 6-9)
Paper Mache Pumpkins
Materials Needed:
- Balloons
- Newspaper strips
- Paper mache paste (flour and water mixture)
- Orange paint
- Black construction paper
- Glue
- Green pipe cleaners
- Safety scissors
Step-by-Step Instructions:
- Create the Base: Blow up a balloon to the desired size of your pumpkin.
- Apply Paper Mache: Dip newspaper strips into the paper mache paste and cover the balloon completely. Let it dry overnight.
- Paint the Pumpkin: Once dry, paint the entire paper mache pumpkin orange.
- Add Features: Cut out eyes, nose, and mouth from black construction paper and glue them onto the pumpkin. Twist a green pipe cleaner to create a stem and attach it to the top.
Drying and Painting Tips:
- Use a hairdryer to speed up the drying process.
- Apply a second coat of paint for a vibrant color.
Spooky Slime
Materials Needed:
- White glue
- Baking soda
- Saline solution (contact lens solution)
- Green and black food coloring
- Glitter (optional)
- Plastic spiders or other Halloween-themed items
Step-by-Step Instructions:
- Mix Glue and Baking Soda: In a bowl, mix 4 ounces of glue with 1/2 teaspoon of baking soda.
- Add Color and Glitter: Add a few drops of food coloring and glitter to the mixture.
- Activate the Slime: Slowly add saline solution while stirring until the slime begins to form and pull away from the bowl.
- Knead the Slime: Use your hands to knead the slime until it reaches the desired consistency. Add plastic spiders for a spooky touch.
Science Behind Slime:
- Explain the chemical reaction between the glue and saline solution that creates the slime.
Bat Silhouettes
Materials Needed:
- Black construction paper
- White chalk or colored pencils
- Safety scissors
- String or yarn
Step-by-Step Instructions:
- Draw Bat Shapes: Use white chalk or colored pencils to draw bat shapes on the black construction paper.
- Cut Out Bats: Carefully cut out the bat shapes.
- Create a Garland: Punch small holes at the top of each bat and thread them onto a string or yarn.
Display and Decoration Ideas:
- Hang the bat garland across windows or doorways.
- Attach bats to walls or ceilings with adhesive putty.
Glow Stick Broomsticks
Materials Needed:
- Glow sticks
- Brown construction paper
- Black yarn
- Safety scissors
- Tape
Step-by-Step Instructions:
- Create the Broom Base: Cut the brown construction paper into strips and bundle them together.
- Attach the Glow Stick: Tape the bundle of paper strips to one end of the glow stick to form the broom bristles.
- Secure with Yarn: Wrap black yarn around the base of the paper strips to secure them in place.
Safety Tips for Glow Sticks:
- Ensure glow sticks are intact and not leaking.
- Supervise kids while handling glow sticks.
These intermediate Halloween crafts are perfect for older kids who can handle more complex projects.
They offer a fun way to enhance creativity and bring some spooky magic to the Halloween season. Enjoy crafting these fun and festive projects together!
Advanced Halloween Crafts for Tweens (Ages 10-12)
DIY Halloween Masks
Materials Needed:
- Blank masks (available at craft stores)
- Acrylic paint
- Paintbrushes
- Feathers, sequins, and other decorations
- Glue
- Elastic bands
- Safety scissors
Step-by-Step Instructions:
- Design the Mask: Let your child plan the design of their mask. They can sketch it out on paper first.
- Paint the Base: Paint the entire mask in a base color and allow it to dry.
- Add Details: Use smaller brushes to add details and patterns to the mask.
- Decorate: Glue on feathers, sequins, and other decorations to make the mask unique.
- Attach Elastic: Secure an elastic band to the sides of the mask to wear it comfortably.
Customization Tips:
- Encourage kids to get creative with their designs.
- Use glow-in-the-dark paint for an extra spooky effect.
Haunted House Dioramas
Materials Needed:
- Shoebox
- Cardboard and construction paper
- Paint and markers
- Mini figurines and decorations
- Glue
- Safety scissors
Step-by-Step Instructions:
- Prepare the Shoebox: Stand the shoebox on its side to create the base of the diorama.
- Create the House: Use cardboard and construction paper to build walls, floors, and other elements inside the shoebox.
- Decorate the Interior: Paint and decorate the inside to look like a haunted house.
- Add Figurines: Place mini figurines, such as ghosts and skeletons, inside the house.
- Final Touches: Add finishing touches like cobwebs made from cotton balls.
Design and Decoration Ideas:
- Create different rooms in the haunted house, each with its own theme.
- Use small LED lights to illuminate the diorama.
Clay Pumpkin Sculptures
Materials Needed:
- Air-dry clay
- Orange and green acrylic paint
- Paintbrushes
- Safety carving tools
Step-by-Step Instructions:
- Shape the Clay: Mold the air-dry clay into the shape of a pumpkin.
- Add Details: Use carving tools to create grooves and other details on the pumpkin.
- Dry the Clay: Allow the clay pumpkin to dry completely.
- Paint the Pumpkin: Paint the pumpkin orange and the stem green.
- Seal (Optional): Apply a sealant to protect the paint and give a glossy finish.
Painting and Finishing Tips:
- Use multiple shades of orange for a realistic look.
- Add a bit of brown to the grooves for depth.
Spooky Shadow Boxes
Materials Needed:
- Small wooden boxes
- Black paint
- White chalk or colored pencils
- Construction paper
- Mini LED lights
- Glue
- Safety scissors
Step-by-Step Instructions:
- Paint the Box: Paint the entire wooden box black and let it dry.
- Create Silhouettes: Draw and cut out Halloween-themed silhouettes (like trees, bats, and ghosts) from construction paper.
- Arrange Silhouettes: Glue the silhouettes inside the box to create a layered effect.
- Add Lighting: Place mini LED lights behind the silhouettes to illuminate them.
- Final Touches: Add any additional decorations to enhance the spooky scene.
Lighting and Display Ideas:
- Use flickering LED lights for a haunted effect.
- Display the shadow boxes on shelves or as centerpieces.
These advanced Halloween crafts are perfect for tweens who enjoy detailed and intricate projects. They provide a great way to challenge creativity and make lasting Halloween decorations. Have fun crafting these spooky and impressive creations together!
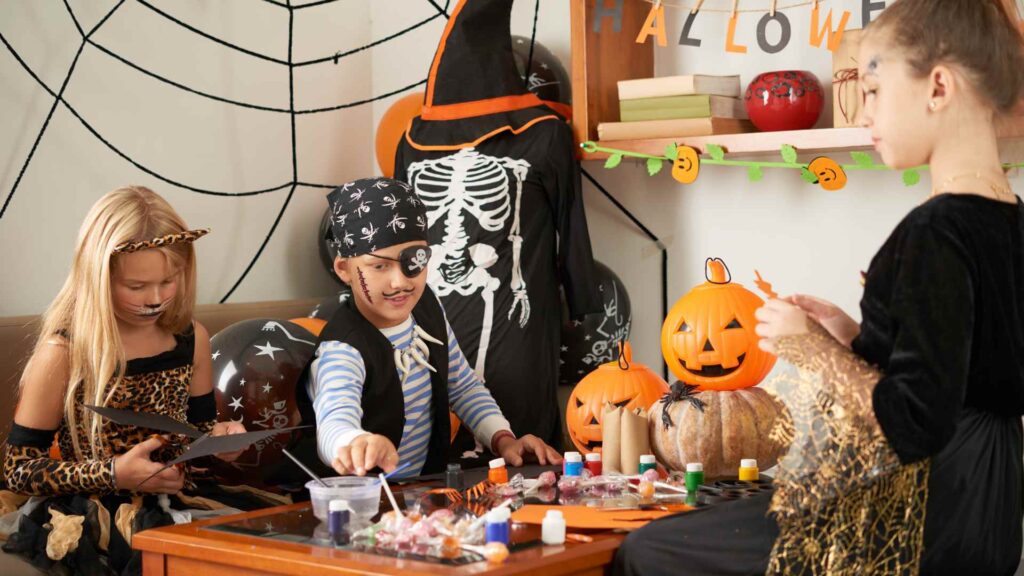
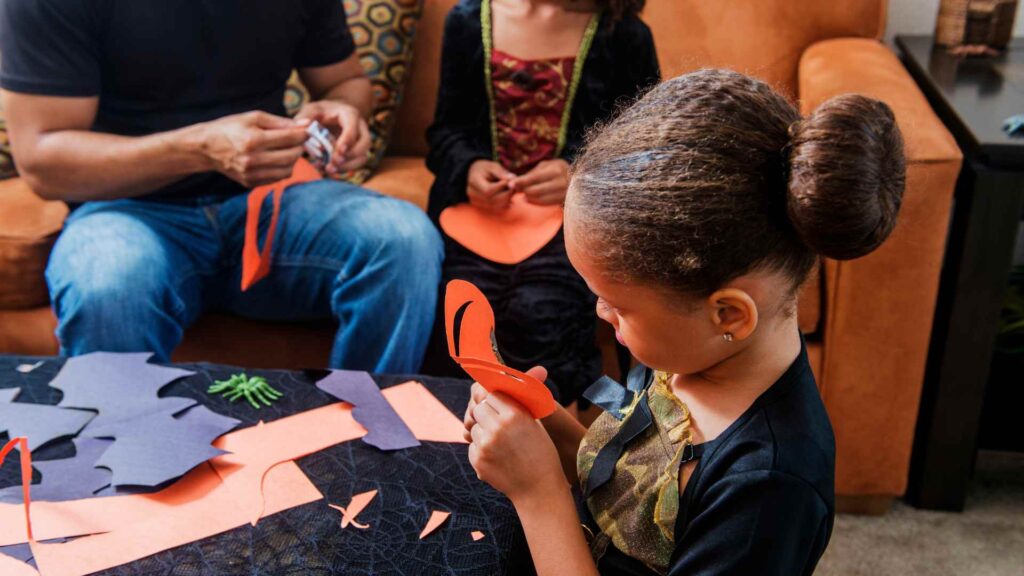
Halloween Decor Crafts for Kids of All Ages
Paper Lanterns
Materials Needed:
- Construction paper (various colors)
- Safety scissors
- Glue or tape
- Markers
- String or yarn
- Battery-operated tea lights (optional)
Step-by-Step Instructions:
- Prepare the Paper: Fold a piece of construction paper in half lengthwise.
- Cut Slits: Starting from the folded edge, cut slits up to about 1 inch from the opposite edge. Space the slits about 1 inch apart.
- Unfold and Shape: Unfold the paper and roll it into a cylinder shape, securing the edges with glue or tape.
- Decorate: Use markers to draw Halloween-themed designs, such as pumpkins, bats, or ghosts.
- Add Handle: Cut a strip of paper and attach it to the top of the lantern as a handle.
- Optional Lighting: Place a battery-operated tea light inside the lantern for a glowing effect.
Safety Tips for Using Lights:
- Always use battery-operated lights instead of real candles to avoid fire hazards.
Ghost Garland
Materials Needed:
- White tissue paper or cheesecloth
- Cotton balls or small foam balls
- Black markers
- String or yarn
- Glue
Step-by-Step Instructions:
- Create Ghosts: Place a cotton ball in the center of a piece of tissue paper or cheesecloth. Gather the fabric around the cotton ball and tie it off with a piece of string to form a ghost head.
- Draw Faces: Use a black marker to draw spooky faces on the ghosts.
- Attach to Garland: Tie each ghost onto a long piece of string or yarn, spacing them evenly apart.
- Hang the Garland: Hang the garland across a doorway, window, or mantel.
Hanging and Decorating Tips:
- Add variations by using different sizes of ghosts.
- Combine with other Halloween decorations for a festive look.
Spider Web Window Clings
Materials Needed:
- Black puffy paint
- Wax paper
- Scissors
Step-by-Step Instructions:
- Draw Webs: Use the black puffy paint to draw spider web designs on a sheet of wax paper. Allow them to dry completely.
- Peel Off: Once dry, carefully peel the spider webs off the wax paper.
- Attach to Windows: Place the spider web clings on windows or mirrors. They should stick without any adhesive.
Creative Variations:
- Create different shapes and sizes of spider webs.
- Add small plastic spiders for an extra creepy effect.
Pumpkin String Art
Materials Needed:
- Wooden board or thick cardboard
- Orange and green string or yarn
- Small nails or pushpins
- Hammer (if using nails)
- Pencil
Step-by-Step Instructions:
- Draw a Pumpkin Outline: Lightly draw the outline of a pumpkin on the wooden board or cardboard.
- Insert Nails or Pushpins: Hammer small nails or pushpins along the outline, spacing them about an inch apart.
- String the Outline: Tie one end of the orange string to a nail or pushpin and wrap it around the outline, looping it around each nail or pin.
- Fill in the Pumpkin: Continue wrapping the string back and forth across the outline until the entire pumpkin is filled in.
- Add the Stem: Use green string to create the stem, following the same method.
Design Ideas and Tips:
- Experiment with different string colors for a unique look.
- Add extra details like leaves or vines using additional string.
These Halloween decor crafts are perfect for kids of all ages, offering a fun way to create festive decorations for your home. Enjoy making these creative and spooky projects together!
Eco-Friendly Halloween Crafts
Recycled Jar Lanterns
Materials Needed:
- Empty glass jars (various sizes)
- Acrylic paint (orange, black, white)
- Paintbrushes
- Battery-operated tea lights
- Twine or ribbon
- Permanent marker
Step-by-Step Instructions:
- Clean the Jars: Make sure the jars are clean and dry.
- Paint the Jars: Paint the jars in Halloween colors like orange, white, or black. Allow them to dry completely.
- Draw Faces: Use a permanent marker to draw spooky faces on the painted jars.
- Add Lights: Place a battery-operated tea light inside each jar.
- Decorate with Twine: Tie a piece of twine or ribbon around the top of each jar for an added touch.
Decoration and Safety Tips:
- Use non-toxic paint.
- Ensure battery-operated lights are safe for children to handle.
Cardboard Tombstones
Materials Needed:
- Cardboard sheets
- Gray paint
- Paintbrushes
- Black marker
- Safety scissors
- Hot glue gun (with adult supervision)
Step-by-Step Instructions:
- Cut Out Tombstones: Cut the cardboard sheets into tombstone shapes.
- Paint the Tombstones: Paint the tombstones gray and let them dry.
- Add Details: Use a black marker to write spooky messages or names on the tombstones.
- Assemble and Decorate: If desired, use the hot glue gun to attach additional cardboard pieces for a 3D effect.
Outdoor Display Ideas:
- Arrange the tombstones in the yard to create a spooky graveyard scene.
- Add some faux cobwebs and plastic skeletons for extra spookiness.
Fabric Scrap Ghosts
Materials Needed:
- White fabric scraps (old sheets or t-shirts work well)
- Cotton balls or small foam balls
- Black markers
- String or yarn
- Safety scissors
Step-by-Step Instructions:
- Create Ghosts: Place a cotton ball in the center of a fabric scrap. Gather the fabric around the cotton ball and tie it off with a piece of string to form the ghost’s head.
- Draw Faces: Use a black marker to draw spooky faces on the fabric.
- Hang the Ghosts: Tie a piece of string around the neck of each ghost and hang them from the ceiling, trees, or porch.
Creative Decoration Tips:
- Use different sizes of fabric scraps to create a variety of ghost sizes.
- Hang the ghosts at different heights for a more dynamic display.
Pinecone Bats
Materials Needed:
- Pinecones
- Black paint
- Paintbrushes
- Black construction paper
- Googly eyes
- Glue
- Safety scissors
Step-by-Step Instructions:
- Paint the Pinecones: Paint the pinecones black and let them dry.
- Create Wings: Cut out bat wing shapes from the black construction paper.
- Attach Wings: Glue the wings to the sides of the pinecones.
- Add Eyes: Glue googly eyes onto the pinecones to create the bat’s face.
Display and Hanging Ideas:
- Hang the pinecone bats from the ceiling or tree branches using string.
- Place them on mantels or shelves as spooky decorations.
These eco-friendly Halloween crafts are not only fun and creative but also help teach kids the importance of recycling and reusing materials. Enjoy making these green Halloween projects together and decorate your home with spooky, sustainable style!
Halloween Crafting Tips and Tricks
Safety First
Tips for Safe Crafting with Kids:
- Supervise at All Times: Always supervise children while they are using scissors, glue, or any other crafting tools.
- Age-Appropriate Tools: Use age-appropriate tools and materials. Safety scissors and non-toxic glue are essential for younger children.
- Protective Gear: Provide protective gear such as aprons and safety goggles to keep kids safe and clean.
- Designated Crafting Area: Set up a designated crafting area that is well-lit and free from clutter.
Age-Appropriate Tools and Supervision:
- For children under 5, always use blunt-tipped safety scissors and ensure all paints and markers are non-toxic.
- Older children can use more advanced tools, but supervision is still necessary to prevent accidents.
Creating a Crafting Station
Setting Up a Dedicated Crafting Area:
- Choose the Right Spot: Select a quiet, well-lit area in your home where kids can spread out their materials.
- Organize Supplies: Use bins and organizers to keep crafting supplies neat and accessible.
- Cover Surfaces: Protect tables and floors with newspaper or a plastic tablecloth to make clean-up easier.
Organizing Materials and Tools:
- Labels and Containers: Label containers for different supplies like markers, scissors, glue, and paper to keep everything organized.
- Easy Access: Store frequently used items at a height kids can easily reach, ensuring they can work independently.
Encouraging Creativity
Allowing Kids to Personalize Their Crafts:
- Open-Ended Projects: Encourage open-ended projects that allow children to use their imagination and personalize their crafts.
- Choice of Materials: Let kids choose their materials and colors to make each project their own.
Celebrating Their Creations:
- Display Artwork: Create a dedicated space to display children’s artwork, like a bulletin board or a wall gallery.
- Positive Reinforcement: Praise their efforts and creativity, focusing on the process rather than the end result.
Clean-Up Made Easy
Tips for Quick and Efficient Clean-Up:
- Use a Timer: Set a timer to make clean-up a fun challenge.
- Designate Tasks: Assign specific tasks to each child, such as putting away scissors, collecting scrap paper, and wiping down surfaces.
Involving Kids in the Process:
- Make It Fun: Turn clean-up into a game by playing upbeat music or creating a race to see who can tidy up the fastest.
- Teach Responsibility: Involve kids in the clean-up process to teach them responsibility and the importance of taking care of their materials.
By following these tips and tricks, you can create a safe, organized, and creative crafting environment for your kids. Enjoy the crafting process and make lasting memories together while preparing for a spooktacular Halloween!