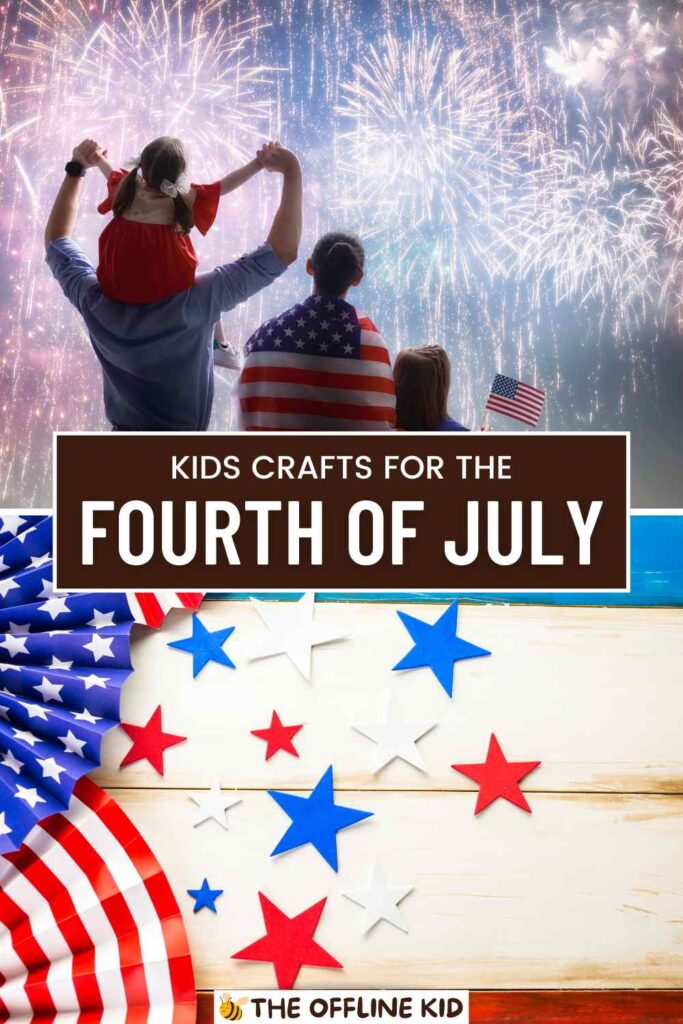
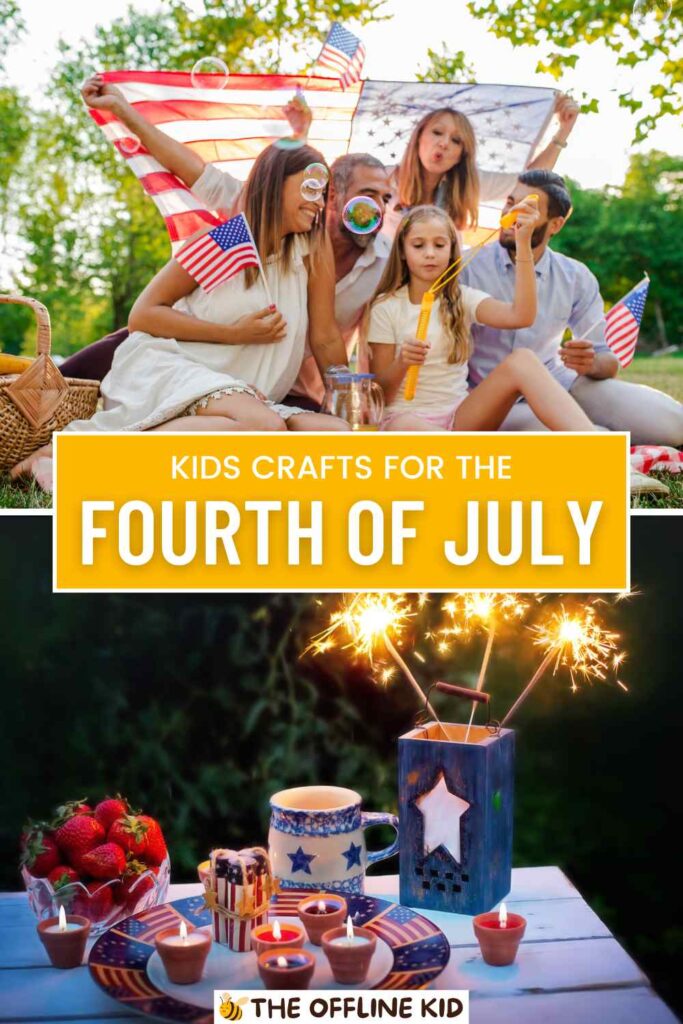
Celebrate the Fourth of July with these fun and creative crafts for kids!
From patriotic decorations to wearable crafts, food crafts, and educational projects, this guide has something for every little crafter to enjoy.
Patriotic Decorations
Decorations are an essential part of any Fourth of July celebration. They set the festive mood and help kids feel part of the celebration.
In this section, we’ll explore various patriotic decoration crafts that are both easy and fun for kids to make. Remember to supervise young children and ensure all materials are safe and appropriate for their age.
DIY American Flag Banners
- Materials Needed:
- Construction paper in red, white, and blue
- Markers or crayons
- String or ribbon
- Glue or tape
- Scissors
- Step-by-Step Instructions:
- Cut out rectangles from the construction paper to represent the flag’s stripes.
- Use the markers or crayons to color the rectangles.
- Arrange the colored rectangles in the pattern of the American flag.
- Glue or tape the rectangles onto a long piece of string or ribbon to create the banner.
- Hang your flag banner around your home or yard to add a patriotic touch.
- Variations and Tips:
- For younger kids, pre-cut the rectangles and let them focus on coloring.
- Add glitter or stickers to make the banners sparkle.
Fireworks Paintings
- Materials Needed:
- Black construction paper
- Paint in various colors
- Glitter
- Straws
- Step-by-Step Instructions:
- Lay out the black construction paper as your canvas.
- Dip the end of a straw into the paint and blow it out onto the paper to create a burst effect.
- Repeat with different colors to mimic fireworks.
- Sprinkle glitter onto the wet paint to add sparkle.
- Let the paintings dry completely before displaying.
- Techniques for Creating Realistic Firework Effects:
- Use different sized straws to vary the burst sizes.
- Experiment with metallic paints for an extra shimmer.
Red, White, and Blue Wreaths
- Materials Needed:
- Foam wreath base
- Ribbons in red, white, and blue
- Star stickers or cutouts
- Hot glue gun (with adult supervision) or regular glue
- Step-by-Step Instructions:
- Wrap the foam wreath base with the red, white, and blue ribbons, alternating colors.
- Secure the ends of the ribbons with glue.
- Decorate the wreath with star stickers or cutouts.
- Add a ribbon loop at the top for hanging.
- Personalization Ideas:
- Include your family’s name or a festive message.
- Add small American flags or other patriotic symbols.
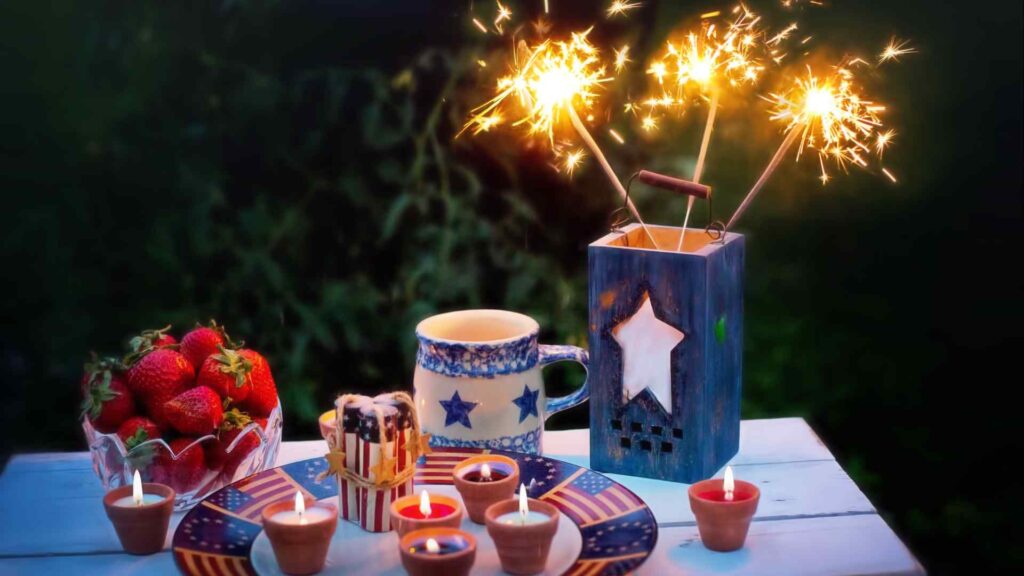
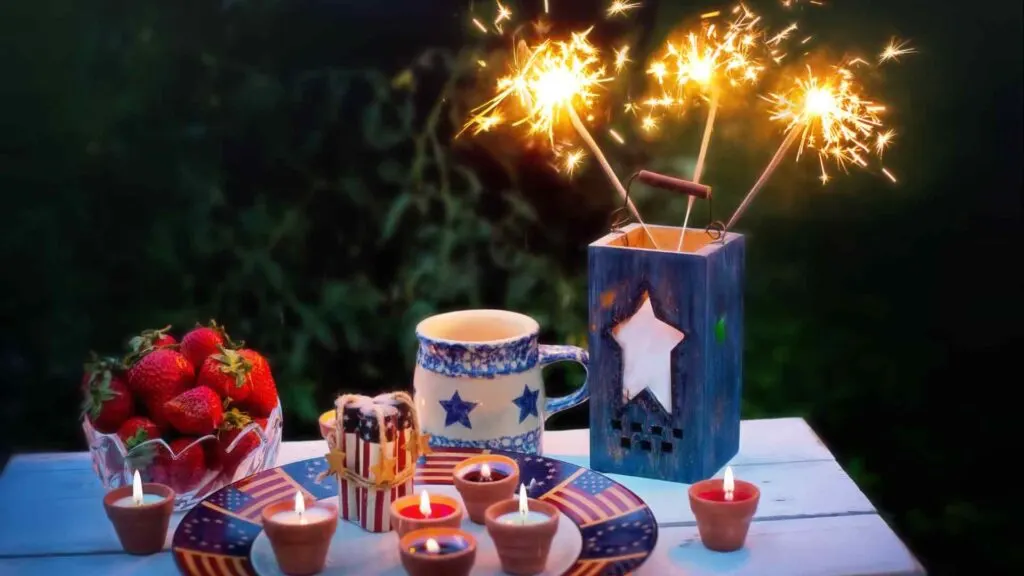
Patriotic Mason Jars
- Materials Needed:
- Mason jars
- Acrylic paint in red, white, and blue
- Ribbons in matching colors
- Tea lights or small candles
- Step-by-Step Instructions:
- Paint the mason jars in solid colors or with patterns like stripes and stars.
- Allow the paint to dry completely.
- Tie ribbons around the neck of the jars for added decoration.
- Place tea lights or small candles inside the jars for a beautiful glow.
- Uses for the Finished Jars:
- Use them as candle holders for a nighttime celebration.
- Fill them with utensils or flowers for a festive table centerpiece.
With these patriotic decoration crafts, your Fourth of July celebration will be bursting with creativity and color. Kids will love creating and displaying their handmade decorations, making the holiday even more special.


Wearable Crafts
Wearable crafts add an extra layer of fun to Fourth of July celebrations. Kids can showcase their creativity and patriotic spirit by wearing their handmade creations.
These crafts are not only enjoyable to make but also make fantastic accessories for any Independence Day festivities. Ensure all materials are safe and appropriate for your child’s age, and supervise where necessary.
DIY Fourth of July T-Shirts
- Materials Needed:
- Plain white t-shirts
- Fabric paint in red, white, and blue
- Stencils (stars, stripes, etc.)
- Sponges or paintbrushes
- Cardboard (to place inside the shirt)
- Step-by-Step Instructions:
- Place a piece of cardboard inside the t-shirt to prevent paint from bleeding through.
- Arrange the stencils on the shirt in your desired pattern.
- Use sponges or paintbrushes to apply fabric paint over the stencils.
- Allow the paint to dry according to the manufacturer’s instructions.
- Remove the stencils to reveal your design.
- Creative Design Ideas:
- Create an American flag design with stripes and stars.
- Use handprints or footprints to make a unique pattern.
- Add glitter fabric paint for extra sparkle.
Patriotic Beaded Bracelets
- Materials Needed:
- Beads in red, white, and blue
- Elastic string or stretchy cord
- Scissors
- Step-by-Step Instructions:
- Cut a piece of elastic string to the desired length for the bracelet.
- String the beads onto the elastic in a repeating pattern of red, white, and blue.
- Once all the beads are strung, tie a secure knot at the end of the string.
- Trim any excess elastic.
- Patterns and Variations:
- Create different patterns like alternating colors or clusters of the same color.
- Add letter beads to spell out patriotic words like “USA” or “FREEDOM.”
Star-Spangled Headbands
- Materials Needed:
- Plain headbands
- Felt in red, white, and blue
- Star-shaped templates or cookie cutters
- Glue (fabric glue or hot glue with adult supervision)
- Sequins or beads for decoration
- Step-by-Step Instructions:
- Use the star-shaped templates to cut out stars from the felt.
- Arrange the felt stars on the headband in your desired pattern.
- Glue the stars onto the headband.
- Add sequins or beads for extra decoration if desired.
- Customization Tips:
- Create a layered look by overlapping different sized stars.
- Use glitter glue to outline the stars for added sparkle.
Uncle Sam Hats
- Materials Needed:
- Construction paper in red, white, and blue
- Glue or tape
- Scissors
- Markers or crayons
- Step-by-Step Instructions:
- Cut a strip of blue construction paper to fit around your child’s head and secure it with glue or tape to form a band.
- Cut out a large circle from white construction paper to form the brim of the hat.
- Attach the blue band to the center of the white circle.
- Cut red and white strips to create the hat’s vertical stripes and glue them onto the band.
- Decorate the hat with stars using markers or additional construction paper cutouts.
- Decorating Ideas:
- Add glitter to make the hat stand out.
- Use a variety of star sizes for a more dynamic look.
With these wearable crafts, kids can proudly display their patriotic spirit while participating in Fourth of July festivities. These fun and simple projects will ensure they look festive and feel part of the celebration.

Fun with Food Crafts
Combining crafting with cooking is a delightful way to celebrate the Fourth of July. Food crafts are not only enjoyable but also delicious!
These projects allow kids to get creative in the kitchen while making tasty treats for everyone to enjoy. Always supervise young children when working with food and kitchen tools.
Patriotic Fruit Kabobs
- Materials Needed:
- Strawberries
- Blueberries
- Bananas
- Skewers
- Step-by-Step Instructions:
- Wash the strawberries and blueberries thoroughly.
- Peel the bananas and cut them into bite-sized slices.
- Thread the fruit onto the skewers in a repeating pattern of red, white, and blue (strawberries, bananas, blueberries).
- Arrange the completed kabobs on a platter and serve immediately or refrigerate until ready to eat.
- Presentation Tips:
- Serve the kabobs with a side of yogurt or whipped cream for dipping.
- Use cookie cutters to shape the banana slices into stars for an extra festive touch.
Fourth of July Popsicles
- Materials Needed:
- Popsicle molds
- Red fruit juice (e.g., cherry or strawberry)
- Blue fruit juice (e.g., blueberry or grape)
- White yogurt
- Step-by-Step Instructions:
- Pour the red fruit juice into the popsicle molds, filling them about one-third of the way.
- Freeze until solid.
- Add a layer of white yogurt and freeze again until solid.
- Top off the molds with blue fruit juice and insert the popsicle sticks.
- Freeze until completely solid.
- Flavor Combination Ideas:
- Try mixing different fruit juices and yogurts for unique flavor combinations.
- Add fresh fruit pieces to the molds for added texture and taste.
Star-Spangled Cookies
- Materials Needed:
- Sugar cookie dough (store-bought or homemade)
- Star-shaped cookie cutters
- Red, white, and blue icing
- Sprinkles
- Step-by-Step Instructions:
- Preheat the oven according to the cookie dough instructions.
- Roll out the cookie dough and use the star-shaped cookie cutters to cut out shapes.
- Place the cookies on a baking sheet and bake according to the instructions.
- Allow the cookies to cool completely.
- Decorate the cookies with red, white, and blue icing and sprinkles.
- Decorating Tips:
- Use piping bags for more precise icing designs.
- Create a tie-dye effect by swirling the icing colors together.
Red, White, and Blue Cupcakes
- Materials Needed:
- Cupcake mix (and ingredients required for the mix)
- Red and blue food coloring
- White frosting
- Cupcake liners
- Step-by-Step Instructions:
- Prepare the cupcake batter according to the mix instructions.
- Divide the batter into three bowls.
- Color one bowl with red food coloring and another with blue food coloring, leaving the third bowl plain.
- Layer the red, white, and blue batters in the cupcake liners.
- Bake the cupcakes according to the mix instructions.
- Allow the cupcakes to cool completely before frosting.
- Frost the cupcakes with white frosting and add patriotic sprinkles or edible glitter.
- Creative Frosting Techniques:
- Use a star-shaped piping tip for a festive look.
- Add a drop of food coloring to the frosting bag for a swirled effect.
These fun food crafts will be a hit at any Fourth of July celebration. Kids will love making and eating these festive treats, and they add a deliciously creative touch to your holiday spread.

Outdoor Crafts
Outdoor crafting is a fantastic way for kids to enjoy the summer weather while making fun and festive Fourth of July creations.
These activities can get a little messy, so they’re perfect for the great outdoors. Setting up a crafting area outside can help keep your home clean and allow for more freedom in creativity.
DIY Windsocks
- Materials Needed:
- Toilet paper rolls or empty paper towel rolls
- Paint in red, white, and blue
- Streamers or ribbons
- Glue
- String or yarn for hanging
- Step-by-Step Instructions:
- Paint the toilet paper rolls in patriotic colors and allow them to dry.
- Cut streamers or ribbons into long strips.
- Glue the strips to one end of the painted roll.
- Poke two holes on the opposite end and thread a piece of string or yarn through for hanging.
- Hang your windsocks outside and watch them flutter in the breeze.
- Hanging and Displaying Tips:
- Hang them from tree branches, porch railings, or garden stakes.
- Create multiple windsocks for a colorful display.
Painted Rocks
- Materials Needed:
- Smooth rocks
- Acrylic paint in various colors
- Paintbrushes
- Sealant (optional)
- Step-by-Step Instructions:
- Clean the rocks and let them dry completely.
- Paint the rocks with patriotic designs like flags, stars, or fireworks.
- Allow the paint to dry and add additional coats if needed.
- Seal the painted rocks with a clear sealant to protect them (optional).
- Ideas for Designs and Messages:
- Paint the rocks with inspiring messages like “Freedom” or “Liberty.”
- Use glitter paint for added sparkle.
Patriotic Pinwheels
- Materials Needed:
- Square pieces of paper in red, white, and blue
- Pins
- Straws or wooden dowels
- Scissors
- Glue or tape
- Step-by-Step Instructions:
- Fold each square piece of paper diagonally to form a triangle and then unfold.
- Cut along the fold lines, stopping about an inch from the center.
- Bring one corner of each cut section to the center and secure with a pin.
- Attach the pin to the top of a straw or wooden dowel.
- Use glue or tape to secure the pinwheel in place.
- Assembly and Usage Tips:
- Make sure the pinwheels can spin freely.
- Decorate the straws or dowels with ribbons or stickers.
Fourth of July Chalk Art
- Materials Needed:
- Sidewalk chalk in various colors
- Stencils (optional)
- Step-by-Step Instructions:
- Choose a clean, dry section of sidewalk or driveway.
- Use stencils to outline patriotic shapes or draw freehand.
- Color in the shapes with vibrant chalk colors.
- Add details like stars, stripes, and fireworks.
- Design Ideas:
- Create a large American flag on your driveway.
- Draw fireworks exploding in the night sky.
- Write messages like “Happy Fourth of July!”
Outdoor crafts are a great way for kids to express their creativity while enjoying the sunshine. These projects will brighten up your yard and provide hours of fun for children of all ages.
Educational Crafts
Crafting can be both fun and educational, making it a perfect activity for the Fourth of July.
These educational crafts help kids learn about the history and significance of Independence Day while enjoying creative projects.
Each craft includes a learning component to enhance their understanding of the holiday.
History of the American Flag Collage
- Materials Needed:
- Magazines or colored paper
- Scissors
- Glue
- Poster board
- Markers
- Step-by-Step Instructions:
- Cut out red, white, and blue sections from magazines or colored paper.
- Arrange the cutouts on the poster board to form an American flag.
- Glue the pieces in place.
- Use markers to add details and facts about the American flag.
- Educational Facts to Include:
- The history and evolution of the American flag.
- What the stars and stripes represent.
- Interesting flag trivia.
Declaration of Independence Scrolls
- Materials Needed:
- Paper (preferably aged or tea-stained)
- Tea bags (for aging paper, optional)
- Markers or calligraphy pens
- Ribbon or string
- Step-by-Step Instructions:
- (Optional) To age the paper, dip a tea bag in warm water and gently rub it over the paper. Allow it to dry.
- Write a brief summary or key excerpts from the Declaration of Independence on the paper.
- Roll the paper into a scroll and tie it with a ribbon or string.
- Teaching Kids About the Declaration:
- Explain the importance of the Declaration of Independence.
- Discuss the main points and why it was written.
- Encourage kids to think about what freedom means to them.
State Symbol Booklets
- Materials Needed:
- Construction paper
- Markers or crayons
- Stickers
- Stapler or hole punch and yarn
- Step-by-Step Instructions:
- Cut construction paper into smaller pages for the booklet.
- On each page, draw or paste pictures of different state symbols (state bird, flower, etc.).
- Write a brief description of each symbol.
- Staple the pages together or use a hole punch and yarn to bind the booklet.
- Fun Facts About State Symbols:
- Include unique and interesting facts about each state symbol.
- Discuss how state symbols are chosen and what they represent.
Map of the USA Puzzle
- Materials Needed:
- Large piece of paper or poster board
- Markers
- Scissors
- Step-by-Step Instructions:
- Draw a large map of the USA on the paper or poster board.
- Cut out each state to create puzzle pieces.
- Decorate each state with its name and a unique fact or symbol.
- Mix up the pieces and have kids reassemble the map.
- Interactive Map Activities:
- Challenge kids to name the state capitals as they put the puzzle together.
- Discuss major landmarks and historical sites in each state.
- Encourage kids to learn and share fun facts about different states.
These educational crafts combine creativity with learning, making them an excellent way for kids to celebrate the Fourth of July. They provide an opportunity to explore American history and geography while having fun with hands-on projects.
Conclusion
As we wrap up this ultimate guide to Fourth of July crafts for kids, it’s clear that there are endless ways to celebrate this special holiday with creativity and fun.
From decorating your home with patriotic banners and windsocks to making wearable crafts and delicious treats, these activities are sure to bring joy and excitement to children of all ages.
Crafting not only helps kids express their creativity but also provides a wonderful opportunity for family bonding. Each project in this guide is designed to be engaging and educational, ensuring that kids can learn about the significance of Independence Day while having a blast.
We hope you and your kids enjoy making these crafts as much as we enjoyed putting together this guide. Don’t forget to share and display your creations proudly, and take lots of photos to capture these special moments.