Finger knitting offers kids a magical combination of creativity, tactile play, and skill-building.
Without using needles, children can create colorful projects, hone their motor skills, and feel a sense of accomplishment.
This guide provides everything you need to know—from supplies to tips—to help young crafters master finger knitting.
Basic Supplies for Finger Knitting
Finger knitting is a wonderfully simple and accessible craft that requires minimal materials.
With just a few everyday items, children can dive into the world of yarn artistry without feeling overwhelmed.
Below, you’ll find the core essentials that will ensure smooth, successful, and fun finger knitting sessions.
Yarn Selection
- Fiber Options: For little hands, acrylic yarn is a top pick because it’s soft, affordable, and easy to work with. If you want an eco-friendly alternative, consider cotton yarn, which offers a natural, breathable option. Wool can also be a cozy choice, but be mindful of any allergies or itchiness.
- Weight Matters: Begin with medium-weight (worsted) yarn. It’s thick enough for kids to see their stitches easily but not so bulky that their projects become unwieldy. Plus, worsted yarn glides smoothly around fingers without too much friction.
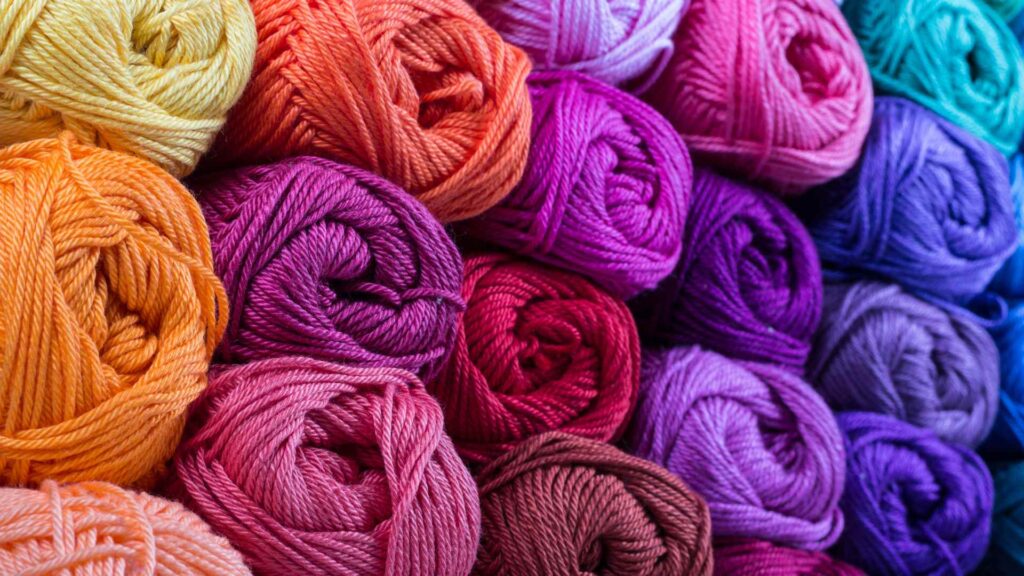
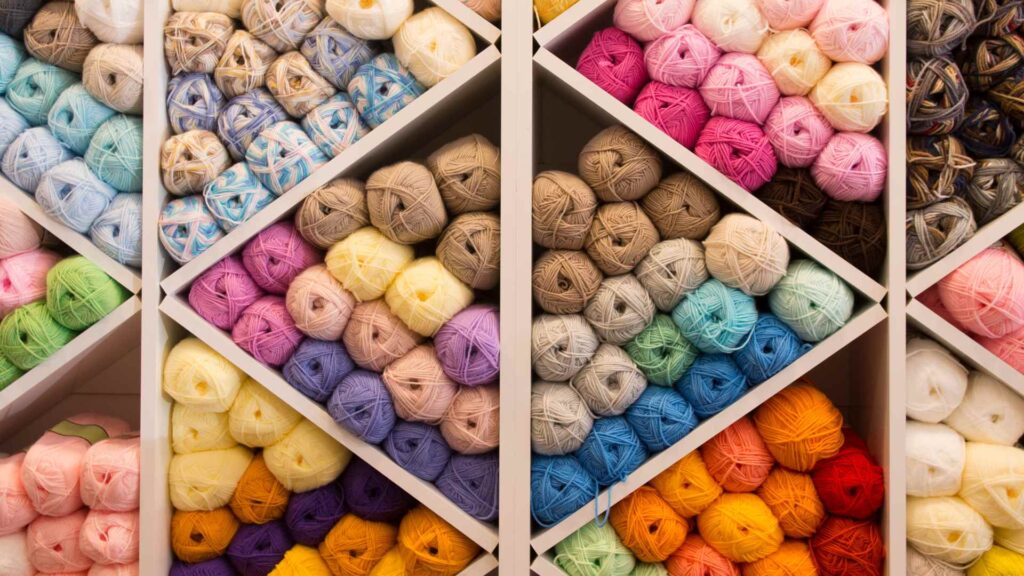
- Color Fun: Let kids pick their favorite shades. Finger knitting is all about creativity, so encourage them to explore bright colors, variegated yarn, or even yarn with subtle sparkles. This not only makes the process more engaging but also helps them connect personally with their crafting.
Additional Tools
- Scissors: A small, child-friendly pair of scissors is essential for cutting yarn. Look for scissors with rounded tips and easy-grip handles for added safety and comfort.
- Measuring Tape: While not strictly necessary, having a simple measuring tape or ruler can be useful if you plan on making items that need specific lengths.
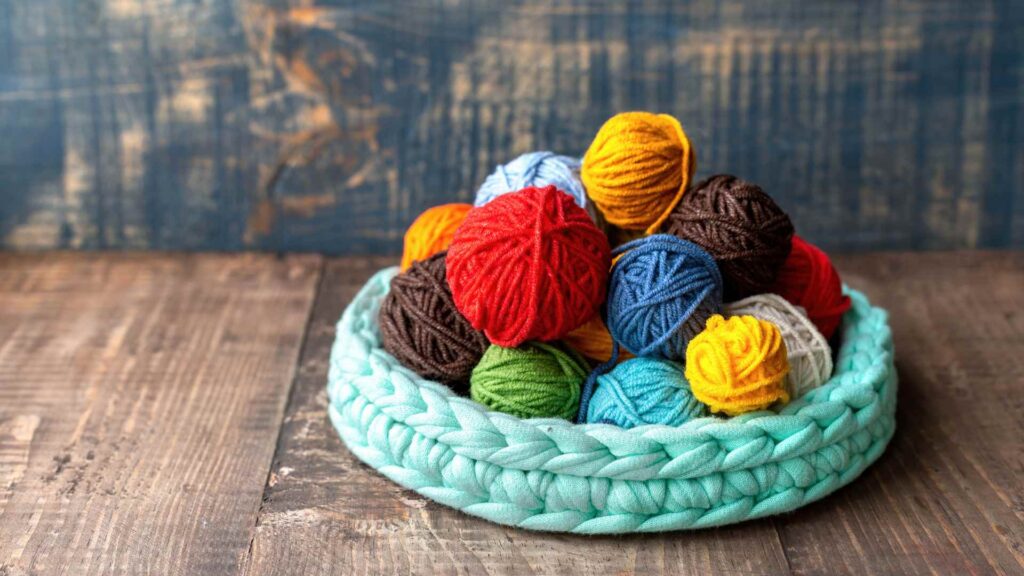
- Storage and Organization: Yarn can quickly become tangled, especially when little hands are involved. Provide a yarn bowl or a simple basket to keep yarn neat. Kids can also benefit from having a small container or bag to store their ongoing finger knitting project and any extra yarn.
- Comfort and Workspace: Find a cozy area in the home with good lighting. A clean, clutter-free space helps kids focus on the yarn and their fingers. Make sure they have a comfy seat or cushion to settle into as they knit.
With these simple supplies, you can set your child on the right path to exploring the wonderful world of finger knitting.
Giving kids the freedom to choose their yarn color and keeping everything accessible can ignite a genuine enthusiasm for this hands-on craft.
When the environment is welcoming, children are more likely to embrace finger knitting as a beloved pastime, honing skills that will serve them well both in and out of the crafting realm.
Mastering the Basic Stitches
For little crafters, the prospect of making something tangible with their fingers feels like magic.
Yet, behind that magic is a straightforward process that even preschoolers can pick up with practice. With patience and guidance, mastering the basic stitches of finger knitting becomes an empowering journey.
Creating the Slipknot
- Why a Slipknot?: A slipknot acts as the entryway into almost any yarn project. It establishes the foundation, making your initial loops stable but still adjustable.
- Steps to Follow:
- Take the tail end of the yarn in one hand and the working end (connected to the skein) in the other.
- Form a loop by crossing the yarn over itself.
- Gently pull the yarn through the loop to form a loose knot.
- Place this knot on your index finger (or whichever finger feels most comfortable for your child).
- Adjust the knot by pulling gently so it’s snug but not tight around the finger.
For many kids, simply learning to make a neat slipknot is a mini accomplishment worthy of a cheer. Encourage them to practice the slipknot a few times before moving on, as this sets the stage for their overall success.
The Foundation Chain
- Where to Begin: With the slipknot on one finger, instruct kids to place the working yarn behind their finger.
- Looping Technique:
- Use the opposite hand to bring the yarn up and over the fingertip.
- Once a loop forms, gently pull the yarn so the new loop slides off the fingertip and onto the slipknot loop.
- This creates the first chain stitch.
- Repeat the process, working the yarn around the finger and pulling it through the loop, forming a growing chain that dangles from the back of the hand.
- Building Comfort: Initially, kids might struggle with tension, i.e., how tight or loose to hold the yarn. Demonstrate how a slight pinch and steady movements can create a smooth flow. Remind them that consistency is more important than perfection at this stage.
Practice Makes Progress: The foundation chain is the backbone of finger knitting. Encourage children to practice chaining until they feel confident.
As they become more comfortable, the repetitive motion tends to become soothing, almost meditative. This part of the process is a wonderful way for kids to improve their hand-eye coordination and fine motor skills, building up to more complex projects down the road.
Fun Finger Knitting Projects for Kids
One of the best things about finger knitting is how quickly it yields a finished item, which keeps kids enthusiastic.
Once they’ve nailed down the basics, a whole world of creativity awaits. These projects are designed to be simple, enjoyable, and open to customization.
Encourage kids to make each creation uniquely their own by mixing yarn colors, adding embellishments, or trying variations in stitch patterns.
Simple Bracelets
- Quick and Rewarding: A finger-knitted bracelet is often the very first project kids complete. It’s small, fast, and requires little yarn.
- Steps:
- Create a chain about 6–7 inches long (or measure your child’s wrist for accuracy).
- Once the desired length is reached, cut the yarn, leaving a 4-inch tail.
- Tie the tail securely to the initial slipknot to form a loop.
- Personal Touches: Kids can add beads or small charms by sliding them onto the yarn before or after it’s knit. They could also finger-knit multiple thin chains and braid them together for a chunkier bracelet.
Decorative Headbands
- Fashionable and Functional: Headbands made from finger-knitted cords are cute accessories that can add a pop of color to any outfit.
- Measuring and Stitching:
- Measure around the head, keeping the yarn chain slightly taut so it stays in place when worn.
- Secure the ends together by tying a tight knot or sewing them with a needle and thread for a cleaner finish.
- Embellish with pom-poms, felt flowers, or ribbons for extra flair.
- Styling Options: Encourage your child to experiment with wrapping multiple finger-knitted strands around their head. They can even twist or braid separate cords for a textured look.
Cozy Scarves
- Bigger, but Still Beginner-Friendly: Scarves are a satisfying step up for kids who want a more substantial project.
- Getting Started:
- Begin with a foundation chain and continue finger knitting until the piece is about the desired length—often anywhere from 3 to 4 feet for a child’s scarf.
- Gently cast off by pulling the working yarn through the final loop.
- Weave in or knot the ends.
- Design Variations: Have kids mix multiple colors of yarn to create stripes or color blocks. They can also try finger knitting two separate cords and stitching them together for extra thickness. If they get extra ambitious, they can make an infinity scarf by connecting the two ends in a circle.
Inspiring Creativity: These projects may sound simple, but each one is a stepping stone to more complicated finger-knitting ventures.
Whether your child wants to make a gift for a friend or dress up their teddy bear, the possibilities are endless. Show them how these techniques can be adapted: a chain for a bracelet can become a border for a pillow or an accent on a tote bag.
With each success, they’ll be more motivated to keep exploring the many ways to transform a single strand of yarn into beautiful, functional art.
Troubleshooting and Tips
No craft journey is complete without a few bumps in the road. Luckily, finger knitting is forgiving. If a child encounters a snag, the fix is usually just a few unraveled loops away.
With the right mindset and a handful of straightforward troubleshooting techniques, kids will gain the confidence to tackle any mishaps.
Common Mistakes
- Dropping Stitches: Sometimes, a loop falls off the finger without being properly pulled through. Encourage kids to pause and see where the yarn last formed a completed chain. They can often re-insert the finger into the dropped loop and rework it.
- Overly Tight Stitches: Children may pull the yarn too taut, making it challenging to slide loops on and off. Show them how to loosen the tension by holding the yarn gently rather than gripping it tightly. Remind them that the loops should comfortably glide over the finger.
- Tangling Yarn: Younger kids might end up creating a knotty mess of yarn while they work. Emphasize the importance of an organized workspace. If a tangling issue arises, calmly show them how to unravel from the working yarn back. This can be a lesson in patience and problem-solving.
Keeping Tension in Check
- Establish a Rhythm: Tension issues often occur when kids speed up or lose focus. Encourage them to work at a steady pace, making sure each loop is formed similarly to the one before.
- Check Hand Positions: If kids hold the yarn in a new or awkward way, it might alter the stitch size. Suggest they find a comfortable hand position and practice consistency in how they move the yarn around their fingers.
- Avoid Overcorrection: Sometimes, in an effort to fix a few loose stitches, kids might start pulling yarn too tightly. Encourage them to aim for a middle ground—loose enough for the loop to slide easily, but tight enough to hold its shape.
Encouraging Resilience: Mistakes and hiccups are part of the process, but they’re also valuable learning opportunities.
Guide kids to approach any problem with a calm mindset, reminding them that they have the power to fix most issues by simply reviewing their steps, unraveling a bit, and redoing a stitch or two.
By framing mistakes as normal and fixable, you foster perseverance and a growth mindset. Ultimately, troubleshooting becomes an exciting puzzle that empowers young knitters to own their crafting journey with pride.
Safety and Care
Though finger knitting is generally low-risk, it’s always wise to establish a few ground rules, especially when working with young children.
From yarn safety to project maintenance, these guidelines ensure that crafting remains fun, healthy, and hassle-free for all.
Yarn Safety
- Age-Appropriate Materials: Opt for yarn that’s non-toxic and safe for children. Check labels if your child has allergies or sensitive skin. Some yarns come treated with chemicals, so it’s best to stick to trusted brands and read the product descriptions thoroughly.
- Choking Hazards: If you add beads, buttons, or charms, choose larger sizes that won’t pose a choking risk. Always supervise younger kids during any craft sessions, especially if small embellishments are involved.
- Proper Storage: Keep yarn out of reach of toddlers and pets to avoid accidental ingestion. Store skeins in a secured container or a high shelf to maintain cleanliness and prevent tangling mishaps.
Project Maintenance
- Washing Finger-Knitted Items: Projects like scarves and headbands may need occasional cleaning. Check yarn labels for washing instructions—machine-washable yarn is perfect for children’s crafts. If unsure, a gentle hand-wash in lukewarm water with mild detergent usually does the trick.
- Drying and Ironing: Avoid placing handmade items in a high-heat dryer. Instead, lay them flat on a clean towel and let them air-dry. If any wrinkles appear, use a cool iron with a pressing cloth or simply reshape the item with your hands while it’s still slightly damp.
- Long-Term Use: Finger-knitted items can last for years if cared for properly. Remind kids to store their finished crafts in a dry place, away from direct sunlight, which can cause yarn colors to fade over time. If an item starts to unravel, a quick tie or stitch can often fix the loose ends.
By integrating these safety and care measures into your crafting routine, you ensure that finger knitting remains a fun, responsible activity for your child.
From supervising small children to maintaining finished projects, a little planning goes a long way in preserving the joy and longevity of each handmade treasure.
Boosting Creativity and Beyond
Finger knitting can be a gateway to a broader artistic universe. While the basic chain and simple projects form the heart of this craft, the skills kids gain—from color coordination to manual dexterity—can spark interest in other forms of creativity.
Providing children with new challenges and encouraging experimentation helps them evolve into truly versatile makers.
Experimenting with Colors
- Color Mixing: Introduce kids to the concept of marled yarn, created by holding two or three strands of yarn together while finger knitting. This blends colors in a striking swirl and can be an exciting visual lesson in color theory.
- Ombre Transitions: Teach them to gradually switch out yarn colors to create an ombre effect. They might start with a dark hue, then seamlessly transition to a lighter shade, ultimately finishing with a bright pop.
- Themed Projects: Encourage kids to match yarn colors to a holiday or a favorite storybook. Think red and green for the holidays, or the colors of a beloved superhero for a special scarf or bracelet.
Expanding to Other Fiber Crafts
- Arm Knitting: Once kids have mastered finger knitting, arm knitting can be the next big step. Using their arms as giant needles, they can create bulkier, faster projects like cozy blankets or oversized scarves.
- Weaving Fun: Show kids how to use simple frames or cardboard looms to weave with yarn, incorporating their finger-knit cords as decorative elements. This cross-crafting approach broadens their understanding of fiber arts.
- Crochet and Needle Knitting: For children who crave more structure, learning to use hooks or needles can be a natural progression. Finger knitting lays the foundation for basic stitches, so they’ll likely find crochet and knitting more intuitive.
