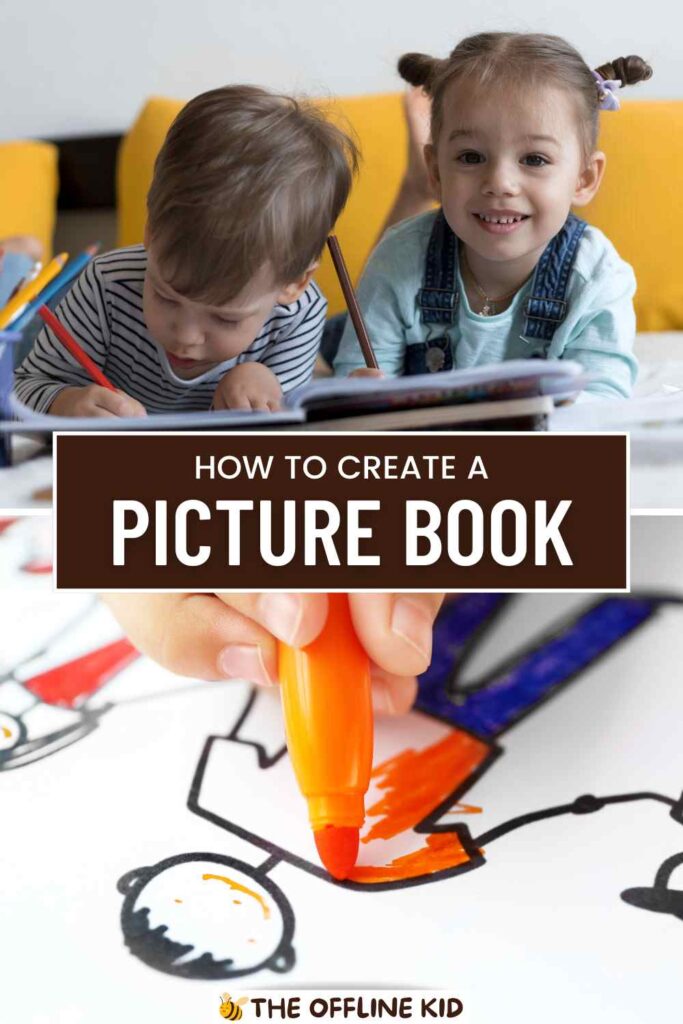
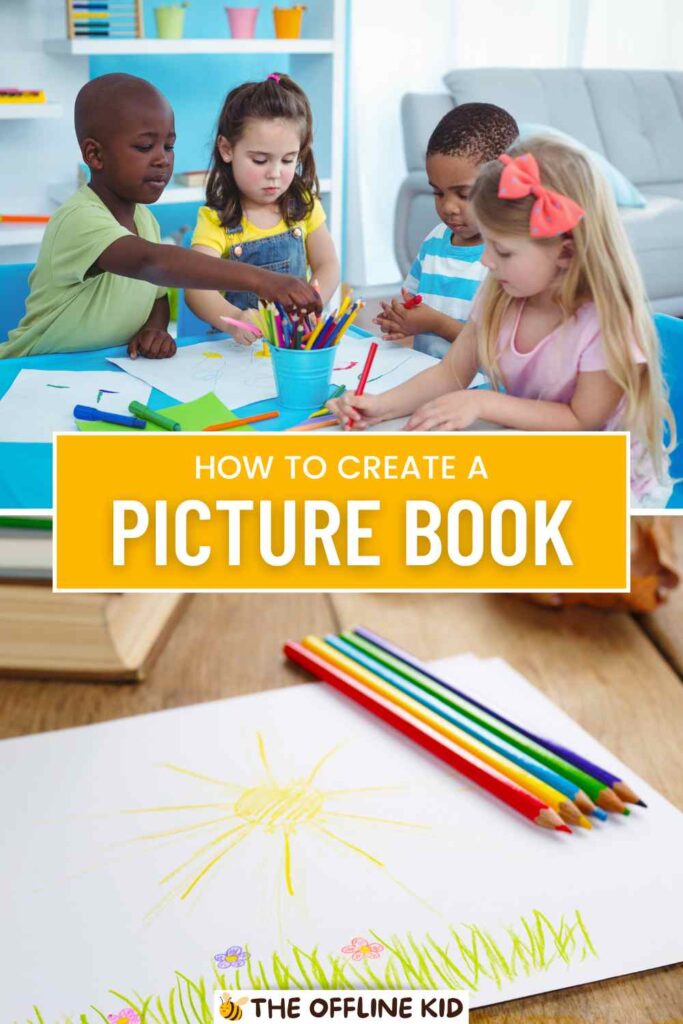
Discover the magic of creating your own picture book!
This guide will walk you through every step, from finding inspiration to publishing your finished masterpiece.
Finding Inspiration
Exploring Themes and Concepts
- Universal Themes: Love, friendship, adventure, overcoming challenges.
- Unique Ideas: Incorporate elements from your culture or personal interests.
- Classic Tropes: Animals, fantastical worlds, everyday life with a twist.
Understanding Your Audience
- Age Appropriateness: Tailor your story to the cognitive and emotional level of your target age group.
- Interests and Preferences: Research what kids currently enjoy through books, movies, and TV shows.
- Parental Appeal: Consider themes that parents would appreciate and value.
Drawing from Personal Experiences
- Life Events: Use your own experiences as inspiration for authentic storytelling.
- Family and Friends: Incorporate anecdotes or traits from people you know.
- Childhood Memories: Reflect on your own childhood and the stories you loved.
Using Prompts and Writing Exercises
- Writing Prompts: Use prompts to spark new ideas. Examples include “What if animals could talk?” or “A day in the life of a toy.”
- Creative Exercises: Try free writing, brainstorming sessions, or mind mapping.
- Story Starters: Begin with a scenario or an opening line to kickstart your narrative.
By exploring these avenues, you’ll uncover a wealth of inspiration to begin your picture book journey.
Crafting Your Story
The Importance of a Strong Narrative
- Engagement: Keep kids captivated with a compelling storyline.
- Emotional Connection: Create moments that resonate emotionally with both children and adults.
- Message: Convey a clear, meaningful message or moral.
Plot Structure and Pacing
- Beginning, Middle, End: Ensure your story has a clear structure.
- Beginning: Introduce characters and setting.
- Middle: Present a problem or adventure.
- End: Resolve the problem and conclude the story.
- Pacing: Maintain a rhythm that keeps young readers engaged.
- Action and Calm: Balance action scenes with quieter moments.
- Page Turns: Use cliffhangers or questions at the end of pages to encourage page turns.
Developing Characters Kids Will Love
- Relatable Characters: Create characters with traits and emotions that kids can relate to.
- Protagonist: Usually a child or a child-like character.
- Supporting Characters: Friends, family, or even talking animals.
- Character Development: Show growth or change in your main character.
- Flaws and Strengths: Make characters realistic with both positive and negative traits.
- Motivations: Give characters clear reasons for their actions.
Writing Engaging Dialogue
- Natural Speech: Write dialogue that sounds natural and is easy for kids to understand.
- Simple and Clear: Avoid complex vocabulary and long sentences.
- Distinct Voices: Give each character a unique way of speaking.
- Interactive: Include questions or repetitive phrases to invite participation from young readers.
- Illustration Cues: Use dialogue to hint at illustrations that show characters’ emotions and actions.
By focusing on these elements, you can craft a story that is both engaging and memorable for young readers.
Writing for Kids
Language and Vocabulary
- Simple Words: Use age-appropriate, simple language.
- Avoid Jargon: Steer clear of technical terms and complex words.
- Synonyms: Use familiar synonyms for less common words.
- Repetition: Reinforce key concepts and phrases.
- Patterned Text: Use repetitive phrases to create rhythm and predictability.
- Catchphrases: Introduce memorable catchphrases for characters.
Rhythm and Rhyme
- Rhyming Patterns: Consider using rhyme to make the text more engaging.
- ABAB or AABB: Common rhyming schemes that are easy to follow.
- Rhyming Couplet: Two lines that rhyme with each other.
- Rhythm: Pay attention to the flow and cadence of your sentences.
- Read Aloud: Test your story by reading it aloud to ensure it sounds natural.
- Sentence Length: Vary sentence length to create a dynamic rhythm.
Balancing Text and Illustrations
- Less is More: Use concise text, allowing illustrations to tell part of the story.
- Show, Don’t Tell: Let pictures convey emotions and actions.
- Complementary: Ensure text and illustrations complement each other.
- Page Layout: Consider how text and illustrations will fit on the page.
- Placement: Decide where text will go in relation to illustrations.
- White Space: Leave enough white space for readability.
Tips for Writing Picture Book Text
- Engage the Senses: Use descriptive language to engage all five senses.
- Visuals: Describe colors, shapes, and sizes.
- Sounds: Incorporate onomatopoeia to make sounds come alive.
- Interactive Elements: Include elements that invite interaction.
- Questions: Pose questions to engage readers.
- Repetition: Use repeating lines that kids can anticipate and join in.
- Humor and Playfulness: Add humor to keep the story fun and light-hearted.
- Funny Situations: Create silly scenarios that will make kids laugh.
- Word Play: Use puns or playful language.
Writing for kids involves creating text that is simple, rhythmic, and engaging while effectively balancing with illustrations to create a captivating story.
Revising and Editing
Self-Editing Techniques
- Take a Break: Step away from your manuscript for a few days before revising.
- Read Aloud: Reading your text aloud helps catch awkward phrasing and rhythm issues.
- Check Consistency: Ensure character names, descriptions, and details remain consistent throughout the story.
- Simplify: Cut unnecessary words and ensure clarity.
Getting Feedback from Kids and Adults
- Read to Kids: Share your story with children and observe their reactions.
- Engagement: Note where they seem most engaged or distracted.
- Understanding: Ask questions to see if they understand the story and its message.
- Adult Feedback: Get input from teachers, parents, and other writers.
- Constructive Criticism: Seek specific feedback on areas like plot, characters, and readability.
- Multiple Perspectives: Gather feedback from a diverse group of readers.
Working with Beta Readers
- Selecting Beta Readers: Choose individuals who are familiar with children’s literature.
- Mix of Readers: Include both children and adults for a well-rounded perspective.
- Feedback Form: Provide a simple form or set of questions to guide their feedback.
- Implementing Feedback: Review and categorize the feedback received.
- Patterns: Look for common themes or issues mentioned by multiple readers.
- Prioritization: Decide which changes will have the most significant impact.
Finalizing Your Manuscript
- Polish Your Text: Make final adjustments based on feedback and your revisions.
- Grammar and Punctuation: Ensure the text is grammatically correct and punctuated properly.
- Flow and Rhythm: Make sure the story flows smoothly and maintains a good rhythm.
- Consistency Check: Do one last check for consistency in character names, settings, and plot points.
- Format for Submission: Prepare your manuscript according to submission guidelines if seeking traditional publishing.
- Standard Formatting: Use standard fonts and formatting.
- Cover Letter: Write a compelling cover letter or query.
Revising and editing are crucial steps in refining your picture book. By seeking feedback, self-editing, and making thoughtful revisions, you can ensure your story is polished and ready for young readers.
Planning Your Illustrations
The Role of Illustrations in Picture Books
- Visual Storytelling: Illustrations help tell the story and convey emotions.
- Engagement: Bright and dynamic images capture children’s attention.
- Complementary: They should complement and enhance the text.
Deciding on an Illustration Style
- Personal Style: Choose a style that reflects your artistic strengths.
- Realistic: Detailed and lifelike illustrations.
- Cartoonish: Exaggerated, whimsical characters and settings.
- Abstract: Simplified forms and shapes.
- Consistency: Maintain a consistent style throughout the book.
- Inspiration: Look at other picture books for inspiration.
Storyboarding and Sketching
- Storyboard: Create a rough visual outline of your book.
- Layout: Plan the layout of each page, including text and images.
- Sequence: Ensure the flow of illustrations matches the story’s progression.
- Thumbnails: Make small, quick sketches of each page.
- Composition: Experiment with different compositions and perspectives.
- Pacing: Adjust the pacing by adding or removing illustrations as needed.
- Refinement: Develop more detailed sketches from your thumbnails.
Choosing Color Schemes
- Mood and Tone: Use colors to set the mood and tone of your story.
- Warm Colors: Convey warmth, energy, and excitement.
- Cool Colors: Suggest calmness, sadness, or serenity.
- Harmony: Ensure colors work well together and are visually pleasing.
- Symbolism: Use color to symbolize emotions or themes.
- Consistency: Maintain a consistent color scheme throughout the book.
By planning your illustrations carefully, you can create visuals that effectively enhance and complement your story. This preparation stage is essential for ensuring your picture book’s illustrations are cohesive and engaging.
Creating the Illustrations
Tools and Materials for Illustrating
- Traditional Tools:
- Pencils and Pens: For sketching and inking.
- Paints: Watercolors, acrylics, or gouache for vibrant colors.
- Paper: High-quality paper suitable for your chosen medium.
- Brushes: Various sizes for different effects.
- Digital Tools:
- Graphics Tablet: For digital drawing and painting.
- Software: Programs like Adobe Illustrator, Photoshop, or Procreate.
- Stylus: A digital pen for precise control.
- Hybrid Approach: Combining traditional and digital methods.
Techniques for Drawing and Painting
- Sketching: Start with basic shapes and gradually add details.
- Loose Sketches: Begin with light, loose sketches to plan composition.
- Refinement: Gradually refine your sketches, adding details and depth.
- Inking: Outline your sketches with clean, confident lines.
- Line Variation: Use varying line thickness for depth and interest.
- Detail Work: Add finer details with precise lines.
- Coloring: Apply color thoughtfully to enhance your illustrations.
- Layering: Build up colors in layers for richness and texture.
- Blending: Blend colors smoothly for gradients and shading.
- Textures and Patterns: Incorporate textures and patterns to add interest.
- Experiment: Try different techniques like stippling, cross-hatching, or using textured brushes.
- Consistency: Ensure textures and patterns are consistent with your style.
Digital Illustration Options
- Advantages: Flexibility, ease of editing, and a wide range of effects.
- Layers: Use layers to separate different elements of your illustration.
- Background Layer: Create a base layer for the background.
- Foreground Layers: Separate characters and other elements on different layers.
- Effects and Filters: Utilize digital effects to enhance your artwork.
- Textures: Apply digital textures to mimic traditional media.
- Lighting and Shadows: Use digital tools to add realistic lighting and shadows.
- Backup and File Management: Save your work frequently and keep backups.
Integrating Text with Illustrations
- Text Placement: Plan where text will appear on each page.
- Avoid Crowding: Ensure text doesn’t crowd the illustrations.
- Whitespace: Leave enough whitespace around text for readability.
- Font Choices: Select fonts that complement your illustrations.
- Readability: Choose clear, easy-to-read fonts.
- Style: Ensure the font style matches the tone of your book.
- Text and Image Interaction: Make text and images interact dynamically.
- Speech Bubbles: Use speech bubbles for character dialogue.
- Illustration Gaps: Leave gaps in illustrations for text placement.
Creating illustrations for your picture book is a creative and technical process that requires careful planning and execution.
By mastering these techniques and tools, you can bring your story to life with beautiful and engaging artwork.

Designing Your Picture Book
Layout and Page Design
- Consistency: Maintain a consistent layout style throughout the book.
- Margins: Ensure consistent margins on all pages.
- Alignment: Align text and images neatly.
- Balance: Balance text and images to avoid clutter.
- Visual Hierarchy: Create a visual hierarchy to guide the reader’s eye.
- Spacing: Use adequate spacing to separate text from images.
- Flow: Ensure a smooth flow from page to page.
- Page Turns: Design with page turns in mind to build anticipation.
Typography and Font Choices
- Readability: Choose fonts that are easy to read for young readers.
- Sans Serif Fonts: Often easier for children to read.
- Font Size: Use a large enough font size for clarity.
- Stylistic Match: Select fonts that match the tone and style of your illustrations.
- Playful Fonts: For whimsical or humorous stories.
- Elegant Fonts: For more serious or magical themes.
- Emphasis: Use bold or italic text to highlight important words or phrases.
- Consistency: Be consistent with emphasis styles throughout the book.
- Text Effects: Avoid overly complex text effects that can hinder readability.
Working with a Book Designer
- Professional Help: Consider hiring a professional book designer.
- Portfolio: Review their portfolio to ensure their style matches your vision.
- Collaboration: Communicate your ideas clearly and work collaboratively.
- DIY Design: If you choose to design the book yourself, use book design software.
- Software Options: Adobe InDesign, Canva, or other design tools.
- Templates: Utilize templates to simplify the design process.
Creating a Dummy Book
- Mock-Up: Create a physical or digital mock-up of your book.
- Physical Dummy: Print out pages and assemble them to visualize the final product.
- Digital Dummy: Use software to create a digital version.
- Review: Review the dummy book to catch any layout or design issues.
- Page Turns: Ensure page turns feel natural and enhance the storytelling.
- Final Adjustments: Make any necessary adjustments before finalizing the design.
Designing your picture book involves thoughtful planning and attention to detail.
By focusing on layout, typography, and collaboration, you can create a visually appealing and engaging book that captivates young readers.
Publishing Your Picture Book
Traditional Publishing vs. Self-Publishing
- Traditional Publishing:
- Pros: Professional editing, design, marketing, and distribution. No upfront costs.
- Cons: Competitive, long wait times, less creative control.
- Self-Publishing:
- Pros: Complete creative control, faster turnaround, higher royalties.
- Cons: Upfront costs, responsibility for marketing and distribution.
Finding an Agent or Publisher
- Research: Look for agents and publishers who specialize in children’s picture books.
- Publisher’s Market: Use resources like the Children’s Writer’s & Illustrator’s Market.
- Agent Websites: Visit agent websites to understand their submission guidelines.
- Submission Guidelines: Follow submission guidelines carefully.
- Query Letter: Write a compelling query letter.
- Introduction: Briefly introduce yourself and your book.
- Synopsis: Provide a concise summary of your story.
- Credentials: Mention any relevant experience or accolades.
- Manuscript: Include your manuscript as per the guidelines (e.g., the first three chapters, full manuscript, etc.).
- Query Letter: Write a compelling query letter.
- Waiting: Be prepared for a waiting period and potential rejections.
- Patience: It may take several months to hear back.
- Resilience: Rejections are common; keep submitting and improving your work.
Preparing Your Book for Self-Publishing
- ISBN and Copyright: Obtain an ISBN and register the copyright.
- ISBN: Purchase an ISBN for your book.
- Copyright Registration: Register your copyright to protect your work.
- Formatting: Format your book for both print and digital versions.
- Print Layout: Ensure the layout is suitable for print (bleed, margins, etc.).
- eBook Format: Convert your book to popular eBook formats (ePub, Mobi).
- Printing Options: Choose a printing method.
- Print-on-Demand: Services like Amazon KDP, IngramSpark.
- Bulk Printing: For larger quantities, consider traditional printing services.
Marketing and Promoting Your Book
- Author Platform: Build an author platform to connect with readers.
- Website: Create an author website to showcase your book and provide updates.
- Social Media: Use social media platforms to engage with your audience.
- Book Launch: Plan a book launch event.
- Virtual Launch: Host a virtual launch event with readings and Q&A sessions.
- Physical Launch: Organize a launch party at a local bookstore or library.
- Marketing Strategies: Implement various marketing strategies to promote your book.
- Press Releases: Send press releases to local media and book bloggers.
- Book Reviews: Seek reviews from bloggers, influencers, and review sites.
- Giveaways: Host giveaways to generate excitement and attract readers.
- School and Library Visits: Arrange visits to schools and libraries to read your book and engage with kids.
Publishing your picture book, whether through traditional or self-publishing routes, requires careful preparation and strategic marketing.
By understanding the pros and cons of each option and effectively promoting your book, you can successfully bring your picture book to market.