Discover the joy of kite flying with our ultimate guide!
From building your own kite to mastering the art of flight, this guide covers everything you need to know.
Let’s embark on a fun and creative journey that will have you soaring in no time!
History and Types of Kites
A Brief History of Kites
Origins of Kite Flying
- Kites have a rich history that dates back over 2,000 years.
- They are believed to have originated in China, where they were used for various purposes, including military signaling and measuring distances.
Evolution Through Cultures and Times
- China: The earliest kites were made from silk and bamboo.
- Japan: Kites became an important part of cultural festivals and celebrations.
- Korea: Used kites for military communication and signaling.
- Europe: Introduced in the 13th century by Marco Polo, leading to a variety of designs and uses.
Types of Kites
Traditional Kites
- Diamond Kites
- Classic shape, easy to build and fly.
- Consists of a simple framework with a diamond-shaped sail.
- Delta Kites
- Triangular shape, excellent stability.
- Ideal for light to moderate winds.
- Box Kites
- Three-dimensional structure, often rectangular or cylindrical.
- Capable of flying in higher winds and achieving great heights.
Modern Kites
- Stunt Kites
- Designed for performing tricks and acrobatics.
- Equipped with multiple lines for better control and maneuverability.
- Parafoil Kites
- No rigid frame, uses air pockets to maintain shape.
- Portable and easy to pack, suitable for various wind conditions.
- Power Kites
- Large and powerful, used for sports like kite surfing and landboarding.
- Requires skill and strength to handle.
Specialty Kites
- Fighter Kites
- Small, single-line kites used in competitive kite fighting.
- Designed for agility and quick maneuvers.
- Rokkaku Kites
- Traditional Japanese hexagonal kites, known for stability and strength.
- Often used in kite battles and competitions.
- Artistic Kites
- Custom-designed kites that showcase intricate artwork and creativity.
- Can be of any shape or size, often used in kite festivals.
Kites have a fascinating history and come in many forms, each with unique characteristics and purposes.
Whether you’re a beginner or an experienced flyer, understanding the different types of kites will help you choose the right one for your needs and enhance your kite flying experience.


Materials and Tools Needed
Materials for Kite Building
Different Types of Kite Materials
- Paper
- Lightweight and easy to decorate.
- Ideal for small, simple kites.
- Fabric
- Durable and flexible.
- Commonly used for larger and more robust kites.
- Nylon and ripstop polyester are popular choices.
- Plastic
- Waterproof and inexpensive.
- Suitable for various weather conditions.
- Trash bags and plastic tablecloths can be used for DIY kites.
Frame Materials
- Bamboo
- Traditional and lightweight.
- Provides excellent flexibility and strength.
- Wood
- Readily available and easy to work with.
- Dowels and lightweight balsa wood are common.
- Fiberglass
- Strong and durable.
- Suitable for high-performance and stunt kites.
String and Tail Materials
- String
- Kite string or twine specifically designed for kites.
- Strong, lightweight, and resistant to tangling.
- Tail Materials
- Streamers, ribbons, or strips of fabric.
- Helps stabilize the kite in flight.
Tools Required
Essential Tools
- Scissors
- For cutting materials accurately.
- Tape
- Clear, masking, or duct tape for securing materials.
- Glue
- Strong adhesive for attaching parts together.
- Hot glue guns or craft glue are commonly used.
Optional Tools
- Measuring Tape
- Ensures precise measurements for a balanced kite.
- Ruler
- Useful for drawing straight lines and measuring smaller parts.
- Markers for Design
- Adds personal touches and decorations to your kite.
Gathering the right materials and tools is crucial for building a successful kite.
By selecting appropriate materials for the sail, frame, string, and tail, you’ll ensure that your kite is both durable and capable of flying well.
With these essentials in hand, you’re ready to start crafting your kite and preparing for an enjoyable kite flying experience.
Step-by-Step Kite Building
Choosing Your Kite Design
Selecting the Right Kite for Your Skill Level and Intended Use
- Beginners
- Opt for simple designs like the Diamond or Delta kite.
- These kites are easier to build and fly, making them perfect for newcomers.
- Intermediate and Advanced Flyers
- Try more complex designs like the Box or Stunt kites.
- These kites offer more challenges in both construction and flying techniques.
Simple Designs for Beginners
- Diamond Kite
- Classic and straightforward.
- Easy to build with minimal materials.
- Delta Kite
- Stable and versatile.
- Performs well in various wind conditions.
Basic Kite Building Techniques
Constructing the Frame
- Cutting the Frame Materials
- Measure and cut your chosen frame materials (bamboo, wood, or fiberglass) to the desired lengths.
- For a Diamond kite, cut two sticks: one longer (spine) and one shorter (crosspiece).
- Assembling the Frame
- Lay the frame pieces on a flat surface, forming the kite’s shape.
- Use string or tape to secure the joints where the sticks intersect.
Attaching the Sail
- Cutting the Sail Material
- Lay out your sail material (paper, fabric, or plastic) on a flat surface.
- Place the frame on top and trace the outline, leaving a margin for attachment.
- Cut the sail material along the traced outline.
- Securing the Sail to the Frame
- Fold the margins of the sail material over the frame and secure with tape or glue.
- Ensure the sail is taut and evenly stretched across the frame.
Adding the String and Tail
- Attaching the Flying Line
- Tie a loop at the top of the spine and another at the bottom.
- Attach the flying line to these loops, ensuring it is securely fastened.
- Adding the Tail
- Cut the tail material into strips.
- Attach the strips to the bottom of the kite, evenly spacing them to ensure stability.
Detailed Instructions for Popular Kites
Building a Diamond Kite
- Materials Needed
- Frame: Two sticks (one longer, one shorter)
- Sail: Paper, fabric, or plastic
- String: Kite string
- Tail: Strips of fabric or plastic
- Steps
- Assemble the frame by tying the two sticks together to form a cross.
- Attach the sail material to the frame, ensuring it is taut.
- Attach the flying line and tail to the kite.
Crafting a Delta Kite
- Materials Needed
- Frame: Three sticks (one for the spine, two for the crosspieces)
- Sail: Fabric or plastic
- String: Kite string
- Tail: Strips of fabric or plastic
- Steps
- Assemble the frame, forming a triangle with the crosspieces extending from the spine.
- Attach the sail material to the frame, ensuring it is taut.
- Attach the flying line and tail to the kite.
Making a Box Kite
- Materials Needed
- Frame: Four sticks (for the edges) and four shorter sticks (for the crosspieces)
- Sail: Fabric or plastic
- String: Kite string
- Steps
- Assemble the frame by connecting the sticks to form a rectangular box.
- Attach the sail material to the frame, covering both ends of the box.
- Attach the flying line to the kite.
Building a kite involves careful planning and precise execution.
By selecting the appropriate design for your skill level and following these detailed instructions, you can create a kite that is not only functional but also a source of great enjoyment.
With your kite ready, you’re set to experience the thrill of watching it soar high in the sky.
Decorating Your Kite
Design Ideas and Inspiration
Using Colors and Patterns
- Bright Colors
- Use vibrant colors to make your kite stand out against the sky.
- Popular color combinations include red and yellow, blue and white, and green and orange.
- Patterns
- Stripes, polka dots, and geometric shapes can add visual interest.
- Consider creating a theme, such as rainbows, sunsets, or abstract designs.
Personalizing with Unique Designs
- Custom Artwork
- Draw or paint unique designs that reflect your personality or interests.
- Popular themes include animals, flowers, and favorite characters.
- Stencils and Stickers
- Use stencils to create precise shapes and patterns.
- Add stickers for quick and easy decoration.
Practical Tips for Decorating
Best Materials for Decoration
- Markers and Paints
- Permanent markers and acrylic paints work well on most kite materials.
- Ensure the colors are waterproof to withstand outdoor conditions.
- Fabric Paints
- Use fabric paints for kites made of fabric material.
- These paints are flexible and won’t crack when the kite bends.
- Glitter and Sequins
- Add sparkle with glitter and sequins, but use sparingly to avoid adding too much weight.
- Secure with strong glue to ensure they stay attached during flight.
Ensuring Decorations Don’t Affect Flight
- Balance and Symmetry
- Distribute decorations evenly to maintain the kite’s balance.
- Avoid placing too many decorations on one side.
- Weight Considerations
- Keep the decorations lightweight to prevent affecting the kite’s ability to fly.
- Avoid heavy materials that could drag the kite down.
- Attachment
- Secure all decorations firmly to prevent them from coming off during flight.
- Test the kite indoors or in light winds to ensure decorations don’t interfere with flight performance.
Decorating your kite is a fun and creative way to personalize it and make it unique.
By choosing the right colors, patterns, and materials, you can create a visually stunning kite that reflects your style.
Remember to keep the decorations lightweight and balanced to ensure your kite flies well. With a beautifully decorated kite, you’ll not only enjoy flying it but also the admiration it draws from onlookers.
Flying Your Kite
Finding the Perfect Location
Ideal Places for Kite Flying
- Parks
- Open spaces with minimal obstructions.
- Look for large fields with few trees and buildings.
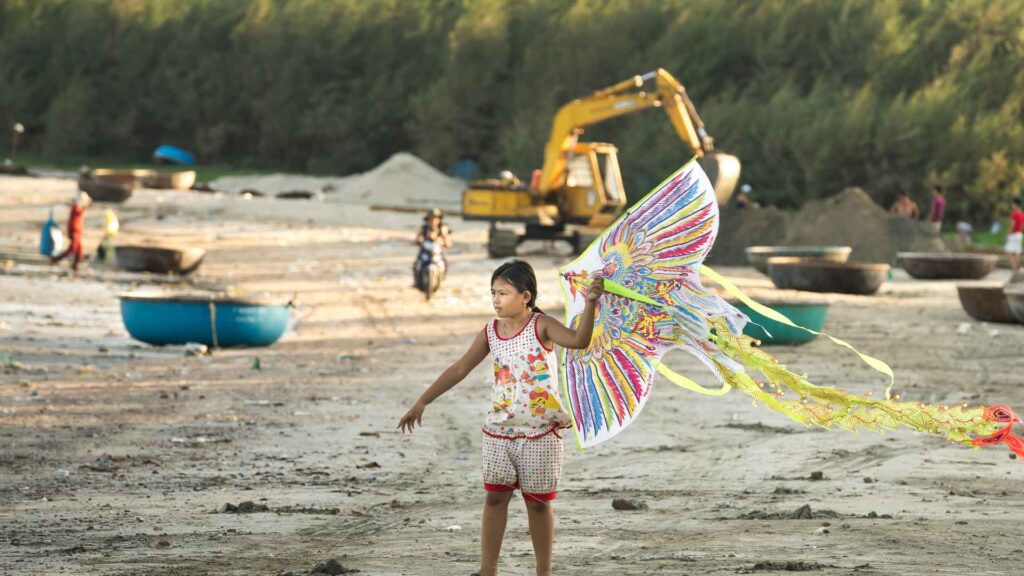
- Beaches
- Consistent wind and wide open areas.
- Ensure the beach allows kite flying and is not crowded.
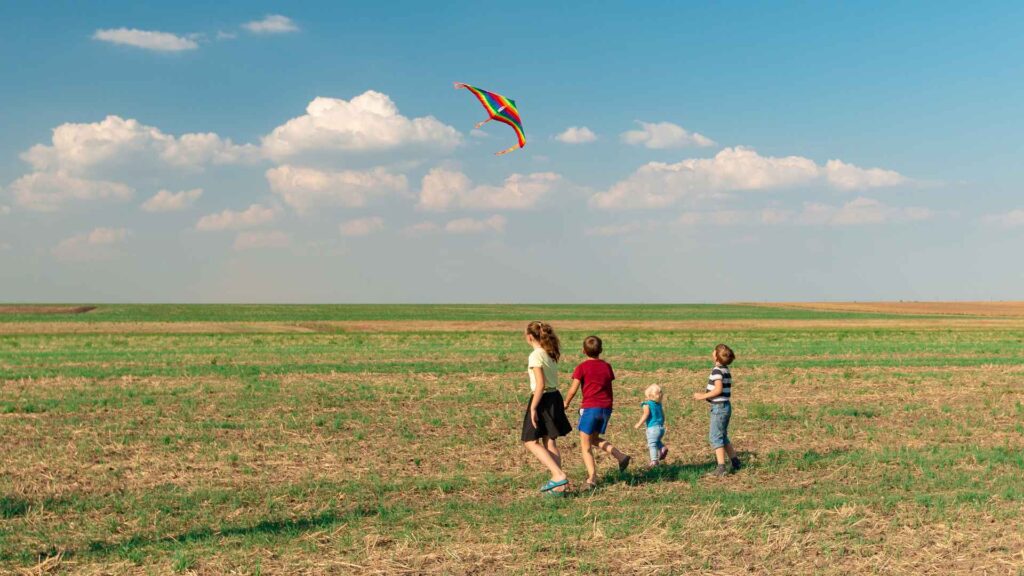
- Open Fields
- Farmlands, meadows, and other wide-open areas.
- Ensure there are no power lines, fences, or other obstacles.
Avoiding Obstacles and Hazards
- Power Lines
- Always stay clear of power lines to avoid accidents and damage to your kite.
- Trees and Buildings
- These can obstruct wind flow and cause turbulence.
- Avoid areas with tall trees or densely packed buildings.
- Crowded Areas
- Stay away from busy places to ensure safety for both kite flyers and bystanders.
Understanding Weather Conditions
Best Weather for Kite Flying
- Wind Speed
- Ideal wind speed for most kites is between 5-25 mph.
- Light winds (5-10 mph) are perfect for smaller kites.
- Moderate winds (10-20 mph) are suitable for medium to large kites.
- Strong winds (20-25 mph) are best for robust, high-performance kites.
- Wind Direction
- Fly your kite against the wind for better lift and control.
- Use a windsock or flag to determine wind direction before launching your kite.
Safety Precautions for Different Weather Conditions
- Light Winds
- Use kites designed for low wind conditions.
- Be patient and ready to run a bit to help launch the kite.
- Moderate Winds
- Most kites perform well in moderate winds.
- Ensure your kite is securely tied and ready for steady flight.
- Strong Winds
- Use durable kites designed for high winds.
- Be cautious of sudden gusts that can make the kite difficult to control.
- Stormy Weather
- Avoid flying kites during storms or when lightning is present.
- Safety first: wait for clear, stable weather conditions.
Techniques for Launching Your Kite
Solo Launching vs. Assisted Launching
- Solo Launching
- Stand with your back to the wind.
- Hold the kite up by the frame and let out some string.
- Gently release the kite into the wind and start walking backward, letting out more string as it gains altitude.
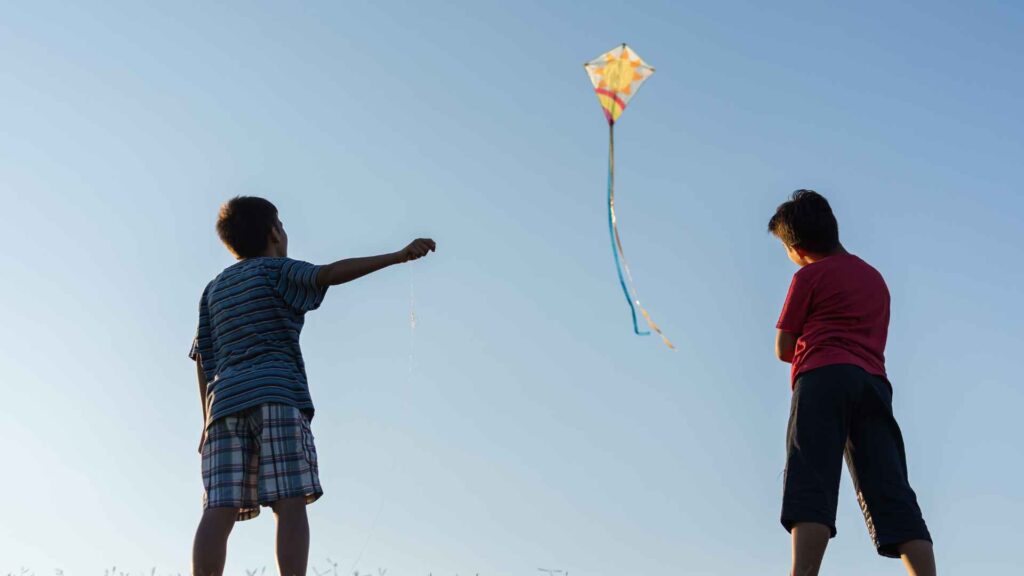
- Assisted Launching
- Have a helper hold the kite by the frame.
- Stand downwind and signal your helper to release the kite as you pull on the string.
- The helper should gently toss the kite into the air while you pull the string to create lift.
Troubleshooting Common Problems During Takeoff
- Kite Not Rising
- Ensure there’s enough wind and the kite is facing the wind correctly.
- Check for any tangles in the string or issues with the frame.
- Kite Spinning or Crashing
- Adjust the tail length to improve stability.
- Make sure the kite is balanced and not overloaded with decorations.
- String Tangling
- Keep the string taut and avoid sudden jerks.
- Use a reel or winder to manage the string efficiently.
Flying your kite successfully depends on choosing the right location, understanding weather conditions, and mastering launch techniques.
By finding an open, hazard-free area and ensuring ideal wind conditions, you can enjoy a smooth kite flying experience. Whether launching solo or with assistance, these tips will help you get your kite airborne and soaring gracefully.
Advanced Kite Flying
Stunt Kite Tricks and Maneuvers
Basic Tricks
- Loops
- Pull one line to make the kite loop in a circular motion.
- Practice making tight and wide loops for variety.
- Spins
- Pull both lines simultaneously to make the kite spin.
- Control the speed of the spin by adjusting the tension on the lines.
- Dives
- Guide the kite into a controlled dive by releasing tension on the lines.
- Pull back on the lines to recover from the dive smoothly.
Advanced Maneuvers
- Figure-Eights
- Combine loops and spins to create a figure-eight pattern.
- Practice making symmetrical and smooth figure-eights.
- Combinations
- String together multiple tricks for a continuous performance.
- Experiment with different sequences of loops, spins, and dives.
Competing in Kite Festivals
Overview of Kite Festivals Around the World
- International Kite Festival, India
- Held in January, attracts kite enthusiasts from around the globe.
- Features colorful and artistic kites of all shapes and sizes.
- Berck-sur-Mer Kite Festival, France
- Takes place in April, known for its impressive aerial displays.
- Includes competitions, workshops, and night flights.
- Washington State International Kite Festival, USA
- Occurs in August, offers a week-long celebration of kite flying.
- Features stunt competitions, kite battles, and family-friendly activities.
Preparing for Competitions: Tips and Tricks
- Practice Regularly
- Dedicate time to practicing tricks and maneuvers.
- Build muscle memory and improve control over your kite.
- Perfect Your Kite
- Ensure your kite is in top condition, with no damages or weak points.
- Test your kite in various wind conditions to understand its performance.
- Learn from Others
- Watch videos and attend workshops to learn new techniques.
- Join local kite flying clubs and communities for support and feedback.
Maintaining and Repairing Your Kite
Routine Maintenance Tips
- Inspect Before and After Flights
- Check the frame, sail, and string for any signs of wear or damage.
- Make necessary repairs before flying to prevent accidents.
- Clean Your Kite
- Remove dirt, sand, and debris after each flight.
- Use a soft cloth and mild soap to clean the sail material.
- Store Properly
- Store your kite in a dry, cool place away from direct sunlight.
- Use a kite bag or container to protect it from dust and damage.
Common Repairs and How to Fix Them
- Torn Sail
- Use strong adhesive tape or fabric patches to mend small tears.
- For larger tears, replace the damaged section with new sail material.
- Broken Frame
- Replace broken sticks with new ones of the same material and length.
- Secure joints with string or tape to ensure stability.
- Tangled or Broken String
- Untangle knots carefully to avoid further damage.
- Replace broken string with new kite string of the same strength and length.
Advanced kite flying opens up a world of thrilling tricks and competitive opportunities.
By mastering basic and advanced maneuvers, you can impress spectators and compete in festivals around the globe.
Regular maintenance and quick repairs will keep your kite in top condition, ensuring it performs well in every flight. Embrace the challenge and enjoy the exhilarating experience of advanced kite flying.
Safety Tips and Best Practices
Kite Flying Safety Guidelines
Safe Distance from Power Lines and Trees
- Power Lines
- Always fly your kite at least 200 feet away from power lines.
- If your kite gets caught in a power line, do not try to retrieve it yourself. Call the local utility company for assistance.
- Trees
- Stay clear of areas with tall trees to avoid your kite getting tangled.
- If your kite does get stuck, use a long pole or ask for help rather than climbing the tree.
Handling Strong Winds and Adverse Weather
- Strong Winds
- Use kites designed for high wind conditions.
- Secure your kite string firmly to avoid losing control.
- Be prepared for sudden gusts by maintaining a strong grip on the string.
- Adverse Weather
- Avoid flying kites during storms or high winds to prevent accidents.
- Never fly kites in rain or lightning as wet string can conduct electricity.
Environmental Considerations
Keeping Kite Flying Eco-Friendly
- Biodegradable Materials
- Choose kites made from biodegradable materials such as paper or natural fabric.
- Avoid plastic materials that can contribute to pollution.
- Eco-Friendly String
- Use natural fiber string, such as cotton or hemp, which decomposes faster than synthetic options.
- Dispose Properly
- Dispose of broken or old kites responsibly.
- Recycle materials where possible or dispose of them in designated waste areas.
Proper Disposal of Damaged Kites
- Recycling
- Separate recyclable materials like plastic and fabric from non-recyclable components.
- Take recyclable parts to appropriate recycling centers.
- Reusing Parts
- Salvage usable parts from damaged kites for future projects.
- Use leftover materials for crafts or repair kits.
- Waste Management
- Dispose of non-recyclable parts in accordance with local waste management guidelines.
- Avoid littering and ensure that all kite parts are properly contained.
General Safety Tips
Personal Safety
- Wear Appropriate Clothing
- Dress comfortably and protect yourself from the sun with hats and sunscreen.
- Wear sunglasses to protect your eyes from glare.
- Stay Hydrated
- Bring plenty of water, especially if you are flying kites for an extended period.
- Take breaks to rest and rehydrate.
Awareness of Surroundings
- People and Pets
- Be mindful of other people and pets in the area.
- Fly your kite in open spaces to avoid collisions.
- Awareness of Air Traffic
- Avoid flying kites near airports or in areas with heavy air traffic.
- Fly your kite below 400 feet to stay within safe airspace limits.
Safety is paramount when it comes to kite flying.
By maintaining a safe distance from hazards, handling adverse weather conditions properly, and being mindful of the environment, you can ensure a fun and secure kite flying experience.
Personal safety and awareness of your surroundings will further enhance your enjoyment and prevent accidents. Follow these guidelines and best practices to make the most of your kite flying adventures.
Conclusion
Recap and Encouragement
Summary of Key Points from the Guide
- History and Types of Kites
- Understanding the rich history and various types of kites helps in choosing the right one for your needs.
- Materials and Tools Needed
- Gathering the correct materials and tools ensures a smooth kite-building process.
- Step-by-Step Kite Building
- Detailed instructions on constructing, decorating, and launching your kite set you up for success.
- Decorating Your Kite
- Personalizing your kite with colors and designs makes the experience more enjoyable.
- Flying Your Kite
- Finding the right location and understanding weather conditions are crucial for a successful flight.
- Advanced Kite Flying
- Mastering tricks and participating in festivals add excitement to kite flying.
- Safety Tips and Best Practices
- Following safety guidelines and environmental considerations ensures a fun and secure experience.
Encouragement to Start Building and Flying Kites
- Kite flying is a wonderful activity that combines creativity, skill, and a connection with nature.
- Whether you’re building a simple diamond kite or mastering advanced stunts, each step of the journey offers joy and fulfillment.
- Don’t hesitate to dive in and start building your kite today. The sky is the limit!
Additional Resources
Books, Websites, and Communities for Kite Enthusiasts
- Books
- “The Kite Runner” by Khaled Hosseini (fiction with kite flying elements).
- “Kites: The Science and the Wonder” by T. Ito and H. Saito.
- Websites
- American Kitefliers Association: Offers resources, events, and community support.
- Kite Plan Base: A collection of free kite plans and building instructions.
- Communities
- Local Kite Clubs: Join local kite flying clubs to meet other enthusiasts and participate in events.
- Online Forums: Engage with kite flying forums like KiteLife and KiteBuilder for tips and advice.
Glossary of Kite Terms
- Bridle: The string arrangement that helps balance and control the kite.
- Frame: The structure that supports the kite’s shape.
- Sail: The material that catches the wind and lifts the kite.
- Tail: Strips of material attached to the kite for stability.
Frequently Asked Questions (FAQ)
- What is the best type of kite for beginners?
- Diamond kites are ideal for beginners due to their simple design and easy handling.
- How can I fix a tear in my kite?
- Use strong adhesive tape or fabric patches to mend small tears. For larger tears, replace the damaged section with new sail material.
- What wind conditions are best for kite flying?
- Ideal wind speed for most kites is between 5-25 mph. Light to moderate winds are perfect for beginners.
This guide provides all the information you need to start your kite flying journey. Enjoy the process, stay safe, and have fun exploring the skies with your beautifully crafted kites!