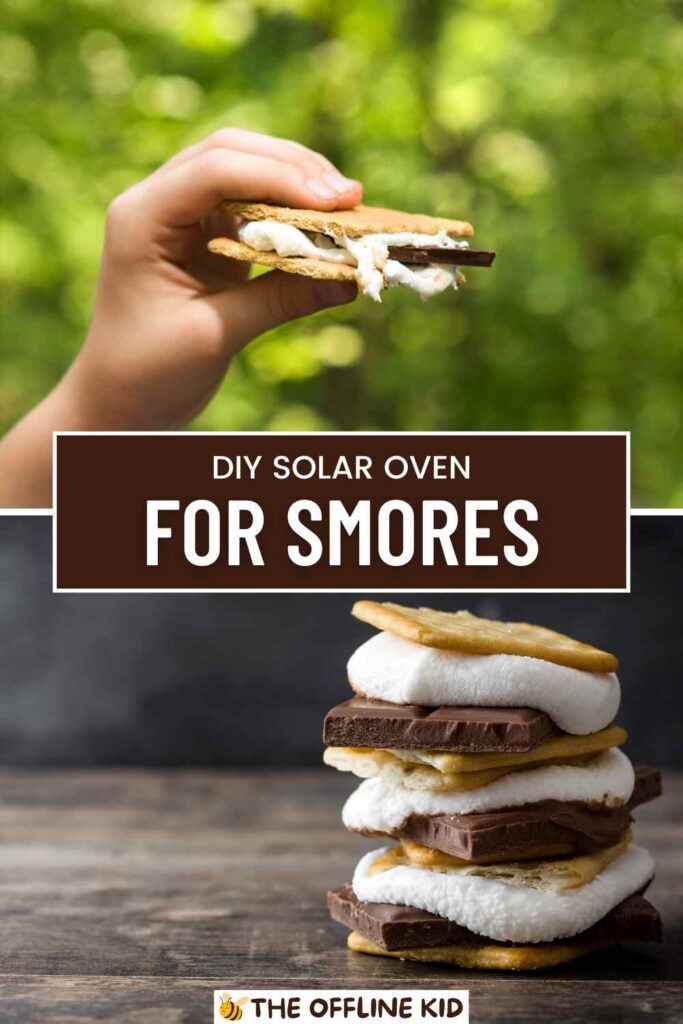
Discover the joy of making s’mores using a DIY solar oven!
This eco-friendly project is perfect for kids and adults, combining fun and education in a hands-on activity. Learn how to build, test, and cook delicious treats with solar power.
What is a Solar Oven?
Definition
A solar oven is a device that uses the energy from the sun to heat and cook food.
Unlike traditional ovens that rely on electricity or gas, a solar oven harnesses sunlight, making it an eco-friendly and cost-effective way to prepare meals.
How it Works
A solar oven works by capturing sunlight and converting it into heat. Here’s a simple breakdown of the process:
- Reflection: Aluminum foil or reflective surfaces direct sunlight into the oven.
- Absorption: Black surfaces inside the oven absorb the sunlight and convert it into heat.
- Trapping Heat: A transparent cover, like plastic wrap, helps retain the heat inside the oven.
This combination of reflection, absorption, and insulation creates an environment where food can cook, similar to a conventional oven.
Benefits
Building and using a solar oven comes with several advantages:
- Eco-Friendly: Uses renewable solar energy, reducing reliance on non-renewable resources.
- Educational: Offers a hands-on learning experience about solar energy and sustainability.
- Fun and Interactive: Perfect for engaging kids in a creative and scientific project.
- Cost-Effective: Requires minimal materials, many of which can be found around the house.
- Portable and Safe: Easy to transport and doesn’t involve open flames or high-voltage electricity.
By understanding these basic principles and benefits, you’re ready to dive into creating your own solar oven and making delicious s’mores!

Materials Needed
Basic Materials List
To build your DIY solar oven, gather the following materials:
- Cardboard Box: A medium to large size box, like a pizza box or a shipping box, works best.
- Aluminum Foil: Essential for reflecting sunlight into the oven.
- Plastic Wrap: Used to create a clear, heat-trapping cover.
- Black Construction Paper: Helps absorb sunlight and convert it to heat.
- Tape and Glue: For securing various parts of the oven.
- Scissors: For cutting materials to size.
- Ruler: Ensures precise measurements and cuts.
Optional Materials
For better performance and more accurate results, you might also want:
- Thermometer: To measure the internal temperature of your solar oven.
- Extra Insulation: Materials like newspaper or additional cardboard can improve heat retention.
Gathering Tips
Here are some tips for finding and selecting materials:
- Repurpose and Recycle: Look for items you already have at home. Old pizza boxes, leftover aluminum foil, and plastic wrap are perfect for this project.
- Craft Stores: If you need to buy materials, craft stores often carry everything on the list.
- Be Creative: Substitutions are okay. For example, if you don’t have black construction paper, try painting a piece of cardboard black.
With all your materials ready, you’re set to start building your solar oven for s’mores. This project is a great way to repurpose items and learn about sustainability!
Building Your Solar Oven
Step-by-Step Instructions
1. Preparing the Box
- Choose Your Box: Select a cardboard box. If using a pizza box, it’s already the right shape. If using a shipping box, you may need to cut it down to a suitable size.
- Cut the Flap: On the top of the box, draw a square leaving a 1-inch border around the edges. Use scissors or a utility knife to cut three sides of the square, creating a flap that opens like a lid.
2. Lining with Foil
- Cover the Flap: Line the underside of the flap with aluminum foil, shiny side out. Use glue or tape to secure the foil, ensuring it is smooth and wrinkle-free to reflect as much sunlight as possible.
- Line the Box Interior: Cover the inside walls and bottom of the box with aluminum foil. Again, ensure the foil is smooth and securely attached. This will reflect light onto the food.
3. Adding the Black Paper
- Create a Heat Absorbing Base: Cut a piece of black construction paper to fit the bottom of the box. Glue or tape it in place. The black paper will absorb sunlight and convert it to heat, raising the temperature inside the oven.
4. Sealing with Plastic Wrap
- Double Layer for Insulation: Cut two pieces of plastic wrap, each large enough to cover the opening made by the flap. Secure one piece across the top of the opening with tape, ensuring it is tight and free of gaps. Place the second piece underneath the flap, creating a double-layered window that traps heat while allowing sunlight to enter.
5. Final Assembly
- Check the Lid: Ensure the flap can open and close easily, with the foil side reflecting sunlight into the box. Adjust as needed for smooth operation.
- Add a Prop: To keep the flap open at an optimal angle, use a stick or ruler as a prop. Adjust the angle to direct maximum sunlight into the box.
Visual Aids
Including diagrams or photos at each step can greatly help in understanding the process. Here are a few tips for visual aids:
- Diagrams: Simple line drawings can illustrate each step clearly.
- Photos: Take clear, well-lit photos of your solar oven at each stage of construction.
- Labels: Add labels to highlight key parts and actions in your visuals.
By following these step-by-step instructions and using visual aids, you’ll have a functional solar oven ready to cook delicious s’mores in no time!
Testing Your Solar Oven
Ideal Conditions
To get the best results from your solar oven, consider the following ideal conditions:
- Time of Day: The sun is strongest between 10 AM and 2 PM, making this the best time to test your solar oven.
- Weather: A clear, sunny day is crucial. Clouds can significantly reduce the amount of sunlight reaching your oven.
- Temperature: While a solar oven can work in cooler weather, warmer ambient temperatures help achieve higher internal temperatures.
Location
Choose a spot that receives direct sunlight for several hours without any shade. A south-facing area in your yard or on your patio is usually a good choice.
First Test
Before cooking your s’mores, it’s a good idea to test your solar oven:
- Preheat the Oven: Place the solar oven in direct sunlight and prop open the flap to reflect light into the box. Allow it to preheat for 30 minutes.
- Monitor Temperature: If you have a thermometer, place it inside the oven to check the temperature. A well-built solar oven can reach temperatures between 150°F to 200°F (65°C to 93°C).
- Adjustments: If the temperature is too low, try adjusting the angle of the reflective flap or repositioning the oven to get more direct sunlight.
Troubleshooting
Here are some common issues and how to fix them:
- Not Heating Enough: Ensure the reflective surfaces are smooth and clean. Adjust the flap to capture more sunlight.
- Heat Escaping: Check the plastic wrap cover for any gaps or tears. Make sure it’s tightly sealed.
- Uneven Cooking: Rotate the solar oven occasionally to ensure even exposure to sunlight.
By carefully testing your solar oven under ideal conditions and making necessary adjustments, you’ll ensure it reaches the right temperature for cooking your s’mores perfectly.
Making S’mores in Your Solar Oven
Ingredients Needed
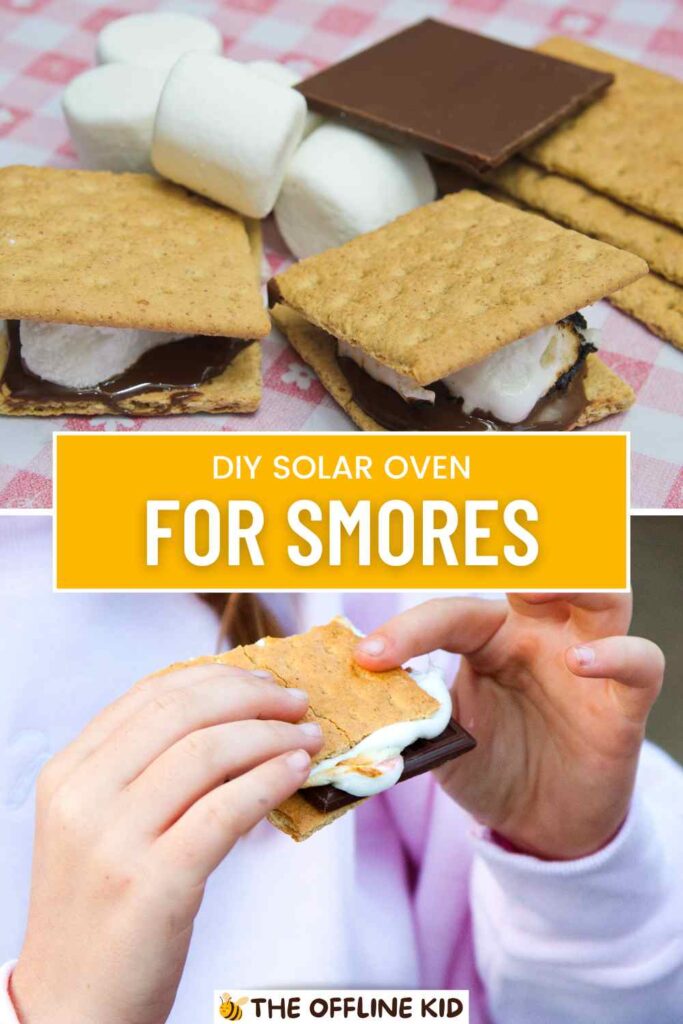
To make classic s’mores, you’ll need:
- Graham Crackers: Break them in half to create squares.
- Chocolate Bars: Choose your favorite type (milk chocolate, dark chocolate, etc.).
- Marshmallows: Standard size works best for s’mores.
Preparation
- Assemble the S’mores:
- Place a piece of chocolate on top of one half of a graham cracker.
- Add a marshmallow on top of the chocolate.
- Place the other half of the graham cracker on top to create a sandwich.
- Prepare the Solar Oven:
- Ensure the solar oven is preheated and positioned in direct sunlight.
- Place the assembled s’mores inside the oven on the black construction paper.
Cooking Time
- Heating: Close the flap to trap the heat inside the solar oven. Depending on the intensity of the sunlight and the efficiency of your solar oven, the s’mores should be ready in about 30 minutes to 1 hour.
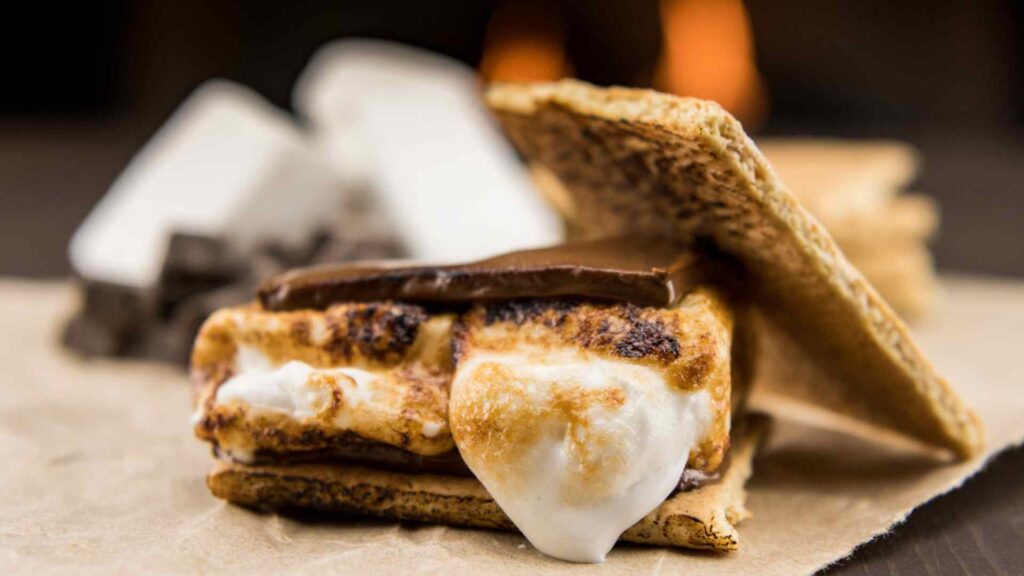
- Monitoring: Check the s’mores every 10-15 minutes to see how they are progressing. The chocolate should start to melt, and the marshmallows should become gooey.
Safety Tips
- Supervision: Always supervise children when using the solar oven, especially when handling hot items.
- Handling: Use oven mitts or a cloth to remove the s’mores from the oven, as the interior can get quite hot.
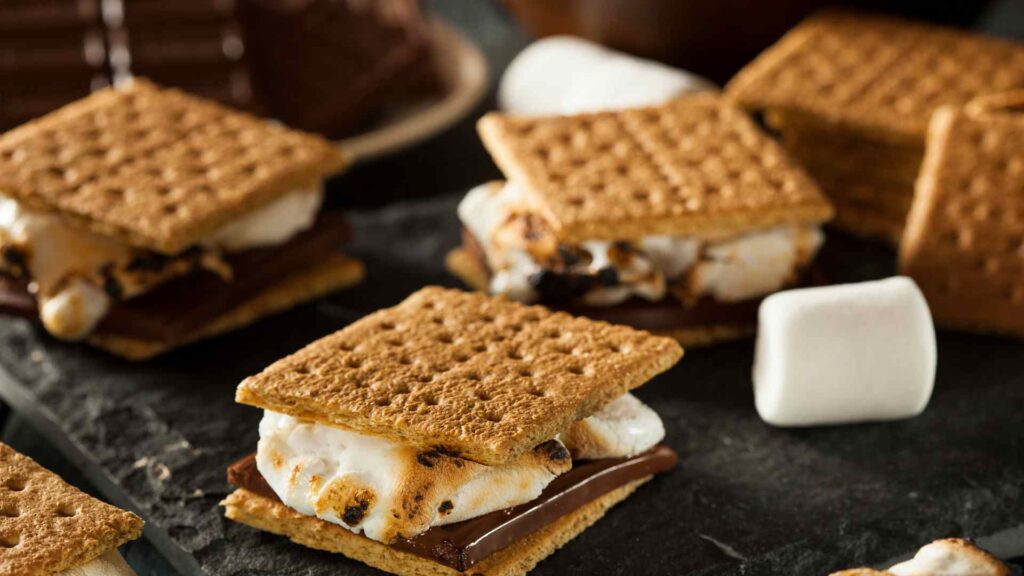
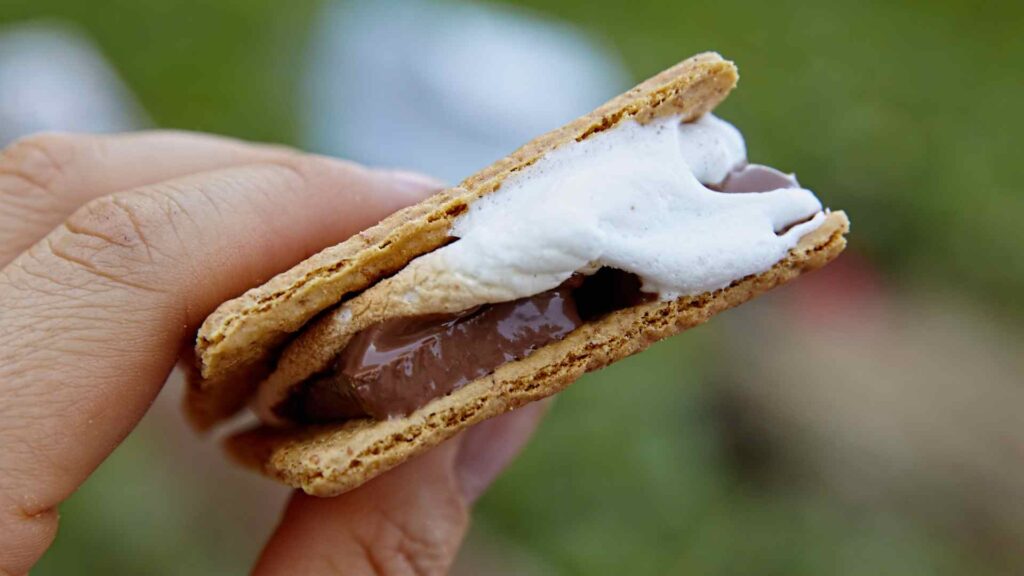
Enjoying the Results
Once the s’mores are ready:
- Carefully Remove: Use a spatula or tongs to lift the s’mores out of the solar oven.
- Let Cool: Allow them to cool for a minute before eating to avoid burns.
- Serve and Enjoy: Share the delicious solar-cooked s’mores with family and friends. Enjoy the unique flavor and satisfaction of cooking with the power of the sun.
Making s’mores in a solar oven is not only a tasty treat but also a fantastic way to enjoy a sunny day while learning about solar energy.
Fun Variations and Additional Recipes
Different S’mores Combinations
Take your solar s’mores to the next level with these fun variations:
- Peanut Butter S’mores: Spread a layer of peanut butter on one half of the graham cracker before adding the chocolate and marshmallow.
- Fruit S’mores: Add a slice of banana or strawberry on top of the chocolate for a fruity twist.
- Mint S’mores: Use mint chocolate or add a thin layer of mint jelly for a refreshing flavor.
- Nutella S’mores: Swap the chocolate bar for a generous spread of Nutella.
- Caramel S’mores: Drizzle a bit of caramel sauce over the marshmallow before assembling.
Other Solar Oven Recipes
Your DIY solar oven can do more than just s’mores. Try these simple and delicious recipes:
1. Solar Nachos
- Ingredients: Tortilla chips, shredded cheese, jalapeños, salsa.
- Instructions: Spread a layer of tortilla chips on a piece of foil, sprinkle with cheese and jalapeños, and place in the solar oven until the cheese melts. Serve with salsa.
2. Solar Mini Pizzas
- Ingredients: Mini pizza crusts, tomato sauce, shredded cheese, toppings (pepperoni, vegetables, etc.).
- Instructions: Assemble mini pizzas with sauce, cheese, and toppings. Place in the solar oven until the cheese melts and the crust is warm.
3. Solar Baked Apples
- Ingredients: Apples, cinnamon, sugar, butter.
- Instructions: Core the apples and fill the centers with a mixture of cinnamon, sugar, and a small pat of butter. Wrap in foil and place in the solar oven until the apples are soft.
4. Solar Cookies
- Ingredients: Pre-made cookie dough or your favorite homemade recipe.
- Instructions: Place spoonfuls of cookie dough on a piece of foil and place in the solar oven. Bake until the cookies are firm and slightly golden.
Experimenting with Kids
Encourage kids to come up with their own solar oven recipes! Here are some ideas to get their creative juices flowing:
- Create a Solar Cooking Challenge: Have kids brainstorm and create their own solar oven recipes. Offer small prizes for the most creative or delicious dishes.
- Science Experiment: Have kids predict and record the time it takes for different foods to cook in the solar oven. Discuss why some foods cook faster than others.
- Cultural Exploration: Explore recipes from different cultures that can be adapted for solar cooking. For example, try making quesadillas or pita bread sandwiches.
By experimenting with different variations and recipes, you can make the most out of your solar oven and enjoy a variety of delicious, sun-cooked treats.
Plus, it’s a great way to keep kids engaged and excited about learning and cooking!
Educational Benefits
Learning Opportunities
Creating and using a solar oven provides numerous educational opportunities for children and adults alike:
- Solar Energy Principles: Understand how solar energy can be harnessed for cooking. Discuss the concepts of reflection, absorption, and insulation.
- Environmental Awareness: Learn about the benefits of using renewable energy sources and how solar cooking can reduce our carbon footprint.
- Practical Science: Engage in hands-on learning by building the solar oven and observing how it works.
STEM Connection
This project aligns with several STEM (Science, Technology, Engineering, and Math) concepts:
- Science: Explore the science of heat transfer and energy conversion. Discuss why black surfaces absorb more heat and why reflective surfaces help concentrate sunlight.
- Technology: Use simple materials to create a functioning solar oven. Compare the technology of a solar oven to traditional cooking methods.
- Engineering: Apply engineering principles in the design and construction of the solar oven. Experiment with different materials and designs to improve efficiency.
- Math: Measure materials accurately and calculate the angles needed for optimal sunlight reflection. Track cooking times and temperature changes.
Incorporating Lessons
Integrate the solar oven project into various educational settings:
1. Homeschooling
- Lesson Plans: Develop detailed lesson plans that cover the science behind solar ovens, including experiments and data recording.
- Project-Based Learning: Use the solar oven project as a cornerstone for a larger unit on renewable energy or environmental science.
2. Classroom Activities
- Group Projects: Divide students into teams to build their own solar ovens. Encourage collaboration and problem-solving.
- Field Trips: Plan an outdoor cooking day where students can test their solar ovens and share their results.
3. Science Fairs
- Presentation: Have students present their solar oven projects at science fairs. They can explain the building process, how the oven works, and their cooking experiments.
- Experimentation: Encourage students to test different designs and materials to see which combination works best.
Additional Resources
Provide students and educators with extra resources to enhance the learning experience:
- Books and Articles: Suggest books and articles on solar energy and renewable resources.
- Online Tutorials: Recommend online videos and tutorials for building different types of solar ovens.
- DIY Kits: Look for solar oven kits that provide all the materials and instructions needed, ideal for classroom settings.
By focusing on the educational benefits, you can make the solar oven project a comprehensive and enriching experience that goes beyond just cooking s’mores.
It’s a fantastic way to inspire curiosity and a love for learning in kids.