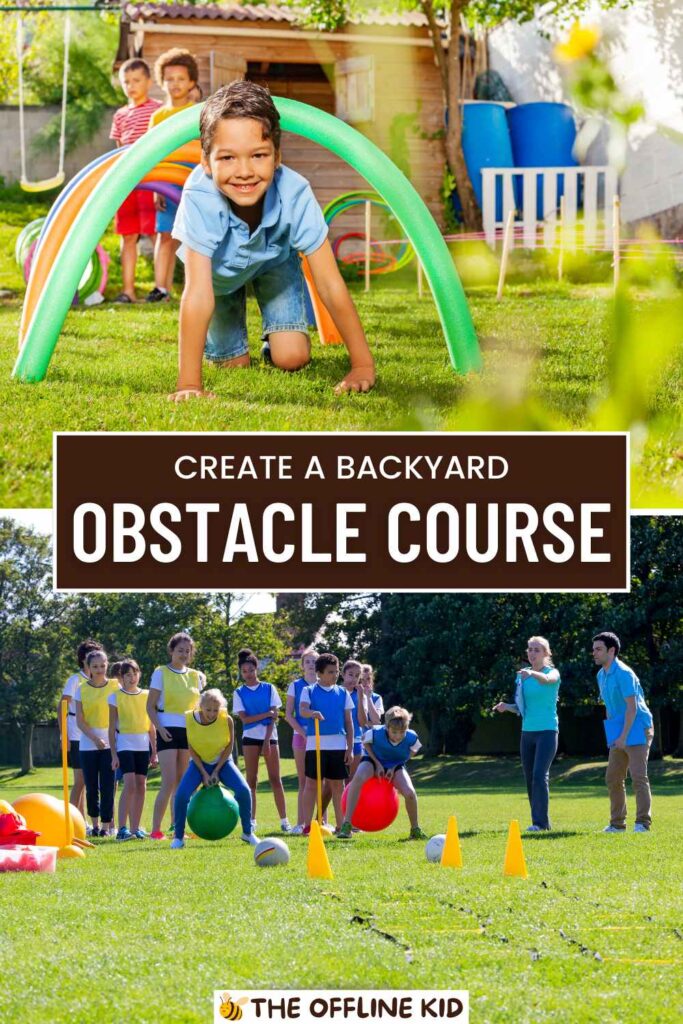
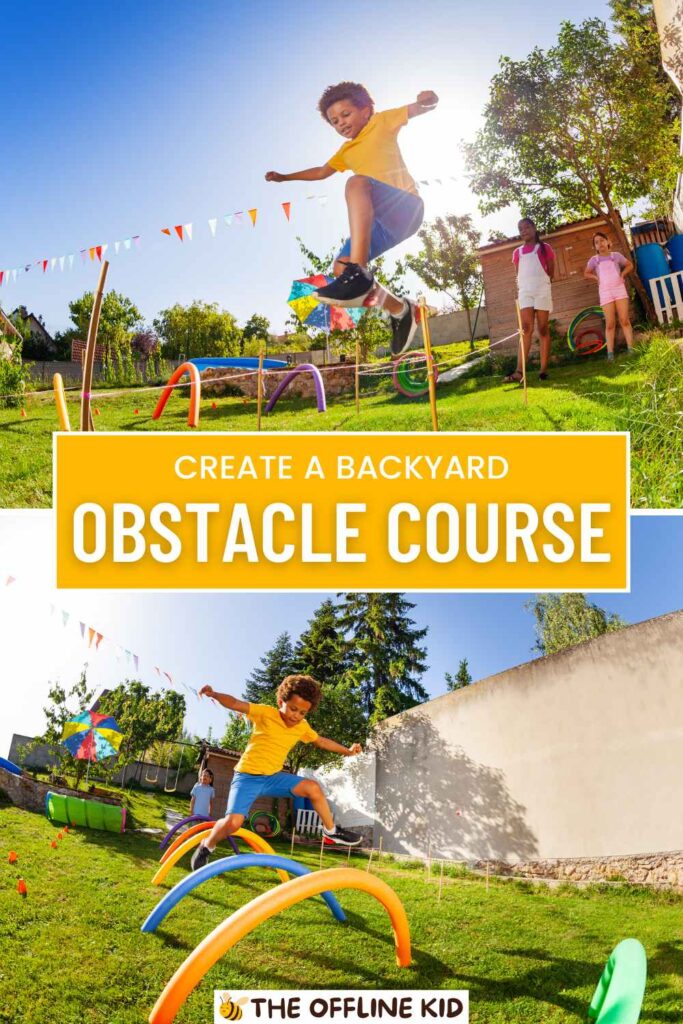
Creating a backyard obstacle course is a fantastic way to encourage physical activity, creativity, and family fun.
This guide will walk you through every step, from planning and designing to building and maintaining your very own backyard adventure playground.
Setting Goals and Objectives
Creating a backyard obstacle course begins with clear goals and objectives.
Knowing what you want to achieve will guide your design and ensure the course meets your needs and those of your participants.
Define the Purpose of Your Obstacle Course
- Fitness: Focus on physical challenges that improve strength, balance, and agility.
- Fun: Include playful and imaginative elements that make the course enjoyable for kids.
- Parties and Events: Design a course that’s perfect for birthday parties or family gatherings.
- Competition: Create a challenging course for friendly competitions and races.
Consider the Age Group and Skill Levels
- Young Children: Simple, low-to-the-ground obstacles that focus on basic motor skills.
- Older Kids and Teens: More complex obstacles that require strength, coordination, and problem-solving.
- Adults: High-intensity challenges that offer a good workout and test endurance.
Decide on the Duration and Complexity
- Short and Sweet: A quick course that can be completed in a few minutes, perfect for young kids or parties.
- Extended Challenges: A longer course with multiple stages and varied difficulty levels, ideal for older kids and fitness enthusiasts.
- Mix and Match: A modular approach where obstacles can be rearranged or swapped out to keep the course fresh and exciting.
Assessing Your Space
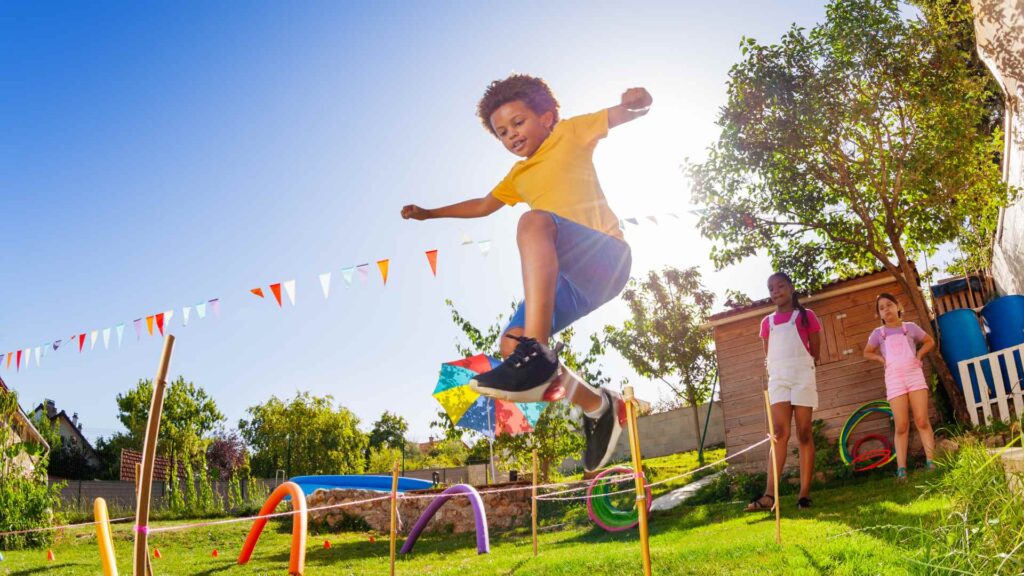
Before building your obstacle course, assess your backyard to understand the available space and any limitations.
Measuring Your Backyard
- Tape Measure: Measure the dimensions of your yard to plan the layout.
- Mapping: Create a rough sketch or use graph paper to map out your yard, noting any existing structures, trees, or other features.
Identifying Potential Hazards
- Obstacles and Hazards: Look for anything that could pose a danger, such as sharp objects, uneven ground, or low-hanging branches.
- Safe Zones: Designate safe zones where participants can rest or exit the course if needed.
Planning for Different Weather Conditions
- All-Weather Course: Use materials and designs that can withstand rain, wind, and sun.
- Shade and Shelter: Consider adding shaded areas or temporary shelters for hot days or unexpected rain.
Theme and Design
A well-thought-out theme can make your obstacle course more exciting and engaging. Choose a theme that resonates with your participants and enhances the overall experience.
Choosing a Theme
- Jungle Adventure: Use ropes, nets, and natural elements to create a wild, adventurous feel.
- Ninja Warrior: Incorporate agility challenges, balance beams, and climbing obstacles to mimic a ninja training ground.
- Pirate Quest: Design obstacles like plank walks, treasure hunts, and rope swings for a swashbuckling adventure.
Designing the Layout
- Sketching a Plan: Draw a layout of your course, placing obstacles in a logical sequence.
- Flow and Progression: Ensure the course has a smooth flow, with a mix of easy and challenging obstacles.
- Incorporating Natural Elements: Use existing trees, bushes, and slopes as part of your obstacles for a more integrated and natural course.
By setting clear goals, assessing your space, and choosing a fun theme, you’ll create a solid foundation for your ultimate backyard obstacle course. The next steps involve gathering materials and building your obstacles, bringing your vision to life.
Essential Equipment and Materials
To build an effective and engaging obstacle course, you’ll need the right equipment and materials.
This section will cover the basics, including the essential items and tools you’ll need to get started.
Basic Equipment
Start with these fundamental items to create a versatile and challenging course:
- Cones and Markers: Use these to define paths, mark obstacles, and create boundaries.
- Ropes and Ladders: Essential for climbing challenges, rope swings, and balance activities.
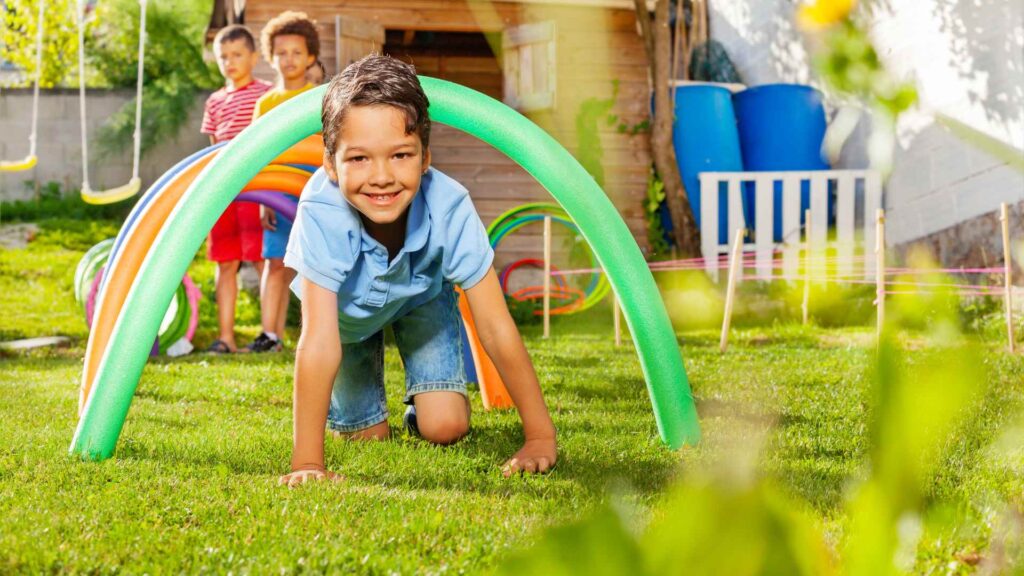
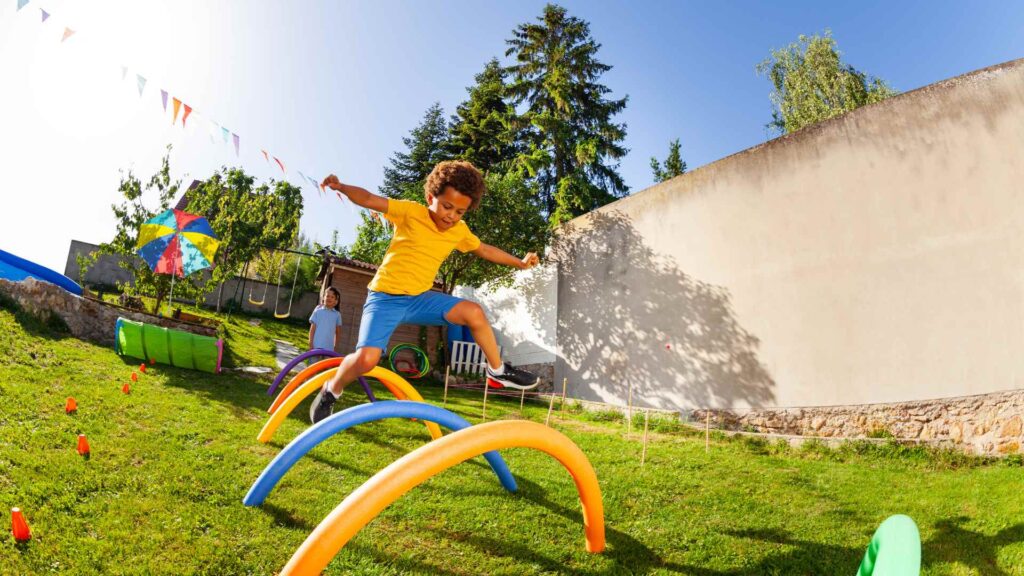
- Hula Hoops and Tires: Great for agility drills, hop-through activities, and as tunnel frames.
Building Materials
Gather these materials to construct sturdy and safe obstacles:
- Wood and Nails: Use treated wood for building platforms, balance beams, and climbing walls.
- PVC Pipes: Lightweight and versatile, perfect for creating frames, hurdles, and tunnels.
- Fabric and Tarps: Ideal for covering tunnels, making shade structures, and creating barriers.
Safety Gear
Ensure the safety of all participants with the following gear:
- Helmets: Protects heads during climbing and high-intensity activities.
- Knee and Elbow Pads: Essential for crawling and climbing obstacles to prevent scrapes and bruises.
- First Aid Kits: Always have a well-stocked first aid kit on hand for minor injuries and emergencies.
Building the Obstacles
Creating diverse and challenging obstacles is the heart of your backyard course.
This section provides ideas and instructions for different types of obstacles, from basic to advanced.
Types of Obstacles
Incorporate a variety of obstacles to keep the course exciting and challenging:
- Balance Beams: Simple yet effective for testing balance and coordination.
- Climbing Walls: Use handholds and footholds to create a vertical challenge.
- Tunnel Crawls: Perfect for agility and flexibility, these can be made from tires or tarps.
DIY Obstacles
Build these obstacles with common materials and a bit of creativity:
- Balance Beam: Use a sturdy piece of wood, secure it to the ground, or elevate it slightly for added difficulty.
- Tire Run: Lay out old tires in a straight line or zigzag pattern for participants to run through.
- Rope Swing: Secure a strong rope to a tree branch or a frame, creating a fun swinging challenge.
Advanced Obstacles
For older kids and adults, add more complex challenges:
- Slacklines: A tightrope-like challenge that tests balance and core strength.
- Zip Lines: For a thrilling ride, install a zip line between two sturdy points.
- Water Features: Add an element of surprise and fun with water obstacles like slip-and-slides or splash zones.
Setting Up the Course
Once you’ve built your obstacles, it’s time to set up the course in your backyard.
Preparation
Ensure the area is ready for setup:
- Clearing the Area: Remove any debris, rocks, or hazards from the space.
- Setting Up Equipment: Position your obstacles according to your plan, ensuring each is secure and stable.
- Ensuring Stability and Safety: Double-check that all obstacles are firmly anchored and safe to use.
Layout and Flow
Arrange your obstacles to create an engaging and smooth-running course:
- Positioning Obstacles: Place obstacles in a sequence that makes sense and provides variety.
- Creating a Start and Finish Line: Clearly mark the beginning and end of the course.
- Adding Checkpoints and Rest Areas: Include spots where participants can rest or take a break.
Testing the Course
Before opening the course to participants, conduct thorough testing:
- Trial Runs: Have a few people run through the course to identify any issues.
- Making Adjustments: Tweak the placement of obstacles, adjust difficulty levels, and ensure everything works as intended.
- Gathering Feedback: Ask testers for their thoughts and make improvements based on their suggestions.
With the right equipment, carefully crafted obstacles, and a well-thought-out setup, your backyard obstacle course will be ready to provide endless fun and challenges for everyone involved.
The next section will focus on safety measures to ensure a secure and enjoyable experience.
Safety First
Creating a fun and challenging obstacle course is important, but ensuring the safety of all participants is paramount.
This section will cover essential safety measures, supervision guidelines, and emergency preparedness to keep everyone safe while having fun.
Supervision and Guidelines
Proper supervision and clear rules are crucial for maintaining a safe environment.
- Adult Supervision: Always have an adult present to supervise the activities, especially when young children are participating.
- Set Rules and Guidelines: Establish clear rules for using the obstacle course. These might include taking turns, not pushing or shoving, and using obstacles as intended.
- Warm-Up and Cool-Down: Encourage participants to warm up before starting the course and to cool down afterward to prevent injuries.
Ensuring a Safe Environment
Take steps to create a safe environment for your obstacle course.
- Inspect Obstacles Regularly: Before each use, inspect all obstacles for any signs of wear, damage, or instability.
- Secure Anchors and Supports: Make sure all obstacles are securely anchored and supported to prevent tipping or collapsing.
- Clear Surrounding Areas: Keep the area around the course free of debris, sharp objects, and other hazards.
First Aid and Emergency Preparedness
Be prepared to handle minor injuries and emergencies.
- Basic First Aid Knowledge: Learn basic first aid skills, including how to treat cuts, scrapes, sprains, and other common injuries.
- First Aid Kits: Keep a well-stocked first aid kit on hand, including bandages, antiseptic wipes, ice packs, and other essentials.
- Emergency Contacts: Have a list of emergency contacts readily available, including local emergency services, hospitals, and family members.
- Know When to Seek Professional Help: Be aware of when an injury requires professional medical attention and don’t hesitate to seek help if needed.
Setting Up a Safe Course
Design your course with safety in mind.
- Appropriate Difficulty Levels: Ensure that the difficulty level of obstacles is appropriate for the age and skill level of participants.
- Soft Landing Areas: Use soft materials like foam mats, sand, or grass under and around obstacles to cushion falls.
- Non-Slip Surfaces: Ensure that surfaces, especially those used for climbing or balancing, are non-slip to prevent accidents.
Making It Fun and Competitive
Adding elements of fun and competition can make your obstacle course even more engaging and enjoyable.
This section will explore ways to incorporate games, challenges, and themed events.
Incorporating Games and Challenges
Introduce different games and challenges to keep the course exciting.
- Timed Runs: Challenge participants to complete the course in the shortest time possible.
- Team Challenges: Form teams and have them compete against each other in relay races or obstacle challenges.
- Scavenger Hunts: Hide objects throughout the course and have participants find them while navigating the obstacles.
Keeping Score
Create a system to track performance and encourage friendly competition.
- Scoring System: Develop a simple scoring system based on completion time, accuracy, or the number of obstacles conquered.
- Points and Prizes: Award points for various achievements and offer small prizes for top performers.
- Encouraging Fair Play: Emphasize the importance of fair play, teamwork, and good sportsmanship.
Themed Events and Parties
Design your course around a theme to add an extra layer of excitement.
- Planning a Themed Party: Choose a theme, such as pirates, ninjas, or jungle explorers, and design the course accordingly.
- Decorating the Course: Use decorations, props, and costumes to enhance the theme and make the experience more immersive.
- Organizing Themed Games and Activities: Plan additional games and activities that fit the theme to keep everyone entertained.
Maintenance and Upgrades
Keeping your obstacle course in top condition is key to ensuring its longevity and safety. Regular maintenance and occasional upgrades will keep the course fresh and exciting.
Regular Maintenance
Perform regular checks and upkeep to maintain the course.
- Inspect Equipment: Regularly inspect all equipment for signs of wear and tear.
- Clean and Store Equipment: Clean obstacles and store them properly when not in use to prevent damage.
- Make Necessary Repairs: Address any issues promptly to keep the course safe and functional.
Upgrading Your Course
Add new elements and make improvements to keep the course challenging.
- Adding New Obstacles: Introduce new obstacles to keep the course interesting and challenging.
- Incorporating Feedback: Listen to participants’ feedback and make adjustments to improve the course.
- Keeping It Challenging: Continuously look for ways to increase the difficulty and variety of the obstacles.
With a focus on safety, fun, and regular maintenance, your backyard obstacle course will provide endless enjoyment and challenges for participants of all ages. In the next section, we’ll explore ways to inspire creativity and involve kids in the design process.
Inspiring Creativity
A backyard obstacle course isn’t just about physical challenges; it’s also a fantastic opportunity to spark creativity in kids.
Involving children in the design and construction process can enhance their engagement and sense of ownership. This section will provide tips on encouraging creativity and innovative ideas for your obstacle course.
Encouraging Kids to Design Their Own Obstacles
Involving kids in the design process can lead to some truly unique and imaginative obstacles.
- Obstacle Design Competitions: Host friendly competitions where kids can submit their obstacle designs. The winning designs can be built and included in the course.
- Involving Kids in the Building Process: Allow kids to help with the construction of the obstacles. Simple tasks like painting, assembling parts, or even brainstorming ideas can make them feel more invested.
- Showcasing Creativity: Create a “Wall of Fame” to display pictures and descriptions of the obstacles designed by kids. This not only showcases their creativity but also encourages others to contribute their ideas.
Innovative Ideas and Inspiration
Incorporating innovative ideas can keep your obstacle course fresh and exciting.
- Unique Obstacle Ideas: Think outside the box with obstacles like water balloon targets, paint splatter zones, or glow-in-the-dark tunnels.
- Incorporating Local Culture and Traditions: Use elements from your local culture or traditions to inspire obstacle designs. This could include using traditional games or incorporating local folklore into the course.
- Learning from Professional Courses: Take inspiration from professional obstacle courses, like those used in Ninja Warrior competitions or military training. Adapt these ideas to fit your backyard setup.
Examples of Creative Obstacles
Here are a few examples of creative obstacles that can be added to your course:
- Maze Run: Create a maze using cardboard boxes or wooden panels that kids have to navigate through.
- Paint Splash Zone: Set up a zone where participants get splashed with paint or water as they pass through. Use washable paint for easy cleanup.
- Glow-in-the-Dark Path: Use glow-in-the-dark tape or paint to create a path that participants have to follow in low light conditions.
Hosting Design Workshops
Organize workshops to teach kids about design and construction.
- Basic Construction Skills: Teach kids how to use simple tools, measure materials, and assemble parts.
- Design Principles: Explain basic design principles such as stability, balance, and safety.
- Group Projects: Encourage group projects where kids can work together to design and build an obstacle.
Conclusion
Inspiring creativity and involving kids in the design and construction of your backyard obstacle course can lead to endless fun and innovation.
By hosting design competitions, workshops, and encouraging unique ideas, you can create a dynamic and ever-evolving course that keeps everyone engaged and excited.
Creating the ultimate backyard obstacle course is a rewarding and enjoyable project that brings together physical activity, creativity, and family bonding.
With careful planning, safety considerations, and a touch of creativity, you can build a course that provides endless fun and challenges for kids and adults alike.
As you embark on this adventure, remember that the key to a successful obstacle course is continuous improvement and adaptation. Gather feedback, make adjustments, and keep exploring new ideas to ensure that your backyard remains a hub of excitement and creativity.
