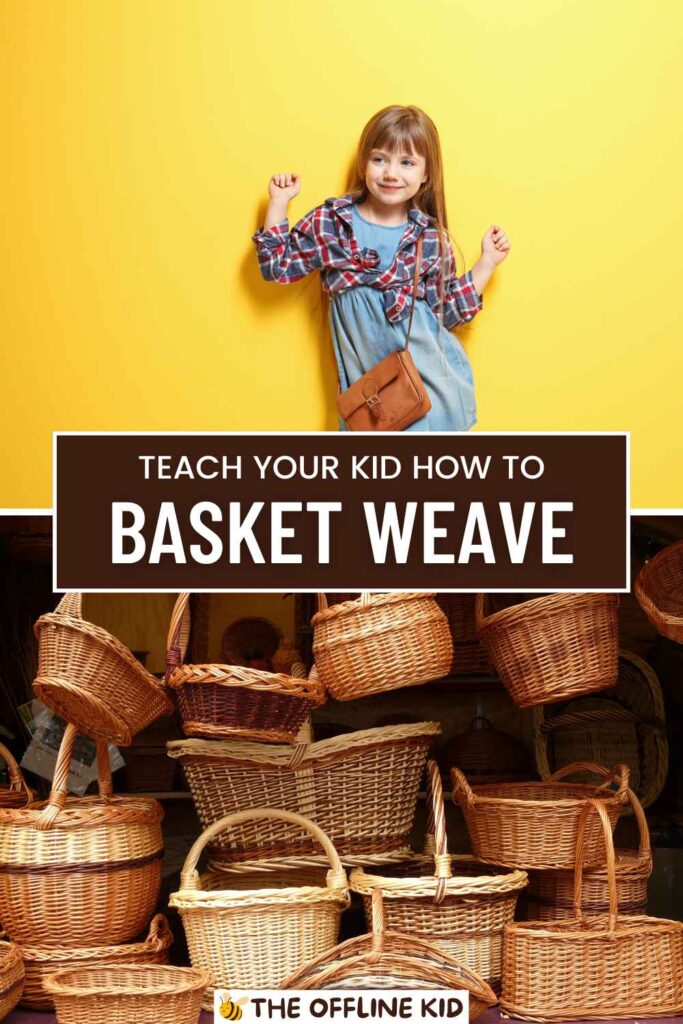
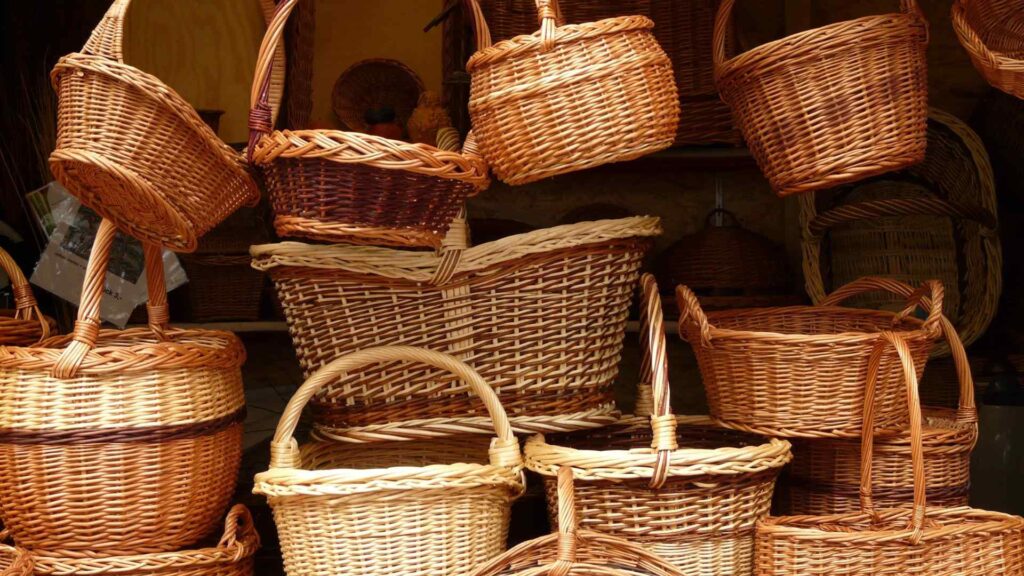
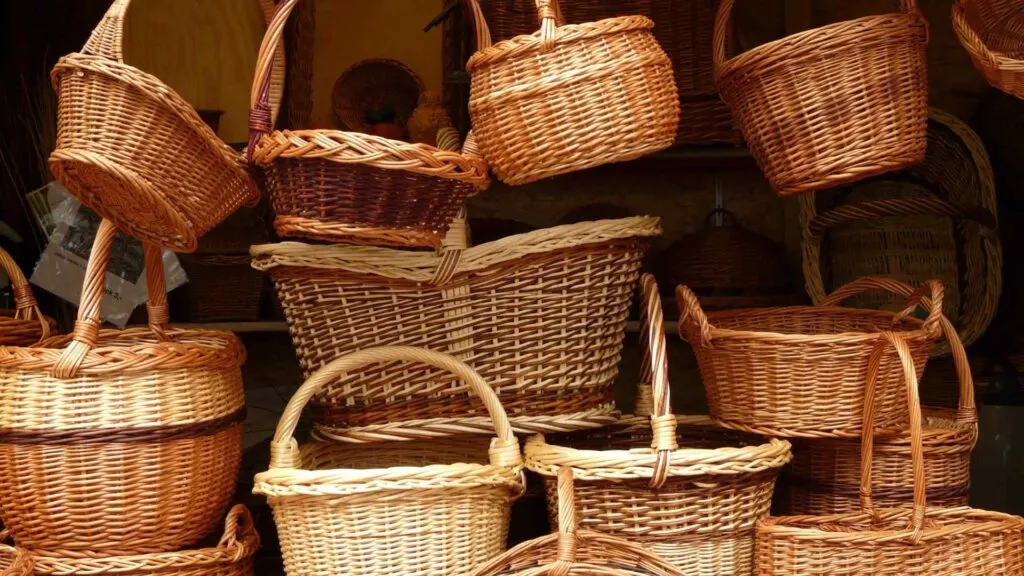
Discover the joys of basket weaving with your kids!
This guide covers everything from basic techniques to fun projects, fostering creativity and patience while making beautiful baskets.
Getting Started
Materials Needed
Before diving into basket weaving, gather all the essential materials.
Here’s a list to help you get started:
- Reeds or Raffia: These are the main materials for weaving. Choose natural reeds for a traditional feel or synthetic materials for easier handling.
- Scissors: A good pair of scissors for cutting reeds to the desired length.
- Water Container: A bowl or bucket to soak the reeds, making them flexible and easy to work with.
- Clothespins or Clips: Useful for holding reeds in place as you weave.
- Measuring Tape or Ruler: For precise cutting and measuring.
- Optional Decorations: Beads, ribbons, and paints for adding personal touches to your baskets.
Safety Tips
Basket weaving is a fun and rewarding creative activity, but it’s important to follow some basic safety guidelines:
- Adult Supervision: Ensure an adult is present to supervise, especially when handling scissors or sharp objects.
- Proper Handling of Tools: Teach kids to handle scissors and other tools carefully to avoid accidents.
- Workspace Preparation: Set up a clean, spacious work area free of clutter to minimize risks and make the activity more enjoyable.
Choosing the Right Weaving Material
Selecting the appropriate materials is key to a successful basket weaving project. Here are some options to consider:
- Natural Reeds: These provide a traditional look and are durable. They need to be soaked in water to become pliable.
- Pros: Authentic appearance, strong and long-lasting.
- Cons: Requires soaking, can be harder for young children to handle.
- Synthetic Materials: These are often easier to work with and come in various colors.
- Pros: Easy to use, no soaking needed, available in bright colors.
- Cons: May not have the same authentic look as natural reeds.
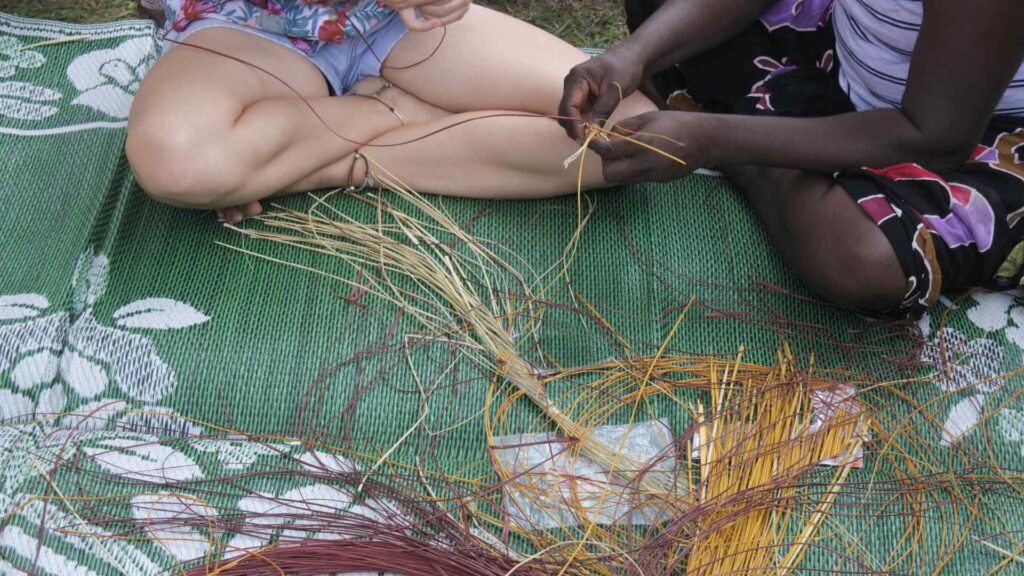
Preparing the Materials
Proper preparation of your weaving materials ensures a smooth weaving process:
- Soaking Reeds: Fill a container with warm water and soak the reeds for about 30 minutes until they are flexible.
- Cutting and Measuring: Use a measuring tape or ruler to cut the reeds to the required lengths for your project.
- Organizing Materials: Lay out all materials neatly to have everything within reach when you start weaving.
Now that you have all the necessary materials and safety tips, you’re ready to begin your basket weaving adventure! With the right preparation, this craft will be both enjoyable and educational for kids.
Basic Techniques
Preparing the Materials
Proper preparation is crucial for successful basket weaving. Here’s how to get your materials ready:
- Soaking the Reeds: Fill a container with warm water and soak the reeds for about 30 minutes until they are flexible. This step is essential to make the reeds easier to work with and prevent them from breaking during weaving.
- Cutting and Measuring: Use a measuring tape or ruler to cut the reeds to the required lengths. For beginners, it’s a good idea to cut a few extra pieces in case of mistakes.
- Organizing Materials: Lay out all materials neatly to have everything within reach when you start weaving. This helps keep the workspace tidy and makes the weaving process smoother.
Basic Weaving Patterns
Learning the basic weaving patterns is the foundation of basket weaving. Here are some simple techniques to get started:
- Over-Under Weaving: This is the most basic and commonly used technique.
- Step-by-Step:
- Start by laying out your base materials in a crisscross pattern.
- Weave the working reed over one base reed and under the next, repeating this pattern.
- Continue this pattern, alternating the over-under sequence with each row.
- Step-by-Step:
- Twining Technique: This method involves twisting two weaving materials around the base.
- Step-by-Step:
- Use two reeds, twisting them around each other as you weave them in and out of the base.
- This creates a tighter and more secure weave, ideal for sturdier baskets.
- Step-by-Step:
- Coiling Method: This technique is often used for making round baskets.
- Step-by-Step:
- Start with a central coil, securing it tightly.
- Weave the working material around the coil, gradually expanding outward.
- Keep the coils close together to ensure a solid structure.
- Step-by-Step:
Starting a Simple Basket
Creating your first basket can be exciting. Here’s a straightforward method to begin:
- Creating the Base:
- Lay out an even number of base reeds in a crisscross pattern.
- Secure the center with a clip or a small piece of wire.
- Begin weaving your working reed using the over-under pattern to form a tight center.
- Building Up the Sides:
- Once the base is large enough, start turning the reeds upward to form the sides.
- Continue the over-under pattern, gradually shaping the basket.
- Use clothespins or clips to hold the sides in place as you weave.
- Finishing the Basket:
- When the basket reaches the desired height, finish the top edge by folding the ends of the reeds into the weave.
- Secure any loose ends with a small dab of glue or by tucking them into the weave.
By mastering these basic techniques, kids can create simple yet beautiful baskets. These foundational skills will also make it easier to tackle more complex projects in the future.
What types of baskets or projects are you most excited to introduce to kids? This can help tailor the guide to include specific designs that might capture their interest.
Fun Basket Weaving Projects for Kids
Simple Round Basket
Creating a simple round basket is a great starting project for kids. Here’s how to do it:
- Materials Needed:
- Reeds (soaked)
- Scissors
- Clothespins or clips
- Instructions:
- Step 1: Create a base by laying out an even number of base reeds in a crisscross pattern.
- Step 2: Start weaving with a working reed using the over-under pattern, securing the center.
- Step 3: Once the base is the desired size, turn the base reeds upward to form the sides.
- Step 4: Continue weaving until the basket reaches the desired height.
- Step 5: Finish the top edge by folding the ends of the reeds into the weave.
- Customization Tips:
- Add beads or ribbons to the weave for a personal touch.
- Paint the finished basket with non-toxic paints.
Easter Basket
An Easter basket is a fun, seasonal project that kids will love. Here’s how to make one:
- Materials Needed:
- Reeds (soaked)
- Scissors
- Ribbons and decorative elements
- Clothespins or clips
- Instructions:
- Step 1: Create a round base using the over-under weaving pattern.
- Step 2: Turn the base reeds upward to form the sides, weaving to the desired height.
- Step 3: Add a handle by braiding three reeds together and attaching it securely to the basket.
- Step 4: Decorate the basket with ribbons and other festive elements.
- Decorating Ideas:
- Use pastel-colored ribbons for a springtime feel.
- Attach small decorative eggs or flowers to the handle and sides.
Flower Basket
A flower basket is perfect for holding small bouquets or as a decorative piece. Here’s how to make it:
- Materials Needed:
- Reeds (soaked)
- Scissors
- Clothespins or clips
- Floral decorations
- Instructions:
- Step 1: Create a round or oval base using the over-under weaving pattern.
- Step 2: Weave the sides to a height suitable for holding flowers.
- Step 3: Add a handle by braiding three reeds together and attaching it securely.
- Step 4: Decorate with artificial flowers or small decorative items.
- Decoration Tips:
- Attach artificial flowers to the handle and basket rim.
- Use floral tape or glue to secure decorations.
Fruit Basket
A fruit basket is a larger project, great for holding fruits or other items. Here’s how to make one:
- Materials Needed:
- Reeds (soaked)
- Scissors
- Clothespins or clips
- Optional decorations (beads, ribbons)
- Instructions:
- Step 1: Create a large round or oval base using the over-under weaving pattern.
- Step 2: Weave the sides upward, ensuring they are strong enough to hold weight.
- Step 3: Finish the top edge by folding the ends of the reeds into the weave.
- Step 4: Optionally, add decorations like beads or ribbons.
- Decoration Tips:
- Use brightly colored beads to add a fun touch.
- Weave ribbons into the sides for extra flair.
By completing these fun projects, kids can see the results of their hard work and creativity. Each project offers opportunities for personalization, making them unique and special.
What other types of projects or specific themes would you like to explore in this guide? This can help in tailoring the guide to include more targeted and exciting projects for kids.
Advanced Techniques
Adding Handles
Handles can enhance the functionality and aesthetics of your baskets. Here are a few techniques for adding handles:
- Loop Handles:
- Step 1: Cut two long reeds for the handles.
- Step 2: Insert the ends of the reeds into the basket weave on opposite sides.
- Step 3: Weave the handle reeds back into the basket to secure them.
- Step 4: Optionally, wrap the handles with additional reeds or ribbons for added strength and decoration.
- Braided Handles:
- Step 1: Cut three long reeds for each handle.
- Step 2: Braid the three reeds together.
- Step 3: Attach the braided handle to the basket by weaving the ends into the sides, securing them tightly.
- Twined Handles:
- Step 1: Cut two long reeds for the handle.
- Step 2: Twist the two reeds around each other to create a twined effect.
- Step 3: Attach the handle by weaving the ends into the basket weave and securing them.
Incorporating Colors and Patterns
Adding colors and patterns can make your baskets more vibrant and interesting. Here are some methods:
- Dyeing Reeds:
- Step 1: Choose non-toxic dyes in your desired colors.
- Step 2: Soak the reeds in the dye until they reach the desired color.
- Step 3: Rinse and dry the dyed reeds before weaving.
- Creating Patterns:
- Step 1: Plan your pattern before you start weaving. Use colored reeds to create stripes, checks, or other designs.
- Step 2: Weave according to your pattern, alternating colored and natural reeds as needed.
- Step 3: Ensure consistency in your pattern by counting the number of reeds used in each section.
Decorative Weaving
Decorative weaving adds a unique touch to your baskets. Here are some ideas:
- Adding Beads:
- Step 1: Thread beads onto the reeds before weaving them into the basket.
- Step 2: Weave the reeds with beads into the basket to create a decorative pattern.
- Step 3: Secure the beads by tying knots at the ends of the reeds if necessary.
- Weaving Ribbons:
- Step 1: Choose ribbons in your desired colors and widths.
- Step 2: Weave the ribbons into the basket in a decorative pattern, either over-under or in a more complex design.
- Step 3: Secure the ribbons by tucking the ends into the weave or tying small knots.
- Intricate Patterns:
- Step 1: Plan intricate patterns such as diamonds, zigzags, or spirals before you begin weaving.
- Step 2: Use different colors and types of reeds to create the pattern.
- Step 3: Follow the pattern carefully, ensuring consistency in the weave.
By mastering these advanced techniques, kids can create more complex and visually appealing baskets. Encouraging them to experiment with colors, patterns, and decorations will help develop their creativity and weaving skills.
What other advanced techniques or projects would you like to see in this guide? This can help tailor the guide to include more challenging and engaging activities for kids.

Troubleshooting and Tips
Common Problems and Solutions
- Uneven Weaving
- Problem: The weave is uneven or loose in some areas.
- Solution: Make sure the reeds are evenly soaked and flexible before starting. Apply consistent tension while weaving and periodically adjust the reeds to maintain an even pattern.
- Breaking Reeds
- Problem: Reeds are breaking during the weaving process.
- Solution: Ensure that the reeds are soaked long enough to become pliable. If a reed breaks, replace it by weaving a new reed into the basket, overlapping the broken ends to maintain continuity.
- Warped Basket Shape
- Problem: The basket’s shape is not as intended, with bulges or uneven sides.
- Solution: Use clothespins or clips to hold the shape while weaving. Regularly check the shape and make adjustments as needed. For large baskets, use a mold or form to guide the shape.
- Loose Ends
- Problem: The ends of the reeds are sticking out and not staying in place.
- Solution: Tuck the ends securely into the weave or use a small dab of glue to hold them in place. Ensure the ends are woven in tightly to avoid unraveling.
Maintaining Your Baskets
- Cleaning Baskets
- Regular Cleaning: Use a soft brush to remove dust and debris. For deeper cleaning, wipe with a damp cloth.
- Deep Cleaning: If the basket gets dirty, soak it briefly in warm, soapy water, then rinse and let it air dry completely.
- Preserving Baskets
- Protect from Moisture: Store baskets in a dry place to prevent mold and mildew. Avoid prolonged exposure to direct sunlight, which can cause fading and brittleness.
- Handling with Care: Avoid rough handling to prevent breakage. When moving or storing, handle with care to maintain the basket’s shape and integrity.
- Storing Materials
- Proper Storage: Store reeds and other materials in a cool, dry place. Keep them organized in a container or basket to avoid tangling and damage.
- Re-soaking Reeds: If stored reeds become brittle, soak them in warm water before use to restore flexibility.
By addressing common problems and maintaining their baskets properly, kids can ensure their woven creations last longer and look better. Encouraging good habits in handling and storage will also help them develop a sense of responsibility and care for their projects.
Are there any specific troubleshooting issues or maintenance tips you’d like to see more details on? This can help refine the guide to address particular concerns or interests.
Fun Activities and Challenges
Basket Weaving Competitions
Hosting a basket weaving competition can be a fun and engaging activity for kids. Here’s how to organize one:
- Planning the Competition:
- Set a Date and Time: Choose a convenient time when all participants are available.
- Select a Venue: A spacious area like a classroom, community center, or backyard.
- Gather Supplies: Ensure all necessary materials are available for each participant.
- Competition Rules:
- Time Limit: Set a reasonable time limit for creating a basket (e.g., 1-2 hours).
- Judging Criteria: Decide on criteria such as creativity, neatness, and overall appearance.
- Categories: Consider having different categories based on age or skill level.
- Fun Prizes and Categories:
- Prizes: Offer small prizes like craft kits, ribbons, or certificates.
- Categories: Have fun categories like “Most Creative,” “Best Use of Color,” and “Sturdiest Basket.”
Craft Fair Projects
Encouraging kids to create baskets for a craft fair can be a rewarding experience. Here’s how to prepare:
- Selecting Projects:
- Variety of Baskets: Encourage kids to make different types of baskets, such as fruit baskets, flower baskets, and decorative baskets.
- Customization: Let kids personalize their baskets with decorations and colors.
- Preparing for the Fair:
- Display: Help kids design a visually appealing display for their baskets.
- Pricing: Teach kids how to price their baskets based on material costs and effort.
- Sales Tips: Encourage kids to engage with customers and explain the process of making their baskets.
- Selling and Interacting:
- Customer Interaction: Teach kids to greet customers warmly and explain the story behind their creations.
- Handling Money: Supervise kids while they handle money and transactions.
Community Projects
Involving kids in community projects can teach them the value of giving back. Here are some ideas:
- Donating Baskets:
- Local Shelters: Donate baskets to homeless shelters or food banks for distributing goods.
- Hospitals: Create baskets filled with small gifts or necessities for hospital patients.
- Organizing Group Weaving Sessions:
- Community Centers: Arrange group weaving sessions at local community centers or libraries.
- Schools: Collaborate with schools to include basket weaving in art or craft classes.
- Fundraising Events:
- Charity Auctions: Organize a charity auction where kids can auction off their baskets to raise funds for a cause.
- Craft Sales: Hold a craft sale where proceeds go to a local charity or community project.
Encouraging Creativity and Fun
- Themed Weaving Sessions:
- Holiday Themes: Organize weaving sessions around holidays like Easter, Halloween, or Christmas, creating themed baskets.
- Story-Based Themes: Base weaving projects on popular stories or movies, encouraging kids to weave baskets inspired by their favorite characters.
- Weaving Challenges:
- Speed Weaving: Challenge kids to complete a small basket within a set time.
- Pattern Challenges: Encourage kids to create complex patterns or designs within their baskets.
- Collaborative Projects:
- Group Baskets: Have kids work together on a large basket, each contributing a section.
- Decorative Projects: Collaborate on decorating a series of baskets for a community event or exhibition.
These activities and challenges not only make basket weaving more exciting but also help kids develop teamwork, creativity, and a sense of community. By incorporating fun elements and encouraging participation, kids can enjoy and learn from their basket weaving experiences.
What other types of activities or challenges would you like to include? This can help customize the guide to make it even more engaging for kids.