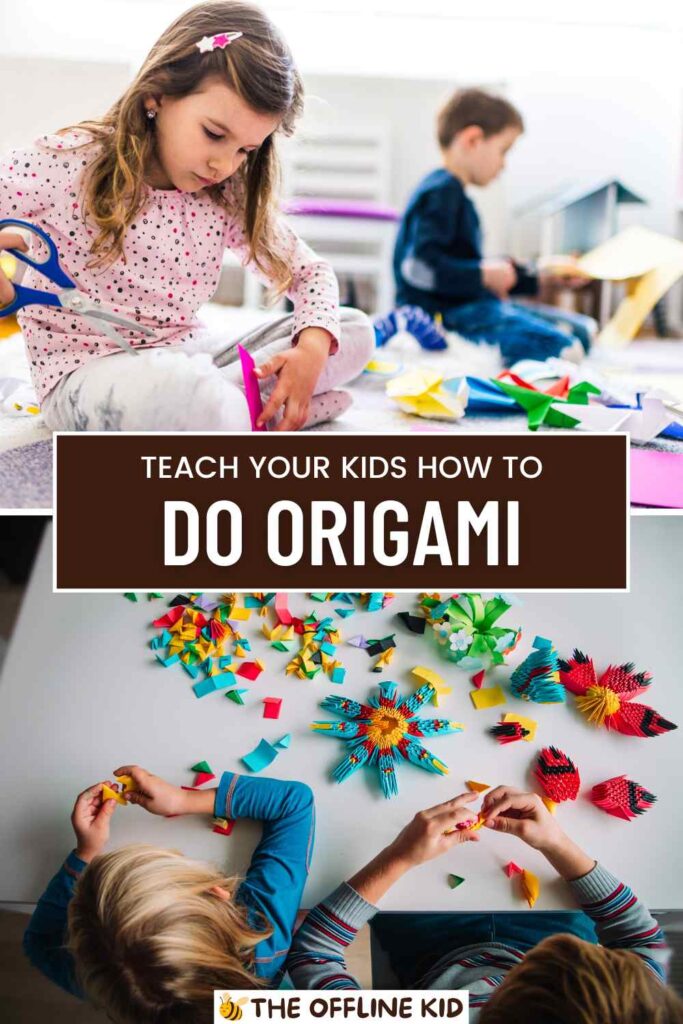
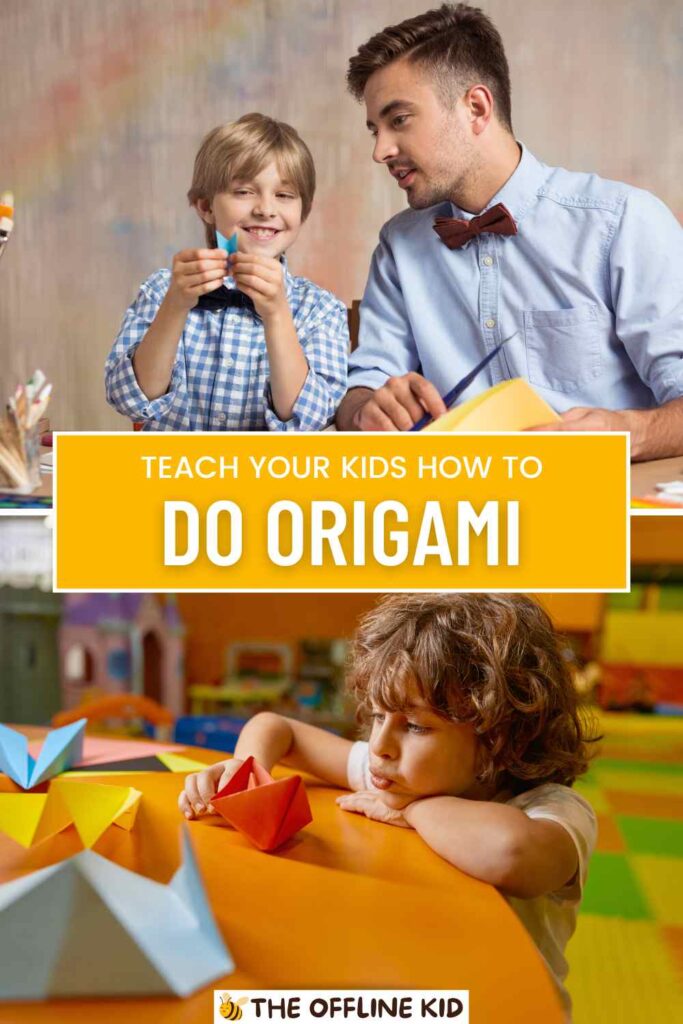
Origami with kids is a delightful way to spark imagination, foster fine motor skills, and strengthen your bond with little creative crafters.
Through folds and creases, children explore a world where flat paper transforms into animals, flowers, and more. Let’s dive into the enchanting realm of origami and unfold creativity together!
Why Origami is Great for Kids
Origami is more than just paper folding; it is a fulfilling and educational craft that nurtures children’s creativity and fosters valuable developmental skills.
Whether your child is new to the world of crafts or already brimming with artistic flair, origami provides endless opportunities for them to play, learn, and grow.
Below, we explore the multiple ways in which origami supports child development, all while providing plenty of colorful fun.
Fine Motor Skills Development
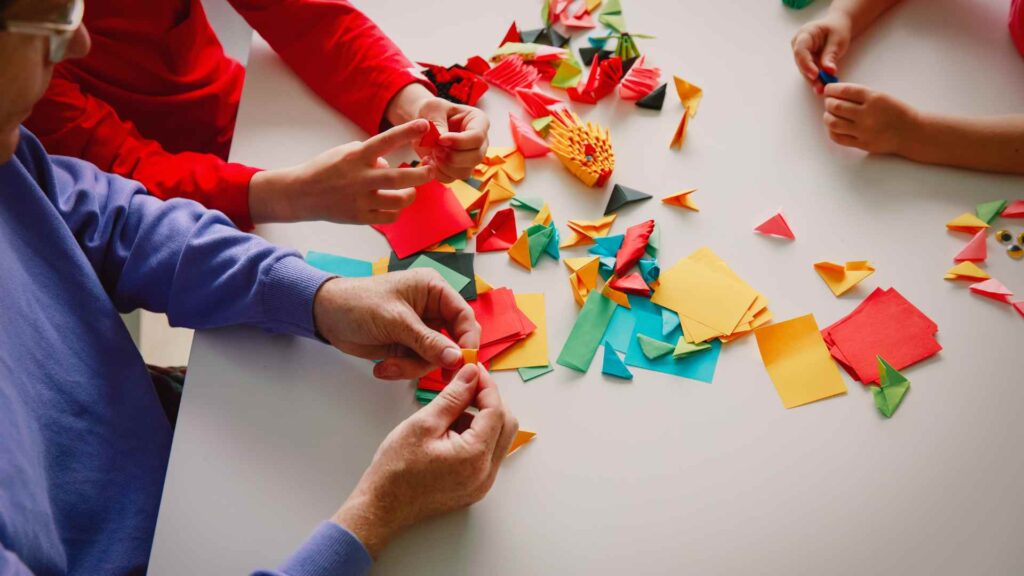
- Improved dexterity: Folding paper requires precise finger movements. As kids crease, align edges, and manipulate delicate sheets, they develop better hand-eye coordination.
- Strengthening hand muscles: Repetitive folding helps strengthen the small muscles in the hands—muscles that are essential for writing and drawing activities.
Enhanced Concentration and Focus
- Mindful practice: Origami encourages children to concentrate on a single task at a time, promoting relaxation and relief from everyday stress.
- Sequential thinking: Learning folds in order teaches kids the discipline of following steps. They see how each action directly affects the final outcome, reinforcing structured thinking.
Confidence Building
- Sense of accomplishment: Completing a beautiful origami figure gives kids a surge of pride. As they master more complex designs, their self-esteem soars.
- Peer sharing: Origami creations can be shared or gifted. When children see the delight on friends’ faces upon receiving a handmade object, their confidence grows even more.
Stimulating Creativity and Expression
- Endless possibilities: Origami’s fundamentals can transform a sheet of paper into countless shapes—flowers, animals, geometric designs, and more. Kids are free to experiment, combine patterns, and decorate their final pieces with pens, glitter, or stickers.
- Innovative thinking: Through folding, children learn that even a small tweak in technique can drastically alter the final result. This sparks curiosity and encourages them to think outside the box.
Eco-Friendly Craft
- Minimal materials: At its core, origami requires just a sheet of paper. This sustainable approach teaches kids about reducing waste and being mindful of the environment.
- Recycled projects: Scrap paper, newspaper, and magazine pages can be repurposed into charming origami pieces. Kids learn to see value in what might otherwise be discarded.
Engaging in origami with kids cultivates patience, nurtures attention to detail, and celebrates the power of creativity.
By understanding the benefits and diving into this playful craft, you are not just helping them make cute paper animals—you’re also giving them a strong developmental foundation that translates into many areas of their lives.
Encourage your child to embrace each fold, celebrate tiny successes, and watch their creativity and confidence blossom. Origami truly has the power to shape the future, one fold at a time.
Getting Started: Essential Origami Supplies and Safety
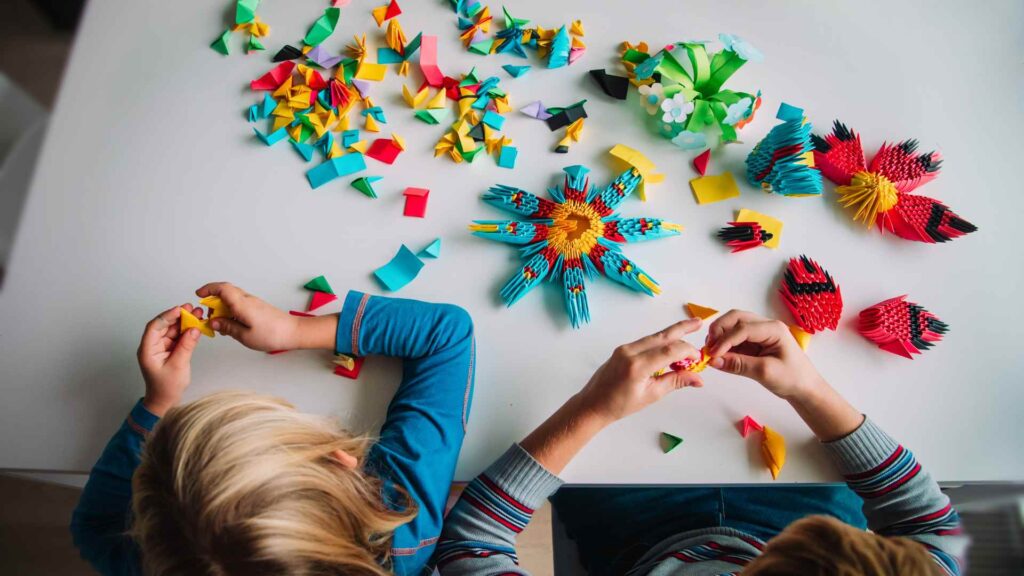
Before you begin your exciting paper-folding journey, it’s important to gather the right supplies and ensure a child-friendly crafting environment.
Though origami is one of the simplest crafts in terms of materials, certain considerations will help make the experience smooth, safe, and enjoyable for kids.
Below is a comprehensive look at what you’ll need and how to keep the fun going without any mishaps.
Basic Supplies
- Origami Paper: While any paper can technically be used for origami, specialized origami paper is often thinner and easier for small hands to fold. It comes in various sizes and colorful patterns. Opt for 15cm x 15cm or larger if working with young children to make folding easier.
- Scissors (Optional): Traditional origami does not involve cutting, but having a pair of child-safe scissors handy can help with decorative touches.
- Markers, Crayons, or Colored Pencils: These allow kids to draw faces on their origami creations or add personalized patterns.
- Glue or Tape (Optional): Occasionally, some advanced models or crafts might need a dab of glue or tape, especially when kids want to attach multiple pieces together.
Child-Friendly Crafting Space
- Clear Area: Keep the workspace free of clutter. Children need ample room to spread out their paper, see the steps clearly, and avoid tripping over scattered items.
- Proper Lighting: Good lighting ensures that kids don’t strain their eyes while following delicate folds.
- Table Level: Ensure the table is at a comfortable height for children to fold without slouching or reaching.
Safety Tips
- Supervision: Always supervise younger children, especially if scissors or small decorations are in use.
- Child-Safe Tools: If your project requires scissors, ensure you’re using ones with blunt tips.
- Paper Cuts: Teach kids to handle paper gently to minimize the risk of paper cuts. If they happen to get one, clean and cover it promptly.
- Avoid Overexertion: Folding can be surprisingly strenuous on little hands. Encourage short breaks if the child is folding multiple models in a row.
Teaching the Basics
- Demonstrate Step-by-Step: Especially for younger kids, take it slow. Do a fold, show them, and let them try. This method fosters learning and helps them gain confidence.
- Celebrate Small Wins: Children learn best with positive reinforcement. Every completed fold or near-perfect crease deserves a small cheer.
Organizational Tips
- Use Small Containers: For decorative items such as stickers, small sequins, or googly eyes, use small containers to keep them from scattering.
- Label Folders: If you plan to use patterned paper for different projects, keep them in labeled folders so kids can easily choose the right design.
Getting started is often the trickiest part, but it’s also where excitement peaks. By gathering the proper supplies, setting up a neat workspace, and ensuring safety measures, you pave the way for smooth origami sessions.
Remember, the main goal is to let creativity flow while keeping your child safe and comfortable. Once everything is ready, the folding magic can truly begin.
The anticipation of seeing a flat square morph into a beautiful shape is a thrill that never fades—no matter your age.
Basic Folds and Techniques to Teach Kids
Origami is built on foundational folds that appear time and time again in numerous models.
Teaching these basic folds to children provides them with a crucial toolkit for tackling nearly any origami project.
By practicing these fundamental techniques, kids will not only gain confidence but also grasp the geometric principles that make paper folding so mesmerizing.
The Valley Fold
- How to Do It: Imagine a valley in the center of your paper. Fold the paper in half inward, so the fold creates a “V” shape when viewed from the side.
- Why It Matters: The valley fold is the most common move in origami, forming the baseline for simple shapes like squares and rectangles.
The Mountain Fold
- How to Do It: Opposite of the valley fold, you fold the paper away from you. When you look at the paper’s side, it appears like a peak, or an inverted “V.”
- Why It Matters: This fold is equally foundational, working in tandem with valley folds to create structures, wings, and other 3D effects.
The Squash Fold
- How to Do It: Start by partially unfolding a section of your paper, then press it flat so the top layer “squashes” into a new shape.
- Why It Matters: The squash fold is key in creating complex figures like frogs or flowers. Kids find it exciting because the resulting shape can be quite unexpected.
Inside Reverse Fold
- How to Do It: Similar to a squash fold but typically involves inverting a pointed flap inside the model.
- Why It Matters: You’ll see this technique in designs that require a beak, horn, or tail. It’s also used to shape delicate or intricate details.
Outside Reverse Fold
- How to Do It: Another variation of reversing the paper flap, but this time the fold appears on the outside of the model.
- Why It Matters: This fold is common in advanced origami, especially for shaping wings, petals, or decorative accents.
Tips for Teaching Folds
- Practice on Larger Paper: Start with bigger sheets so that children can see the shapes clearly and are less likely to make mistakes.
- Use Color-Coded Paper: Origami paper often has one colored side and one plain side. Emphasize, for example, “fold the colored side in” or “fold the white side out” to help kids visualize.
- Encourage Trial and Error: Mistakes are part of the learning process. Sometimes, an “incorrect” fold leads to a creative discovery.
Incorporating Math Concepts
- Fractions: Folding paper in half, then in half again, subtly teaches the idea of halves and quarters.
- Geometry: Origami is essentially hands-on geometry. Kids are unknowingly learning about angles, lines, and shapes.
These basic folds form the backbone of most origami projects. By focusing on them first, you set children up for success and encourage them to develop a sense of control over their materials.
It’s like learning chords on a guitar—once they know the fundamental folds, the possibilities are vast. Take your time with each fold, let kids explore how one shape transitions into another, and watch their enthusiasm grow every step of the way.
Fun Origami Projects for Beginners
Now that you’ve laid the groundwork for essential folds, it’s time to apply those techniques to actual projects that will enthrall kids.
These beginner-friendly projects are designed to reinforce basic origami skills while igniting your child’s imagination.
Each design is simple enough for small hands yet offers a brilliant final product that kids can proudly display or share.
Origami Dog Face
- Why It’s Easy: Uses mainly valley folds and a couple of slight angle folds for the ears.
- Steps to Create:
- Start with a square piece of paper, color side up.
- Fold the square in half diagonally to form a triangle.
- Fold down the top tips for ears.
- Gently fold the nose. Add eyes and nose with markers.
- Creative Twist: Let kids decorate their dog faces with different expressions, bows, or hats to give each one a personality.
Origami Sailboat
- Why It’s Easy: Relies on valley and mountain folds that children can quickly master.
- Steps to Create:
- Fold the square in half to form a rectangle.
- Fold each corner down to meet the central crease.
- Secure the base by reinforcing the folds, creating the triangular sail.
- Optionally, color in patterns on the sail.
- Creative Twist: Use water-themed paper or draw waves on another sheet to create a mini ocean backdrop.
Origami Heart
- Why It’s Easy: A great introduction to symmetrical folding and helps kids practice precise creasing.
- Steps to Create:
- Fold your paper in half horizontally, then unfold.
- Fold the bottom edge up to the center crease and the top edge down to the center crease.
- Fold the two top corners in to form the rounded sides of the heart.
- Tuck in any flaps and shape the heart.
- Creative Twist: Add a message in the center before folding to create a hidden love note.
Origami Samurai Hat
- Why It’s Easy: Simple folds, yet an impressive final result that kids can wear on their fingers or small figurines.
- Steps to Create:
- Fold the square paper in half diagonally to form a triangle.
- Bring the left and right points of the triangle up to the top corner.
- Fold up the bottom flap to create the brim.
- Adjust as needed and decorate.
- Creative Twist: Encourage children to add feathers, stickers, or even glitter for a unique, festive look.
Origami Tulip
- Why It’s Easy: Combines basic folds with a fun pinch twist to create the flower head.
- Steps to Create:
- Fold the square diagonally both ways, then fold the paper in half vertically and horizontally to form a waterbomb base.
- Gently inflate and pinch the corners to form a tulip shape.
- Fold a separate green paper into a simple stem.
- Creative Twist: Assemble a bouquet of tulips with different colors for a vibrant paper garden.
By introducing these fun, simple projects, you help children see how foundational folds translate into delightful results. Each completed shape is a miniature achievement that builds on their creativity and manual skills.
Encourage kids to play around with color, size, and even details like glitter or googly eyes for truly one-of-a-kind creations. The aim is to strike that perfect balance between learning and imagination, ensuring each origami session is a memorable bonding experience.
Origami as a Themed Activity
Origami can go beyond simple folding sessions—it can be seamlessly integrated into various themes and celebrations, making each event or lesson feel extra special.
When children see their crafted pieces contributing to a holiday, a classroom decoration, or a friend’s birthday party, they’ll feel a sense of pride and excitement.
Below, you’ll find ideas for incorporating origami into different themed activities, ensuring that paper folding becomes more than just an isolated hobby.
Seasonal Celebrations
- Spring Flowers: From tulips to daisies, origami blooms can adorn classroom bulletin boards or dining tables for a fresh spring vibe.
- Summer Sun Catchers: Use translucent origami paper to create colorful shapes that can be hung by a window to catch the sunlight.
- Autumn Leaves: Fold paper leaves in fall colors—reds, oranges, yellows—and string them together for a vibrant seasonal garland.
- Winter Snowflakes: An all-time favorite. Kids can create intricate paper snowflakes to hang from the ceiling or on the Christmas tree.
Holiday Themed Decorations
- Easter Bunnies: Cute rabbit faces and baskets bring joy to Easter egg hunts and holiday brunch tables.
- Halloween Bats and Ghosts: Fold adorable or spooky critters to decorate doorways or trick-or-treat bags.
- Thanksgiving Turkeys: Origami turkeys can brighten up the dinner table or serve as place cards.
- Christmas Ornaments: Stars, angels, and even mini gift boxes can be created with holiday-themed paper to dress up your tree.
Birthday Parties and Special Occasions
- Origami Invitations: Send out unique, folded notes or shapes like hearts and balloons to excite guests.
- Party Decorations: Paper garlands, crowns, and confetti shapes all created through origami add a handmade touch to any party.
- Gift Accessories: Adorable origami bows or stars can be attached to gift bags for a personalized flair.
Educational Themes
- Science Projects: Demonstrate concepts of geometry and engineering through origami structures like cubes, pyramids, and other polyhedra.
- Literature Tie-Ins: Have kids fold animals or symbols that appear in stories or novels you’re reading together.
- Cultural Exploration: Origami is deeply rooted in Japanese culture. Integrate lessons on Japan’s history, geography, and art traditions for a multifaceted learning experience.
Charitable and Community-Building Events
- Origami Cranes for Peace: The crane is a symbol of hope and healing in Japanese culture. Encourage kids to fold cranes for charity events or peace gatherings.
- Community Art Installations: Join forces with local libraries or community centers to create large-scale art exhibits showcasing the power of collective creativity.
Transforming origami into a themed activity breathes new life into the craft. Children begin to understand that their folded creations can be functional, decorative, and deeply meaningful.
Whether you’re celebrating a holiday or launching a new educational unit, origami can be adapted to suit the occasion.
Don’t be afraid to experiment—mix and match origami animals, flowers, and geometric shapes to create an immersive atmosphere. By doing so, you elevate simple paper folding into an inclusive celebration of art, culture, and community spirit.
Encouraging Creativity: Tips and Variations
One of the biggest advantages of origami is its flexibility—once kids learn a few basic folds, the sky’s the limit in terms of personal expression.
Encouraging them to think outside the traditional instructions fosters creativity, problem-solving, and self-confidence. Below are various ways to spark imaginative twists and variations on standard origami projects.
Mixing Materials
- Patterned and Textured Paper: Not all origami has to be done with plain paper. Encourage kids to experiment with patterned scrapbooking paper, metallic foil, or textured sheets to create eye-catching designs.
- Combining Fabrics or Ribbons: After folding the base shape, add elements like ribbons for tails, or even attach the finished origami onto a piece of felt for a mixed-media collage.
- Repurposing Recyclables: Newspaper, magazine pages, or wrapping paper offcuts can all lend unique colors and patterns to origami models.
Combining Multiple Models
- Layering: Create a layered effect by making small origami shapes and attaching them to a larger, simpler model. For instance, a big folded flower can have smaller flowers or butterflies perched on it.
- Modular Origami: Some projects require multiple units that fit together to form a stunning 3D sculpture (like a kusudama ball). Teach kids to build and assemble these units—teamwork makes it even more fun!
Personalized Decorations
- Drawing and Coloring: Before or after folding, let children draw designs, faces, or patterns on their paper. This makes every piece truly unique.
- Glitter, Stickers, and Beads: Adding decorative embellishments is a playful way to transform a simple model into a sparkling masterpiece.
- Lettering and Words: Kids can write messages or jokes on the inside flaps of their origami shapes, making each creation interactive.
Exploring Advanced Origami
- Complex Models: As children gain confidence, introduce them to more advanced models like dinosaurs, dragons, or intricate flowers. This jump in difficulty can be motivating, showing them how skills build over time.
- Origami Tessellations: For kids with a keen interest in math or art, tessellations are repeating patterns folded from a single sheet of paper. It’s a mesmerizing way to delve deeper into origami’s artistic potential.
- Origami in 3D: Designs that pop up or stand on their own, like origami boxes or animals with wings that flap, can captivate kids’ attention for hours.
Encouraging Independent Exploration
- Folding Freestyle: After mastering a few classic models, challenge kids to create something entirely new without following a guide. They may start with a basic fold and discover a new shape or design.
- Swap Sessions: Pair kids up to teach each other new models. This peer-to-peer interaction boosts communication skills and reveals how every child interprets instructions differently.
- Celebrating Mistakes: Origami “fails” can be stepping stones to new ideas. Teach kids to appreciate mishaps as moments of discovery, not defeat.
When children realize they can customize, reinvent, or even build upon traditional origami, they start to see themselves as artists and innovators.
This mindset goes well beyond paper folding; it becomes a way of thinking about problems and possibilities in every aspect of their lives.
Encourage them to keep experimenting, mixing mediums, and fearlessly exploring. In this way, origami becomes a conduit for endless creativity and personal growth.
Troubleshooting and Common Challenges
Like any craft, origami can sometimes frustrate children (and adults) when a fold doesn’t come out right or a project seems too complex.
Anticipating and resolving common stumbling blocks can make the experience smoother, keeping enthusiasm high. In this section, we’ll delve into typical hurdles that kids face, along with practical solutions to keep the joy in folding.
Difficulty Following Instructions
- Visual Demonstrations: Kids often learn best by watching someone else. Demonstrate each step slowly or find video tutorials that show each fold from start to finish.
- Simple Diagrams: Provide diagrams with clear arrows and fewer folds per step. Overly detailed instructions can overwhelm younger crafters.
Paper Size and Quality
- Paper Too Small: If kids are struggling with intricate folds on small paper, scale up the paper size. Larger sheets offer more area to practice.
- Paper Too Thick: Heavier construction paper might be more durable, but it can be harder to fold precisely. Choose thinner sheets or invest in standard origami paper for complex shapes.
Losing Patience
- Frequent Breaks: Folding requires concentration. Encourage short breaks to rest the mind and fingers, especially for more intricate projects.
- Revisit Basic Models: If frustration escalates, return to easier patterns or help them refine their technique with simpler folds.
- Positive Reinforcement: Validate their efforts with praises like, “You’re doing great!” or “Look how neat that fold is!”
Uneven or Sloppy Folds
- Use a Flat Surface: Ensure they fold on a hard, flat table or desk.
- Crease Firmly: Show kids how to run a finger or even the back of a spoon along each crease to make it sharp.
- Align Edges Carefully: Emphasize the importance of aligning edges before making the crease, so the model doesn’t get skewed as they go along.
Tearing the Paper
- Gentle Handling: Remind kids not to be overly forceful, especially if the paper is thin.
- Practice Folds Incrementally: In more complex models, unfold and refold gently rather than forcing the paper into place.
Understanding Complex Sequences
- Break It Down: Some designs have multiple steps in one diagram. Break them into smaller tasks. For instance, label each sub-fold as Step A, B, or C.
- Trial Runs: For challenging designs, try a trial run on scrap paper first. Once the steps are clear, move on to nicer, decorative paper.
Retaining Interest
- Set Realistic Goals: Don’t push kids into advanced projects too soon. A sense of achievement comes faster when they can complete simpler tasks successfully.
- Themed Challenges: Pose fun challenges like “Who can fold the most unique fish?” or “Can you create a flying bird design?” to keep motivation alive.
By addressing these common challenges head-on, you can ensure that origami remains a source of delight rather than frustration.
Kids will appreciate the guidance and feel encouraged to keep perfecting their craft. Remember that learning origami is a process, and each misfold is just a stepping stone to mastery. With the right mix of patience, practice, and positive reinforcement, children will be proud of every paper shape they create.
